


How to Level A Concrete Floor Ready For Tiling

Tiles can add the finishing touch to any room, which is why they are a popular flooring choice. Tiles are very durable and will last for decades when properly installed.
Any professional tiler can tell you how important a flat surface is for laying down tiles. If your subfloor is not level, it can lead to misaligned tiles and flaking grout during installation. This is not ideal for any homeowner who wants a perfectly tiled floor.
Therefore, levelling your concrete floor is a key step before starting any tiling project. Here at Atlas Ceramics, we will show you how this is completed.
How to level a concrete floor ready for tiling
Most tiled floors are installed over a concrete substrate, which is the perfect base for a solid bond. However, concrete often features natural bumps in its surface. These bumps can lead to an unevenly tiled floor.
The best way to avoid problems like this is to level your concrete floor before installing tiles. For new floors, utilizing a self-levelling floor compound will result in a perfectly flat surface.
For existing concrete floors, you may need to put in a little extra work. This will ensure that the starting surface is level enough for your tiling project.
How To Check If The Surface is Level
Checking your concrete floor to see if it is level is simple. Take a long spirit level and place it on different areas of the floor. One way to make sure that you are covering the whole floor is by creating a grid using a light pencil.
As you go over an area, mark it off as being level or in need of adjustment. Once you have a clear idea of what areas of your concrete floor are uneven, you can use self-levelling compounds to adjust your floor level.
Self-levelling compounds are designed to find pits and divots in your concrete subfloor. Knowing which areas need the most work will ensure that you start applying levelling compound at the lowest sections first.
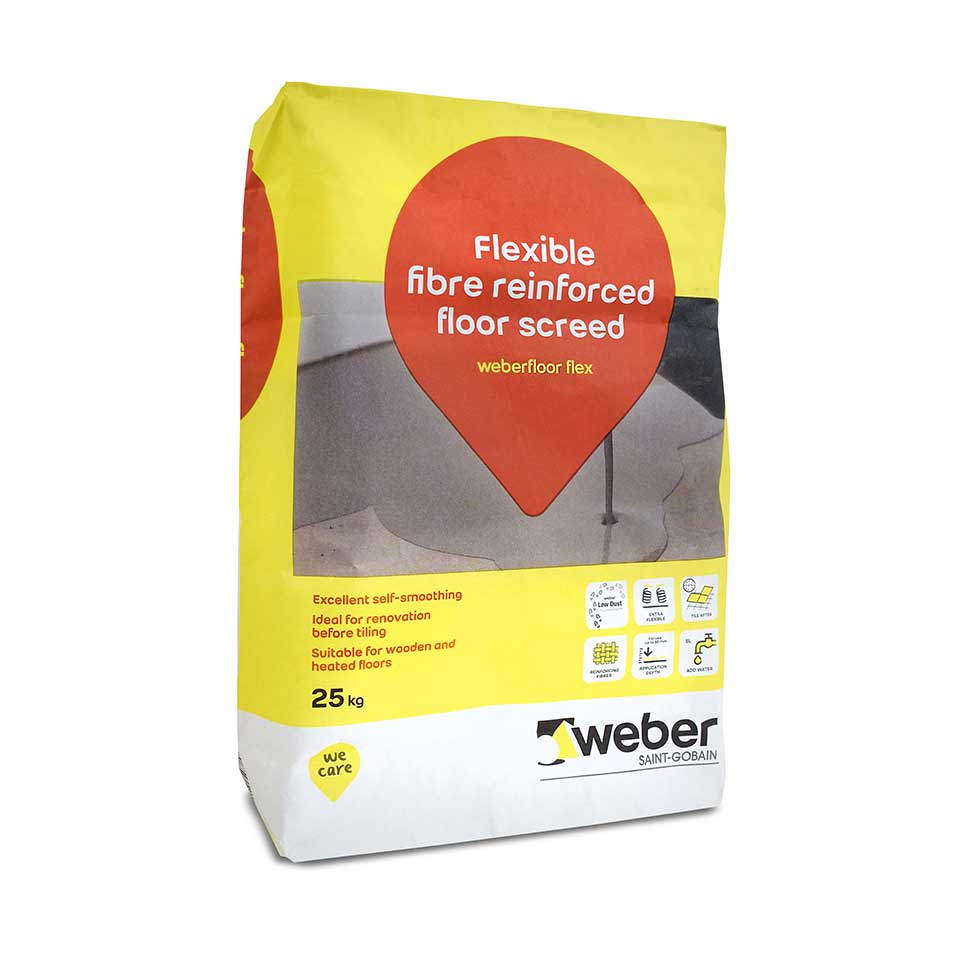
We recommend Weber self-levelling compounds for the best installations around. You can find these products on our website here.

Levelling Materials
There are several ways to level your concrete. The best option being with some form of levelling compound as explained above.
There are some compounds that you can pour over the entire floor. Others can be hand-trowelled over individual troubled areas. If you only have one area that needs to be levelled, a hand-applied levelling mixture is a good option.
A whole room that has several areas that require flattening, self-levelling compounds are a more efficient option.
Prepare Your Concrete Surface For Levelling
Make sure that your concrete floor is completely dry. Then, sweep or vacuum the entire surface to remove dust and debris. You want to make sure there is no excess dust on the surface that can affect the operation of the compound.
If dust is left on the surface it can interfere with the bond between the subfloor and self levelling compound. This can lead to more problems down the line. For example, further increasing the unevenness of the floor. This makes this step critical in the process of tiling.
Once the surface is clean from dust and debris, put on your protective gear such as goggles, gloves, and a mask. This is so you are ready for mixing the levelling compound.
It is a good idea to apply a sealing primer before using a compound on your concrete subfloor. This is because the primer will create a stronger bond between the subfloor and the compound. Apply the primer to your entire surface and allow it to cure for at least two days.
Self-levelling Compound
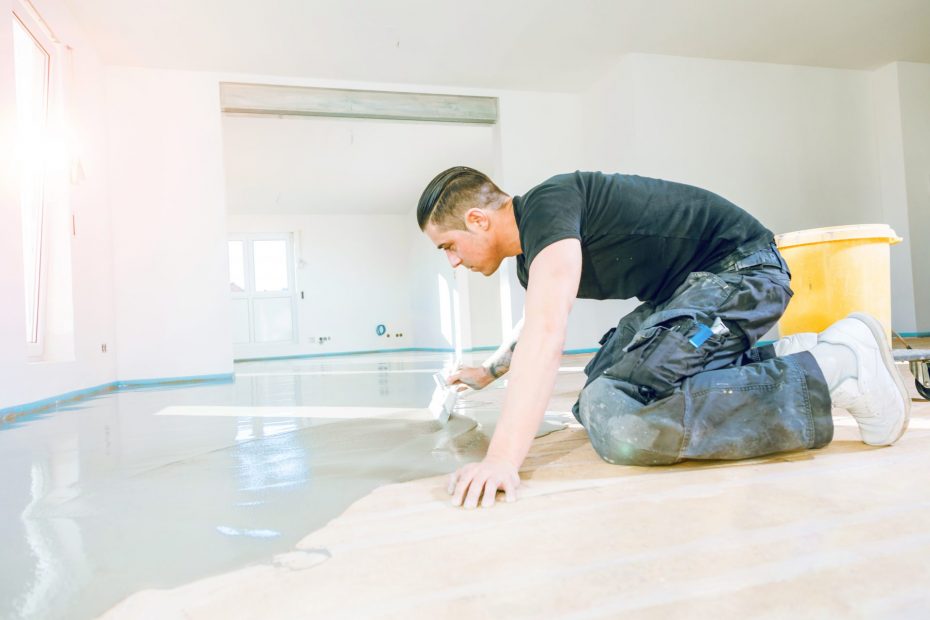
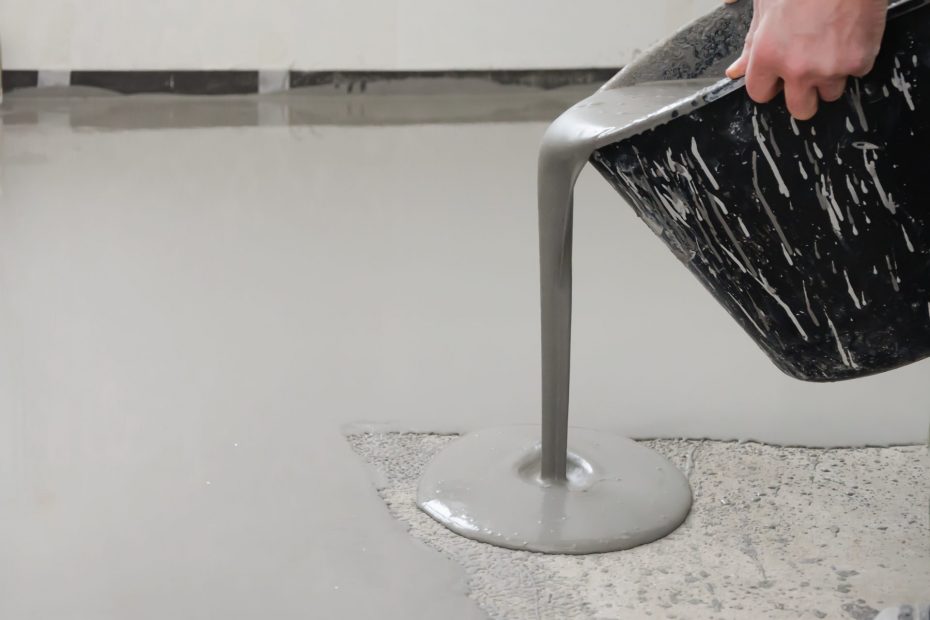
Follow the mixing directions on the label to prepare your compound. Once your self-levelling compound has been prepared, start by pouring it on the spots you marked as needing the most attention.
It can be tempting to simply dump the compound out and let it work. For best practice, you should always pour it slowly to give it a chance to spread across the floor naturally.
The self-levelling compounds are designed to locate and fill in low areas and other blemishes on their own. You will simply need to make sure that there is enough self-levelling compound to cover the entire surface area of your concrete floor.
Keep adding the self-levelling compound over the surface as you walk backward until you are fully off the subfloor of the room. Allow the mixture time to settle into low spots. There is no need to level the compound as is required with concrete. Generally, you should allow the self-levelling compound to dry for one or two days before installing your new tiles. However, you should check the instructions on your product just to be sure.
Traditional Levelling Compound
Follow the same directions to prepare the surface but instead of pouring the compound, you will need to apply it by hand.
Mix the compound according to the instructions on the package, and then make sure you are wearing protective gear before application. Work in small sections to avoid disturbing already level areas.
Use a trowel to apply levelling compound to the problem areas, ensuring that the edges of the compound are feathered flat. The compound needs at least 12 hours to set and cure before tiles are installed.
The Bottom Line
For your newly tiled floor to look its best, you will have to start with a flawless surface. Check your concrete for high spots, low spots, and holes before you consider installing new tiles.
Once you have gone over the surface to identify problem areas, prime and seal your concrete subfloor. Then use levelling compounds to flatten the surface. This will give you a blank canvas on which to lay your tiles.
For more information on concrete floor levelling, give us a call today on 01425 621173 or email us on info@atlasceramics.co.uk and we will be happy to help.