


How To Tile Outside Steps
Outdoor tiling can be a great way to improve the design of your garden and the look of any concrete steps. Whether you want to add tiles to your horizontal stair tread or you want to adorn each riser, tiles can be a perfect addition.
For anyone wondering how they can tile outside steps with ease, our handy guide features everything you need to know!
Is Tiling Steps Difficult?
Tiling a full set of steps can be fairly tricky, but with enough preparation and the right tools, you should be able to get it done.
As long as you take the time to measure each tile carefully and apply a consistent but thin layer of adhesive, then tiling your concrete steps shouldn’t be an issue!
Which Outdoor Tiles Are Best For The Job?
Finding the right tile for your outdoor tiling project will mainly come down to personal preference. Most tiles are suitable for outdoor use, but a few offer higher levels of durability, perfect for use in a garden or patio.
Below you can find a breakdown of some of the most popular types of tile and why they are, or are not, suited for outdoor tiling.
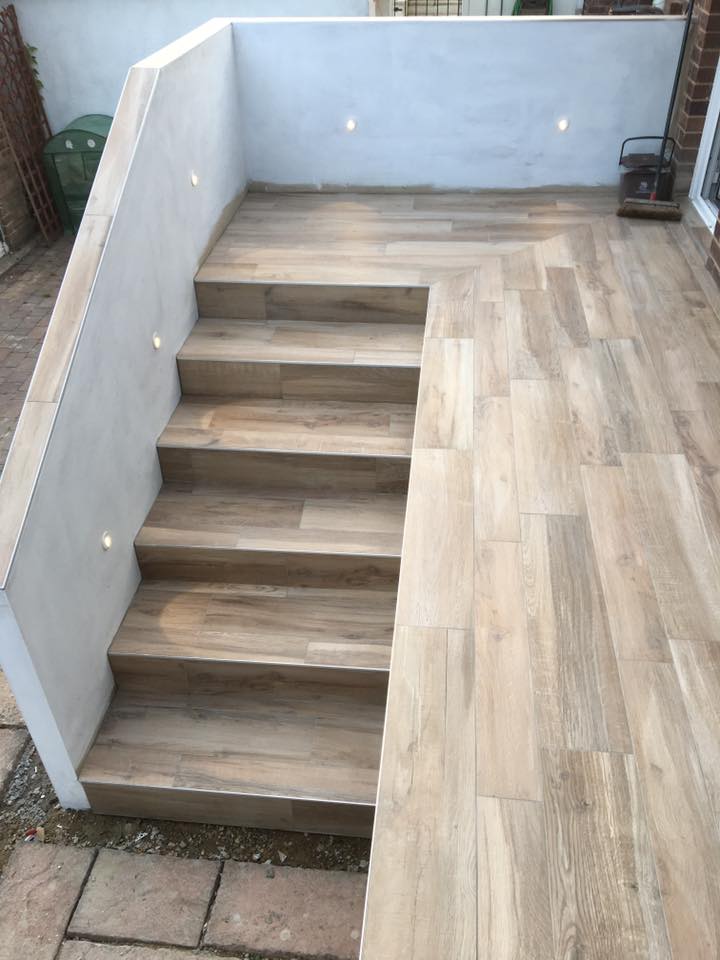
Tile Used: Naturae Willow
Natural stone
Natural stone tiles can offer some of the best aesthetics out of any tile. They can be used to complement a range of styles and designs and work wonders in an outdoor display. On top of this, they are also extremely durable, making them ideal for use outside.
If you are planning on tiling your outdoor stairs properly, natural stone can be a perfect option.
Porcelain
Porcelain tiles are perhaps one of the most popular tile choices when it comes to decorating your garden. Due to their low water absorption rate, they will rarely be stained by the rain, making them perfect for wetter climates.
They are also naturally resistant to UV, meaning direct sunlight will rarely drain them of their natural look. From outdoor tile flooring to complimenting outdoor staircases, porcelain tiles are a contender for the best outdoor tile.
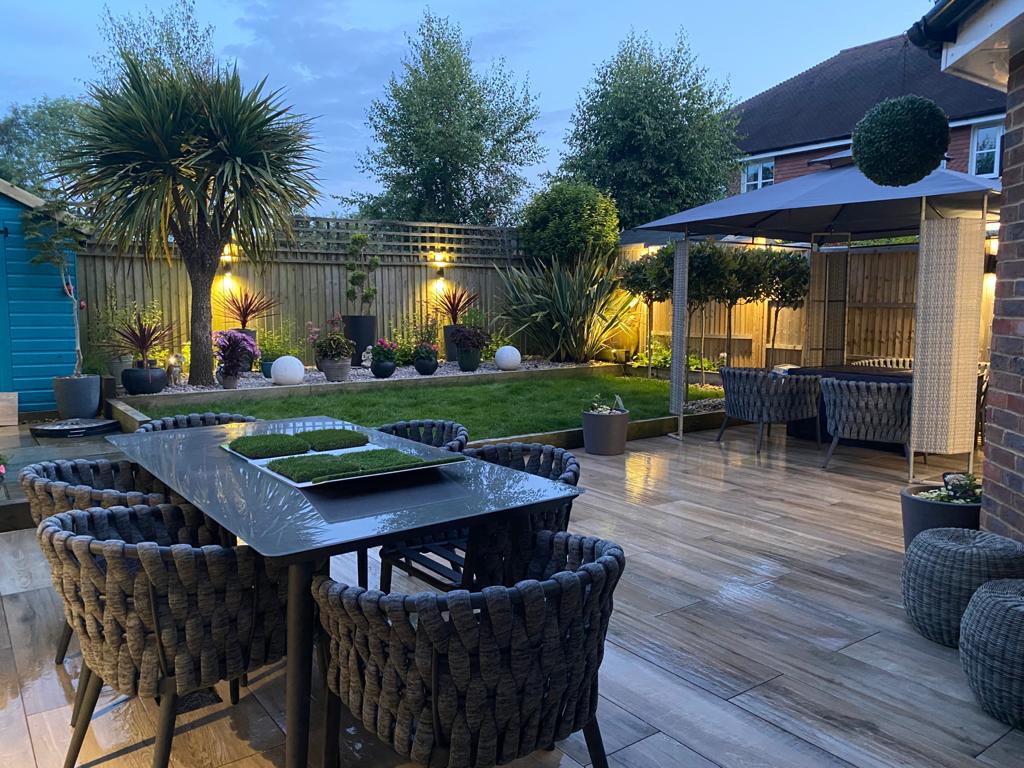
Tile Used: Naturae Forest
Decking tiles
As the name might suggest, decking tiles are best used for decking in your front or back garden. Unlike most other tile options, decking tiles are typically made from hardwood.
Most decking designs will feature wooden tiles as they offer an easy and attractive way to achieve consistent gaps in decking.
Marble
Although marble tiles can be more expensive than other variants, they are also one of the most durable and best-looking options out there. Commonly used in gardens around the globe, marble tiles come in a range of designs.
So whether you want a dark marbled effect across your patio or a light marble vertical stair riser tile, marble tiles are suitable for outdoor use. Alternatively marble effect porcelain offer a beautiful versatile option.

Tile Used: Naturae Forest
Granite
One of the key considerations you will need to make when choosing the right tile for your garden is whether or not it can withstand the natural elements. When it comes to durability, few tile options can match up to granite.
Designed to be extremely weather-resistant, granite tiles are perfect for stair raisers or even as a stair tread surface. If your garden features a darker style aesthetic, then granite may be the right choice for you.
Step-by-Step Guide
Step 1: Gather equipment and tools
Before you start laying out your first tile, you will need to check that you have all the equipment you need to get the job done. If you need to reshape any tiles, then you will need to invest in a tile cutter to keep your tiling level.
Some of the essential tools you will need are:
- Tile Spacers
- Tape Measure
- Tile Nippers
- A Bucket
- Notched Trowel
- Grout Float
- Spirit Level
As long as you have these, you will have all the tools you need to ensure your outdoor tiling is done correctly.
Step 2: Clean and level the steps
If you plan on tiling your concrete stairs, then you will need to make sure the surface is clean before you lay your initial tile. Take a brush, some soap and water, and wipe down the surface you are planning on laying your tile on.
You will also need to check the steps are level using a spirit level. Place the level on the step you are going to tile; if the bubble is off-centre, then you will need to use a levelling mix to balance out the area and flatten out any bumps.
Step 3: Mark the location for your centre tiles
Next, you will need to mark the location for each tile. Take your tape measure and measure out the vertical length of each rise and find the central point. Mark this middle point as it is going to be the location of your first tile per riser.
This is also a great time to check whether or not your tiles are the right shape and size for your vertical step riser. Using chalk or pencil, mark out which part of your tile may need a trim using your tile cutter.
Step 4: Prepare the adhesive
Preparing your adhesive can be a messy job, which is why a bucket and some old clothes are highly recommended. You will also want to make sure you have a decent adhesive, such as Weber SPF. We also recommend that a flexible adhesive is used outside due to the movement as the temperature changes.
Check the instructions of your chosen tile adhesive and mix it in a bucket. Then take your notched trowel and spread out a layer around 1/8inch thick onto your stair riser.
Step 5: Lay the tiles
Once the adhesive is in place on your stair riser and you have marked where the tile needs to go, you can start tiling. Gently lay your tile onto the adhesive with a 2 to 3mm gap between each tile – be sure to use tile spacers to help mark out the right distances.
Step 6: Grout
Once each tile has successfully been placed and your adhesive has fully dried, you will want to grout the gaps between them to create a uniform work of art. A grout float is a perfect tool to ensure that the grout is evenly distributed throughout the gaps.
How Long Does It Take To Tile Concrete Steps?
The length it takes to tile your concrete steps will depend entirely on the size of them. A smaller set of steps will take far less time than a larger one, but you also need to consider the drying time.
Most adhesive and grout will take around 24 hours to completely dry, so try not to step on your tiling job until at least 24 hours have passed. In terms of laying your tiles, you can expect it to take you anywhere between 2 to 6 hours, depending on step size.
FAQs
Can I use standard floor tiles for tiling steps?
As long as the steps and the tiles are properly prepared, almost any type of tile is suitable for tiling steps. Just be sure to check out the durability of your chosen tile to ensure they can withstand everything mother nature throws their way.
Are ceramic tiles any good for steps?
Although ceramic tiles are ideal for indoor steps, they are not as durable as other types of tile.
If you plan on tiling your outdoor steps, then you may need to find an alternative to using a ceramic tile such as porcelain or natural stone.

