


How To Clean And Remove Grout From Bathroom Tiles
Grout is something of a wonder material when it comes to tiling. Whether your project involves an entire bathroom wall or a sink splashback, grout is easy to apply and helps to secure the tiles well enough to ensure peace of mind for a few more years.
But grout isn’t invincible. It wears over time, and a build-up of mould, a change in personal taste or a breakage can mean it’s time to replace it.
Cleaning and removing grout from bathroom tiles can be one of those daunting tasks you put off for months (or even years!), but it doesn’t have to be so bad.
We’ve put together a few of our favourite hints and tips below, so read on to find out how to clean and remove grout from your bathroom tiles.
Homemade Cleaners
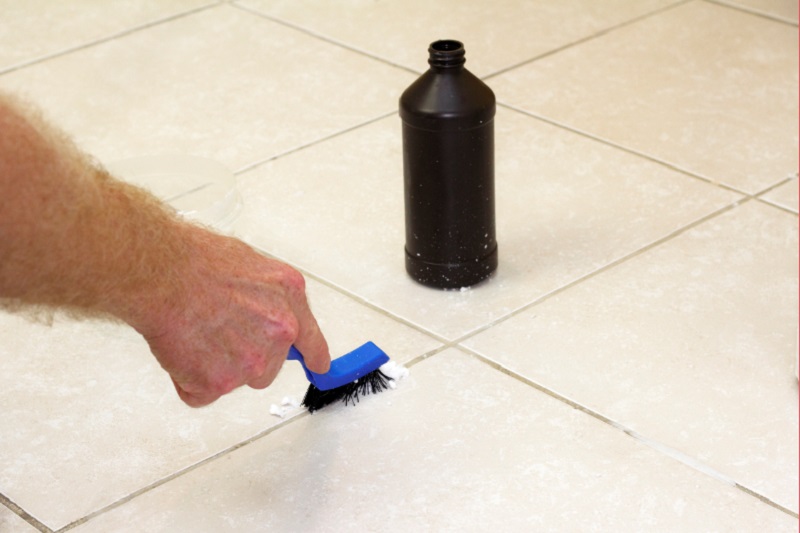
There are plenty of off-the-shelf products to help you clean grout. In the DIY world, however, some people swear by vinegar and baking soda. It’s certainly worth considering as a starting point, as it uses affordable materials and is easy to create at home.
Use a combination of warm water and vinegar to spray onto the grout that needs cleaning. Apply baking soda to create a paste, and scrub it well with a toothbrush or larger wire brush. Make sure to get right into the lines of grout and be as thorough as possible.
For tougher stains and mould, apply a mix of hydrogen peroxide and baking soda.
Hydrogen peroxide and vinegar creates a harmful acid, so wear protective clothing, thoroughly wash away all the vinegar with warm water before applying the mixture and never create it in the same container you used to make the first solution.
Spray the new mix onto the stubborn stains, let it sit for a few minutes, and then continue working it with a tough wire brush.
Stronger Substances
Grout is porous, which means it can very easily trap dirt and mildew in hard-to-reach areas. Although old kitchen remedies might do wonders for subtle blemishes and mould on the surface of grout, a deeper problem might call for a stronger product.
When looking for how to clean and remove grout from your bathroom tiles, Atlas Ceramics is your trusted partner for the tougher jobs. Our available products are stronger and faster-acting than homemade kitchen remedies.
Our Lithofin KF Grout Cleaner, for example, helps to remove grease, oil and dirt build-up with its mildly alkaline solution. The Rubi Net Grout Cleaner has more acidic properties, so wear gloves, check to see that your tiles are resistant to acid, and apply it in a well-ventilated area.
Keeping the grout maintained like this every few months will keep it going for as long as possible. But, if you do have to replace it, it isn’t as problematic as you may think.
Removing and Replacing Grout
If cleaning has not been successful, if the grout is discoloured or cracked beyond repair, or if you simply want to start again with a different colour, replacing the grout in your bathroom might be your best option.
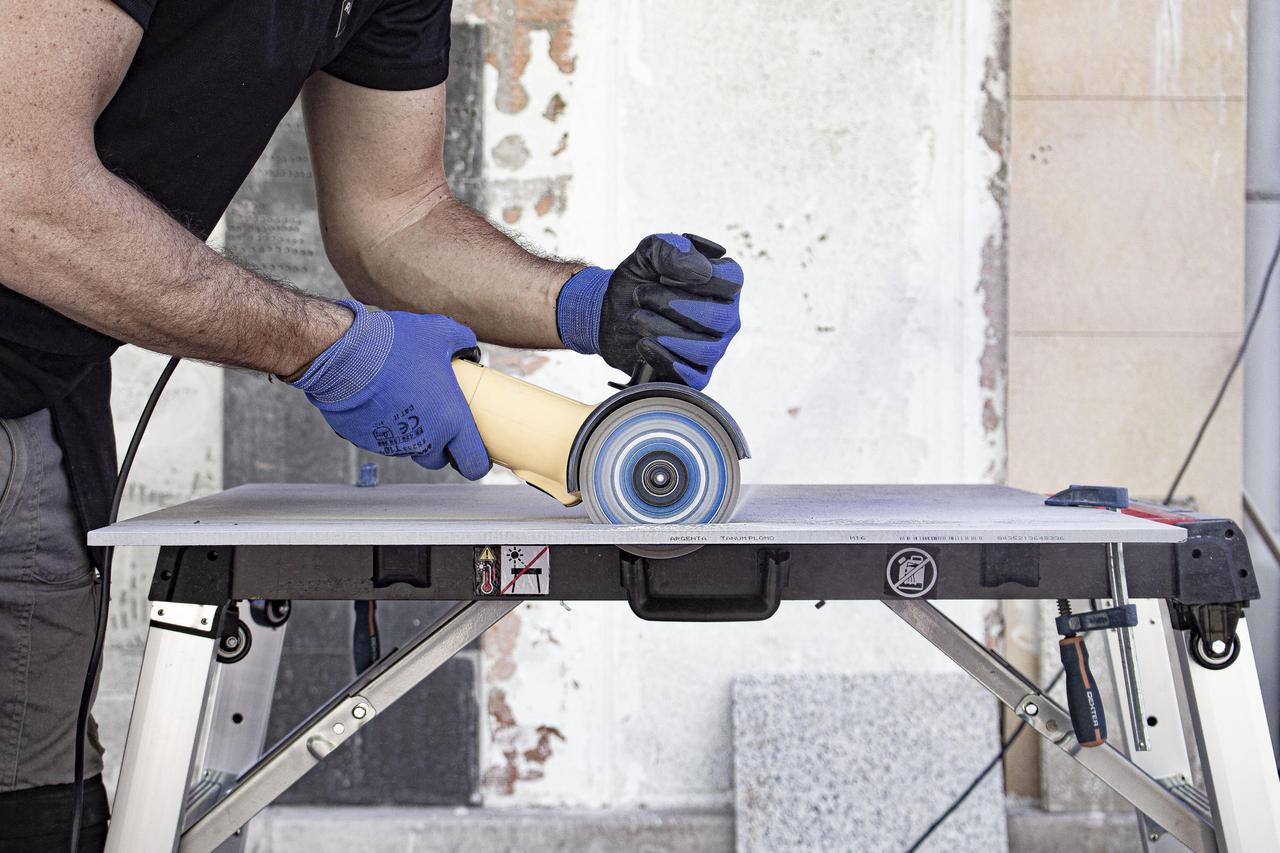
So, where to start? Firstly, make sure you have the right tools. Some people swear by powerful equipment like oscillating multi-tools. Others prefer to work by hand using a grout removal rake.
Whichever you prefer, get yourself a small vacuum to clear away the dust and debris and make sure you operate in well-lit conditions, so that you always have a clear vision of what you are doing.
Speaking of which, protective goggles are an absolute must. Grout is a type of concrete, and any flying chips or dust can damage your eyes if you do not take precautionary measures.
Be Delicate
Grout can be tough, but if you have the proper tools it should come away easily. Delicately use power or hand tools – or a mixture of both – to scrape away the grout from between the tiles.
Once the majority of the material has been removed, angle the tool slightly and scrape away some of the grout just beneath the tile. Mildew and rot can easily spring up in these difficult-to-reach areas, so be thorough. But above all, be delicate.
Unless you are stripping the whole wall and starting again, the last thing you want when cleaning and removing grout from between your bathroom tiles is to damage the tiles themselves.
It is easy for a grout-removing tool to accidentally scratch or chip your tile, or for your cleaning solution to bleach its colour – be careful when applying any technique to the grout to make sure they remain safe and securely fastened to the wall.
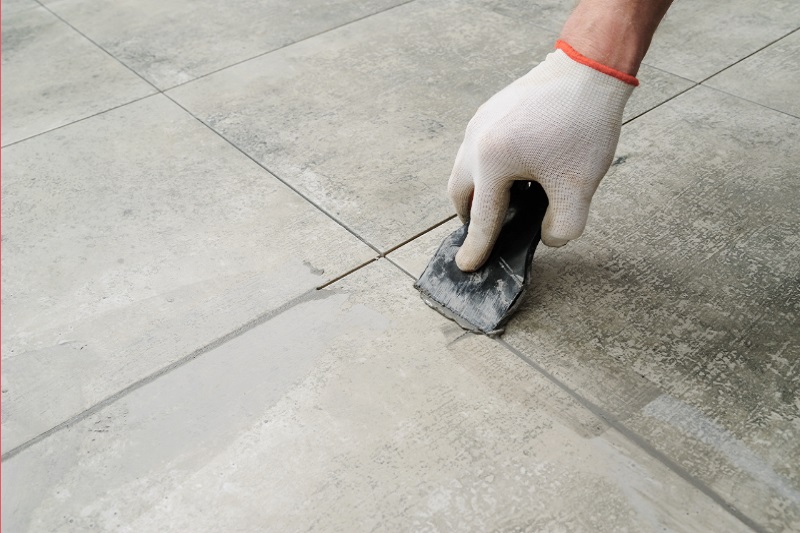
A Final Clean
Once you have scraped out and removed all the offending grout, clean the newly exposed area before applying a new layer. You don’t want any leftover mould to take control not long after your task is complete.
Use warm water and a stiff brush to give the remaining grout a once-over, then vacuum any leftover dust until you are faced with a freshly cleaned and tidied tiled wall.
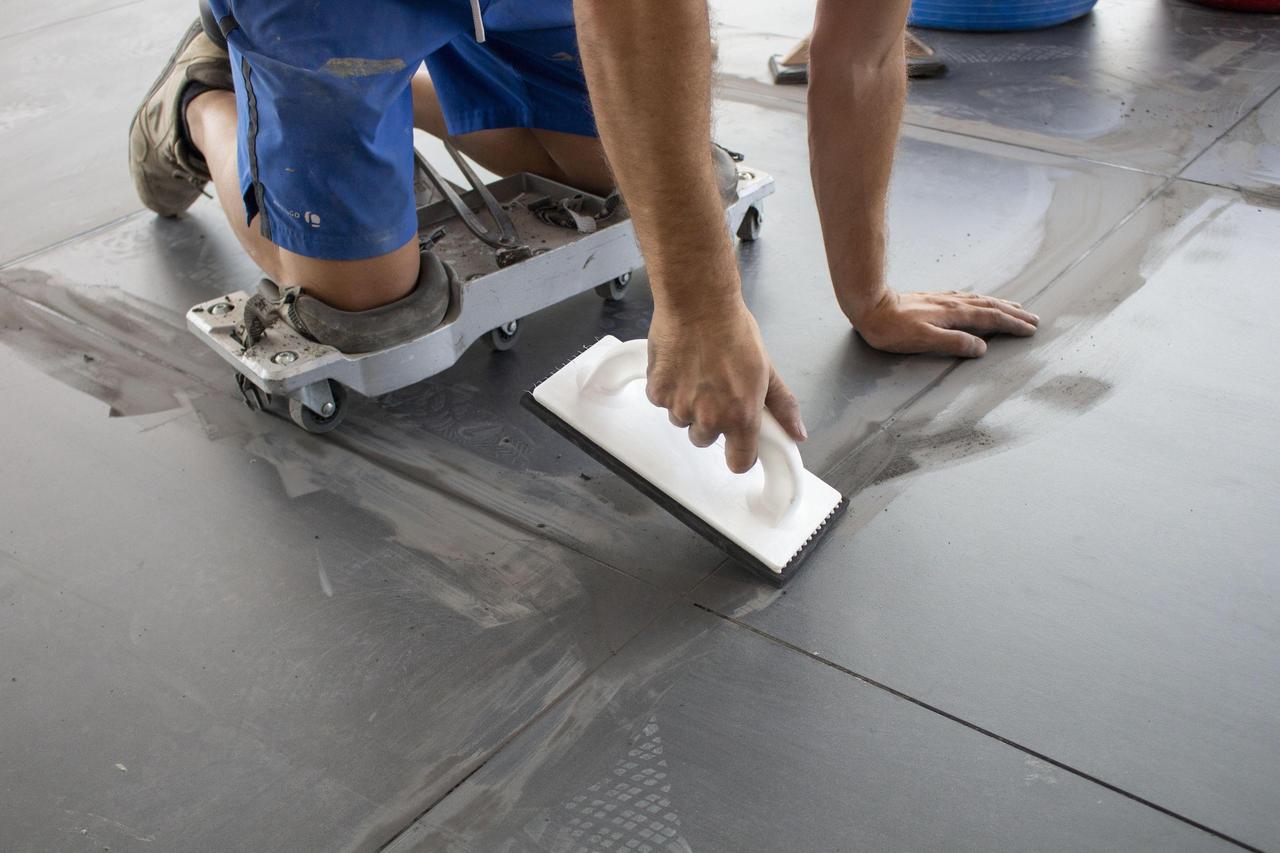
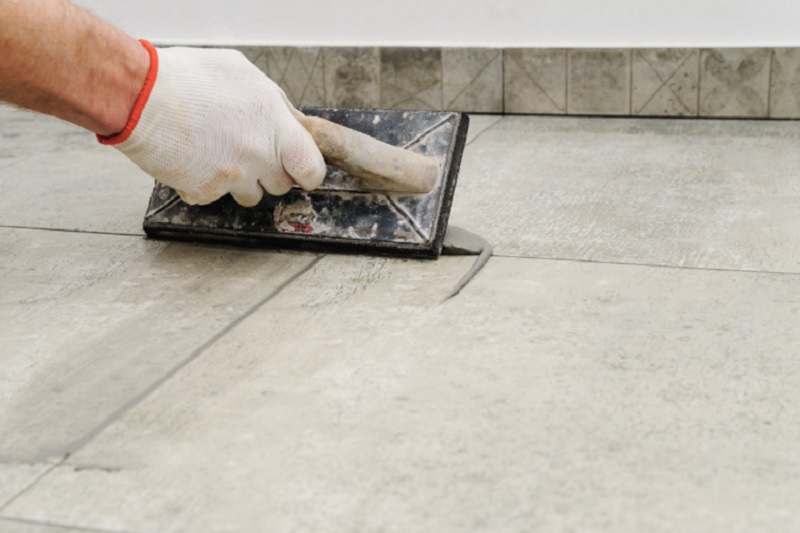
Filling the Gaps
Some good news: lining the gaps between the tiles with fresh grout is a lot less exhausting than scraping it out in the first place. Most grout mixes are well detailed with instructions, so double-check them as you mix.
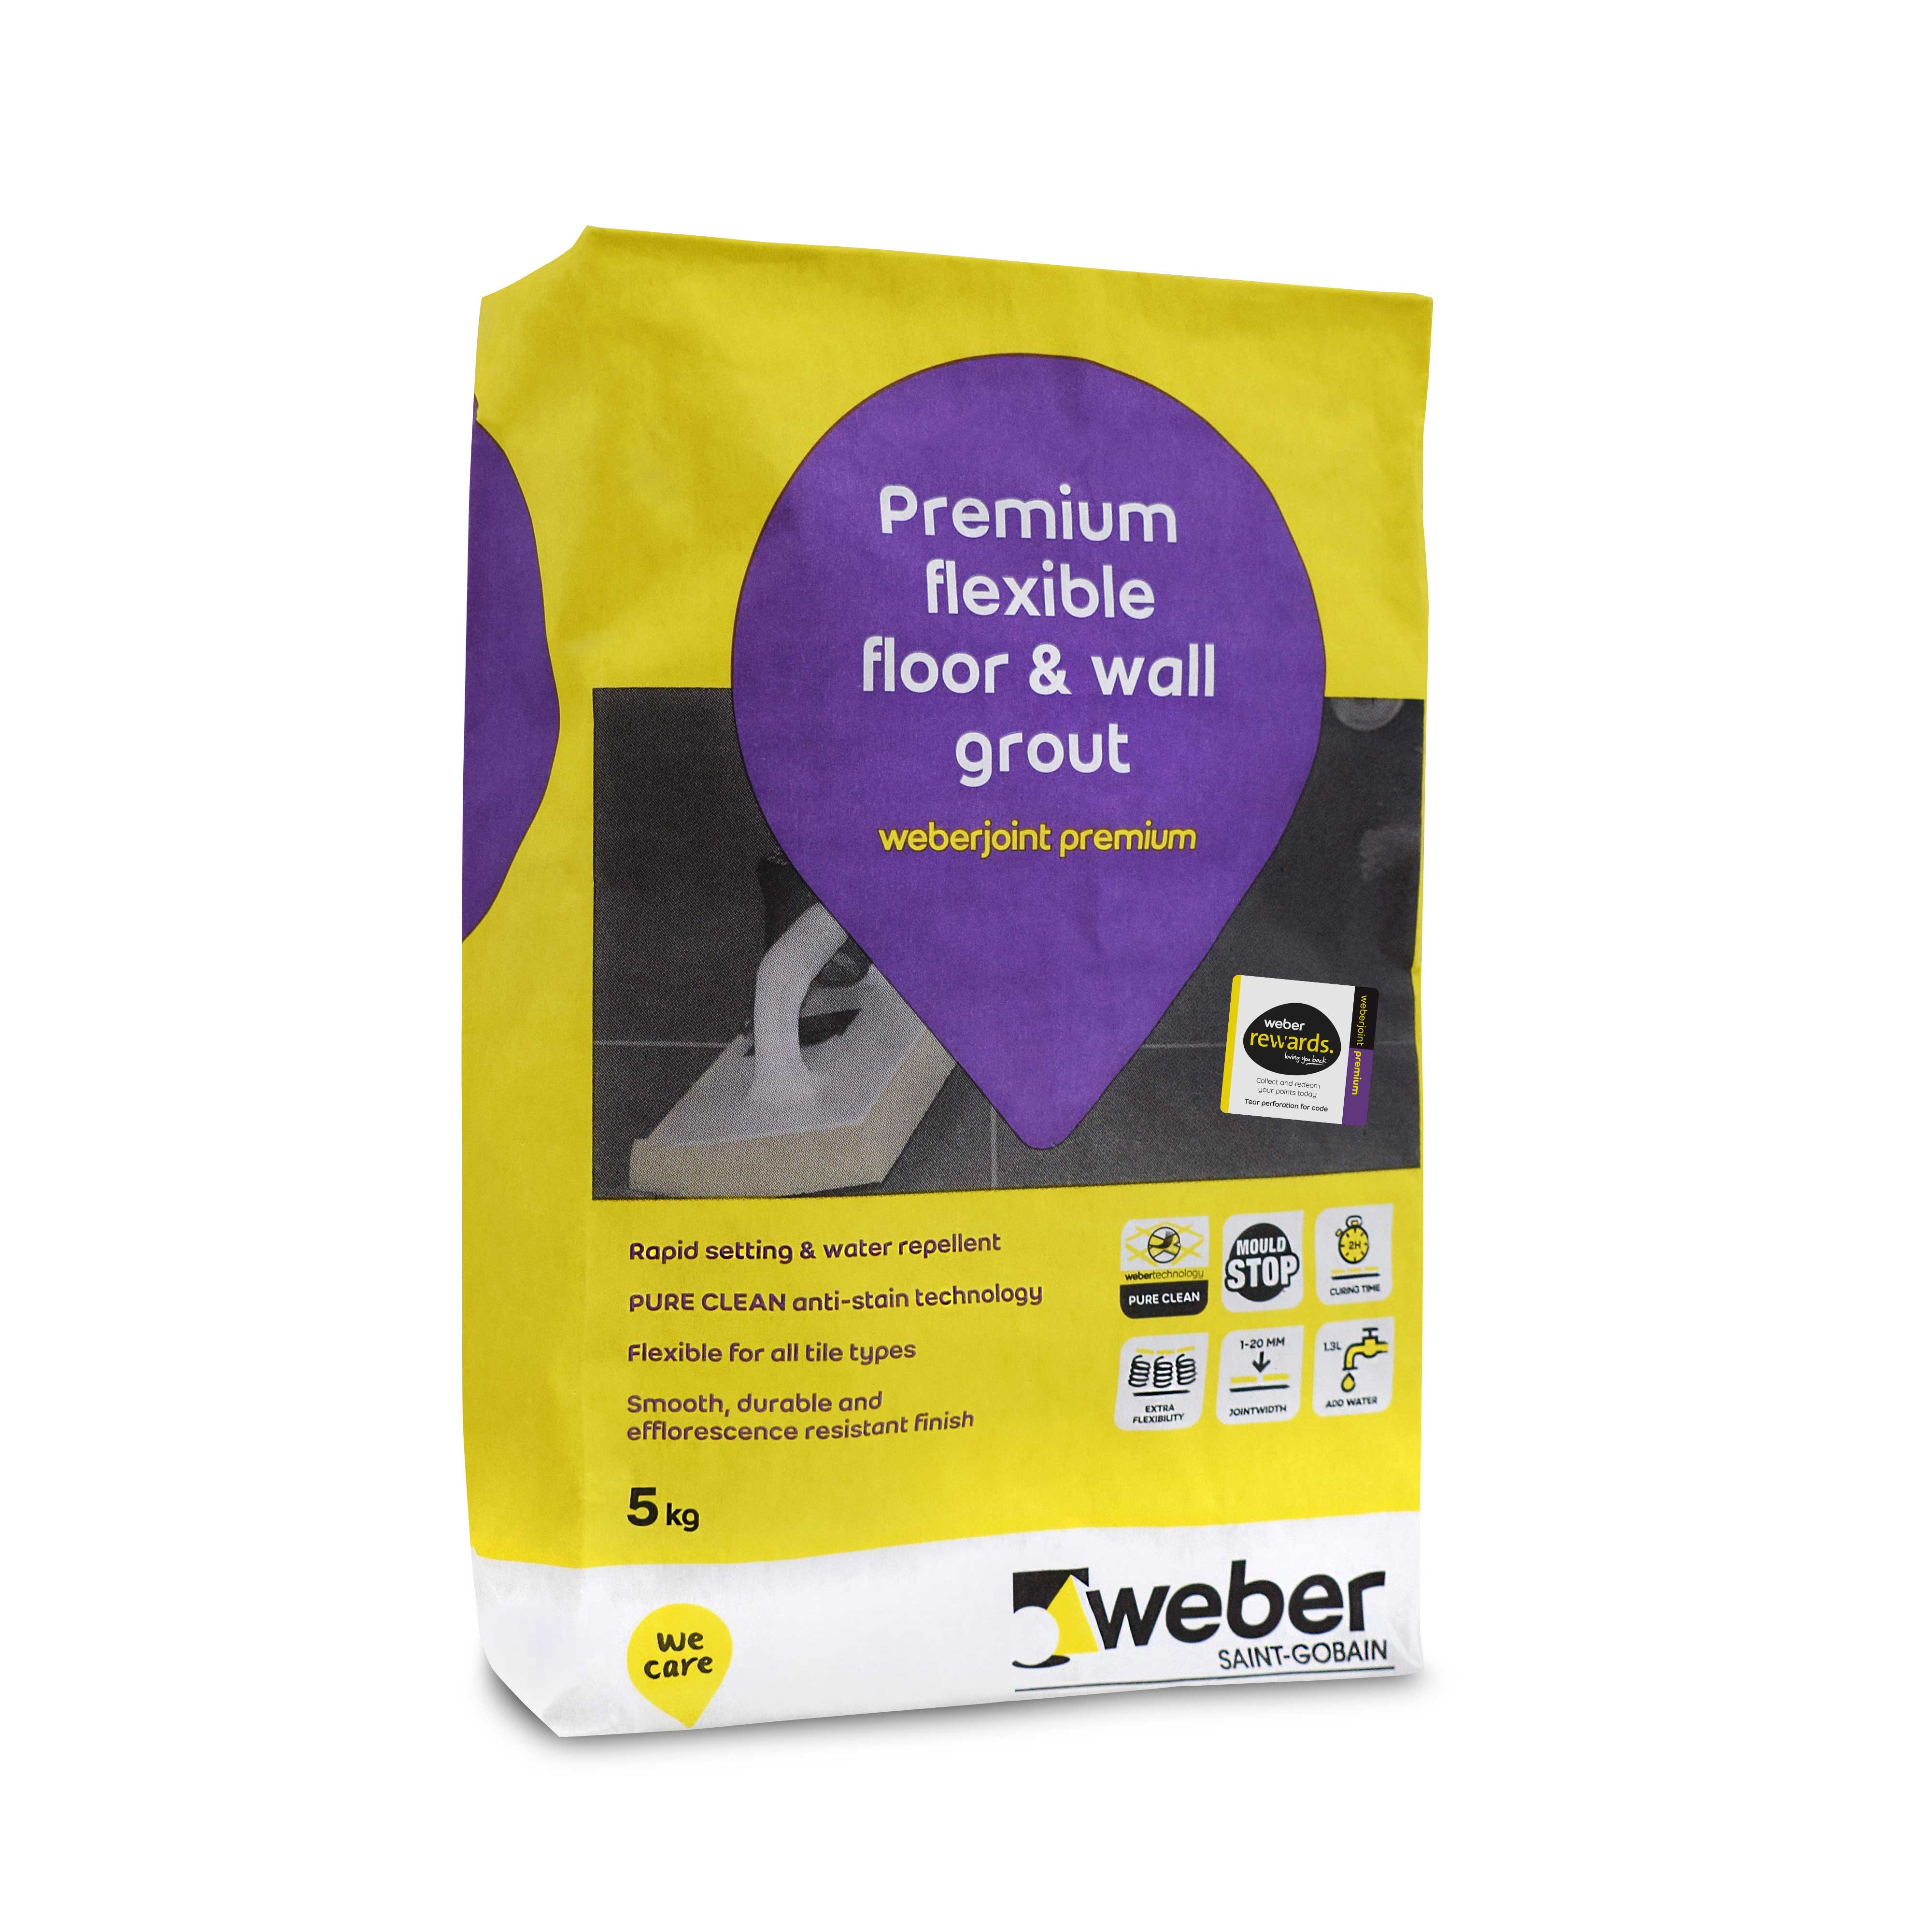
We recommend the Weber premium grout, available in a number of colours for high-bond strength. Then get yourself a grout float to apply the fresh mix to the gaps you’ve just made.
Once you are happy that the grout is flush with the tiles, clean off the excess with a damp sponge and leave to dry as per the instructions.
Maintaining your Grout
The biggest cause of a build-up of mildew and mould is damp. Grout might be excellent for securing tiles on the wall but it is very easy for water to get in beneath it and create problems.
One of the best ways to maintain the quality of grout in your bathroom is to keep the room well ventilated. Use an extractor fan or keep the window open after showers and baths to dry the room quickly and get rid of any steam.
Spend a bit of time cleaning when stains begin to show, and you will make the most out of the grout in your bathroom.
It is clear then, now that you know how to clean and remove grout from bathroom tiles, that it is a lot easier to maintain and prevent any problems than it is to remove and replace the tile sealant every now and then.
Explore our protection products and tile fixing materials today. Whether you’re looking to employ precautionary measures with cleaning solutions, or need to start afresh, the Atlas Ceramics team are on hand to offer support and suggestions – contact us at any time.