


How To Lay Outdoor Tiles On Sand
Planning on installing outdoor tiles or replacing an existing patio area, but don’t have the confidence or experience to lay cement foundations? At Atlas Ceramics, we find using sharp sand as a base can provide an easy and effective alternative.
What’s more, unlike concrete, which is difficult to manipulate or remove once laid, sand remains malleable, and so is a forgiving tile bed for amateurs who crave DIY projects. Eager to find out more? Keep reading for more information!
Why Is Sand A Great Base For Outdoor Tiles?
Whether you’re laying porcelain paving, natural stone, or even marble, sand is a great base for outdoor tiles for several reasons.
When compacted, sand’s rigidity makes it a firm base for your patio, interlocking perfectly with the gravel layer below. Furthermore, as mentioned above, its malleable nature makes it much easier to alter and remove once laid, forgoing the requirement of often expensive professional help.
Likewise, while sand holds just as firmly underneath your tiles as a concrete base, unlike concrete, it also offers excellent drainage, enabling excess water to escape and preventing damage and warping to your surface tiles.
With that in mind, from porcelain tiles to natural stepping stones, a hard-packed, gradually sloping sand bed is perfect for any under-tile drainage.
Are Porcelain Tiles Suitable For Outdoors?
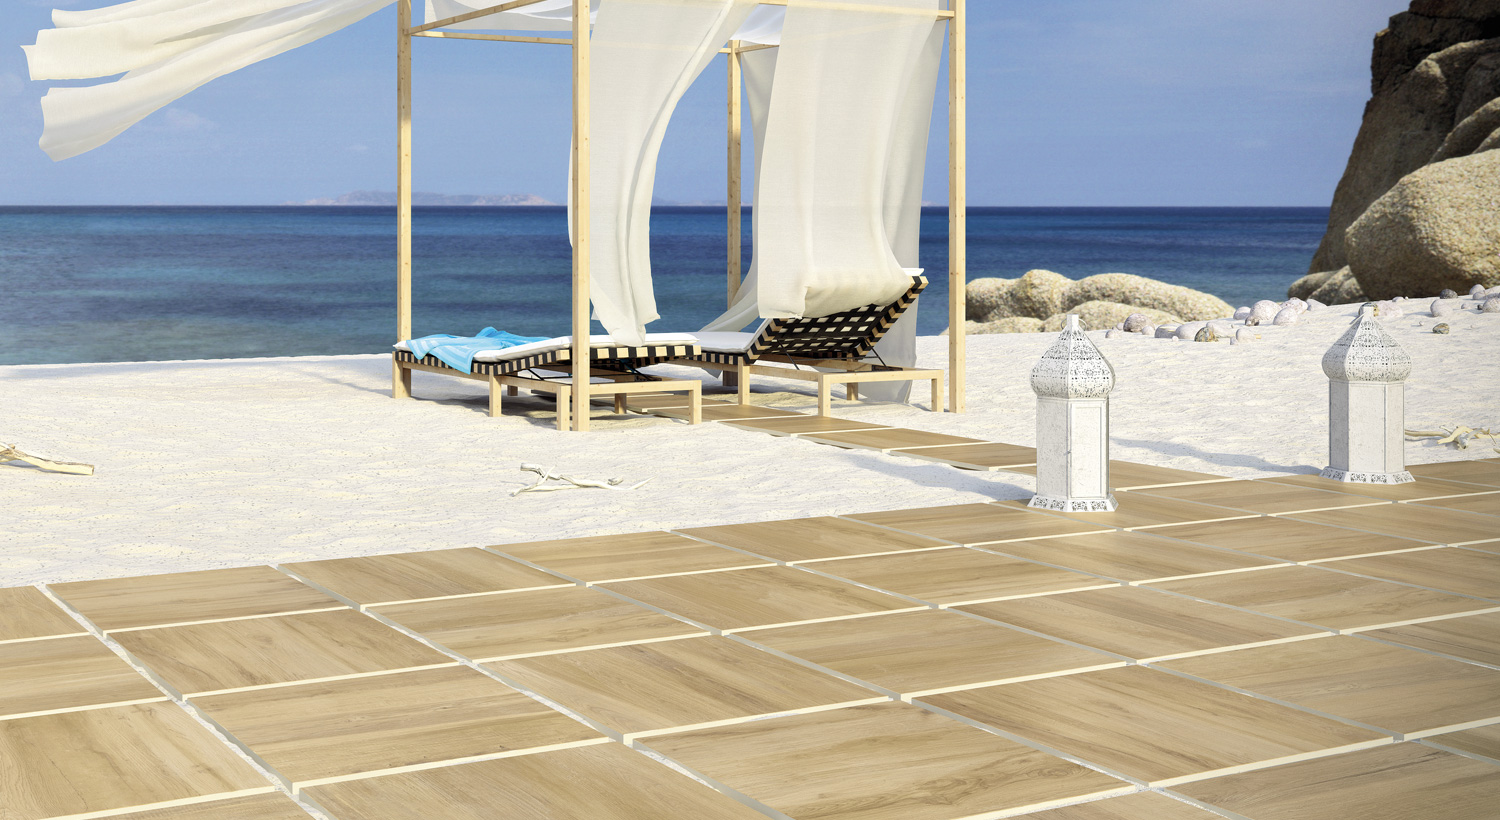
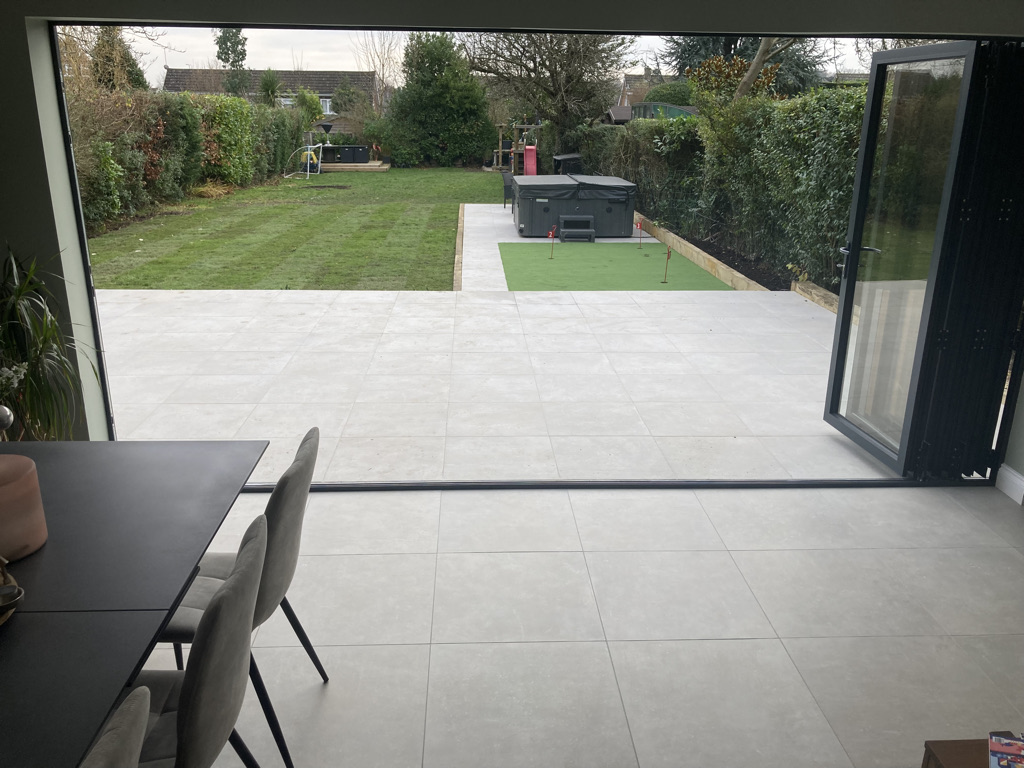
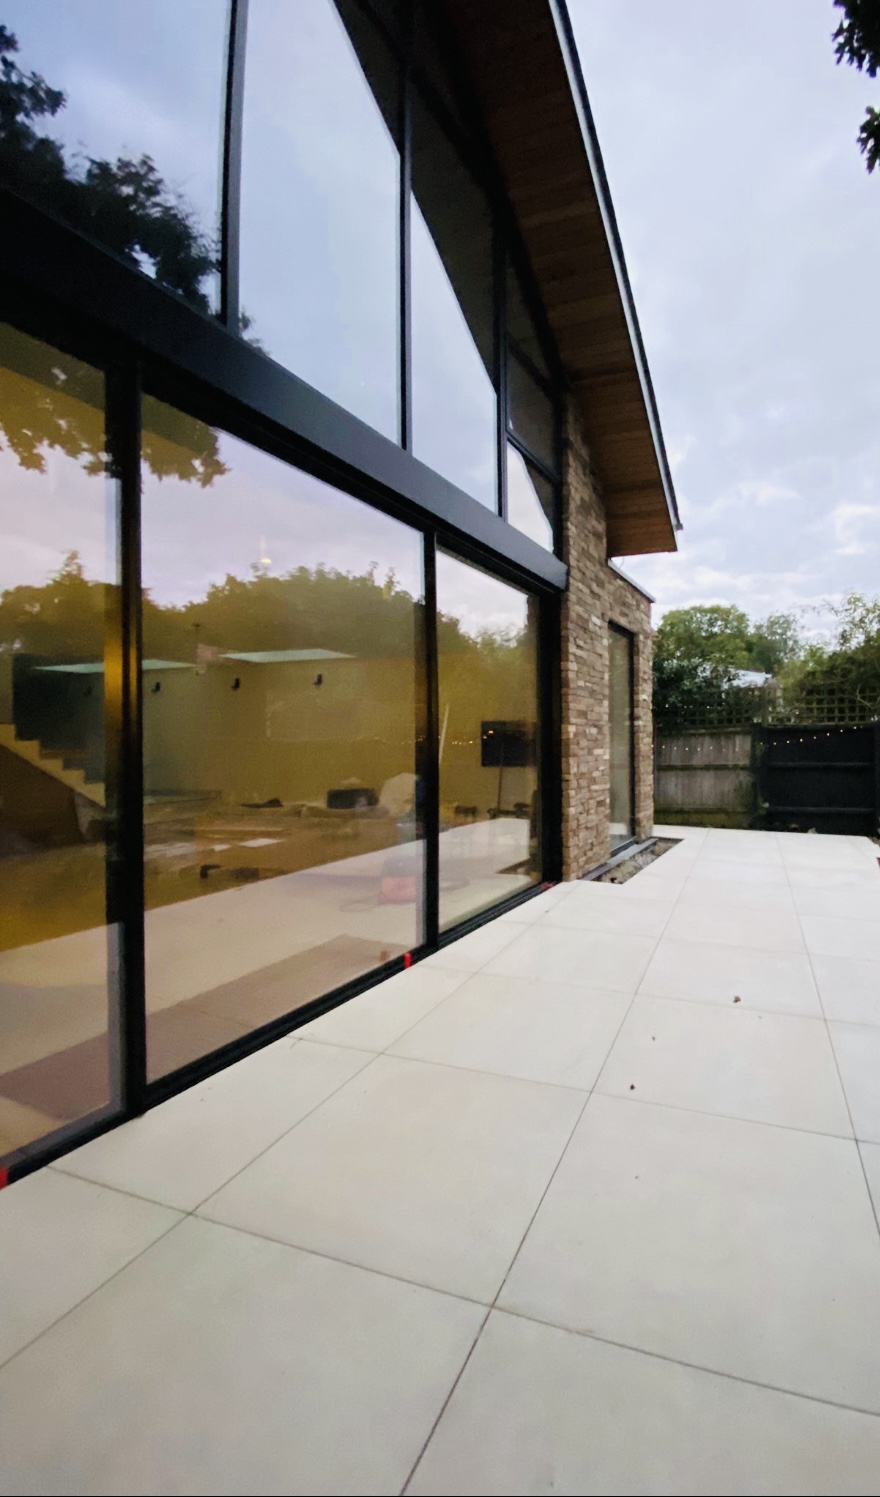
Yes! Here at Atlas we have seen a huge growth in customers wanting to extend their interior floor design into an outdoor setting. Firstly this has a huge visual benefit as this creates a seamless transition from indoors to outdoors.
Many ranges that we provide are available as a special order item in a 2cm thickness. With an added benefit of an R11 slip rating these tiles are the ideal choice for outdoor environments all year round.
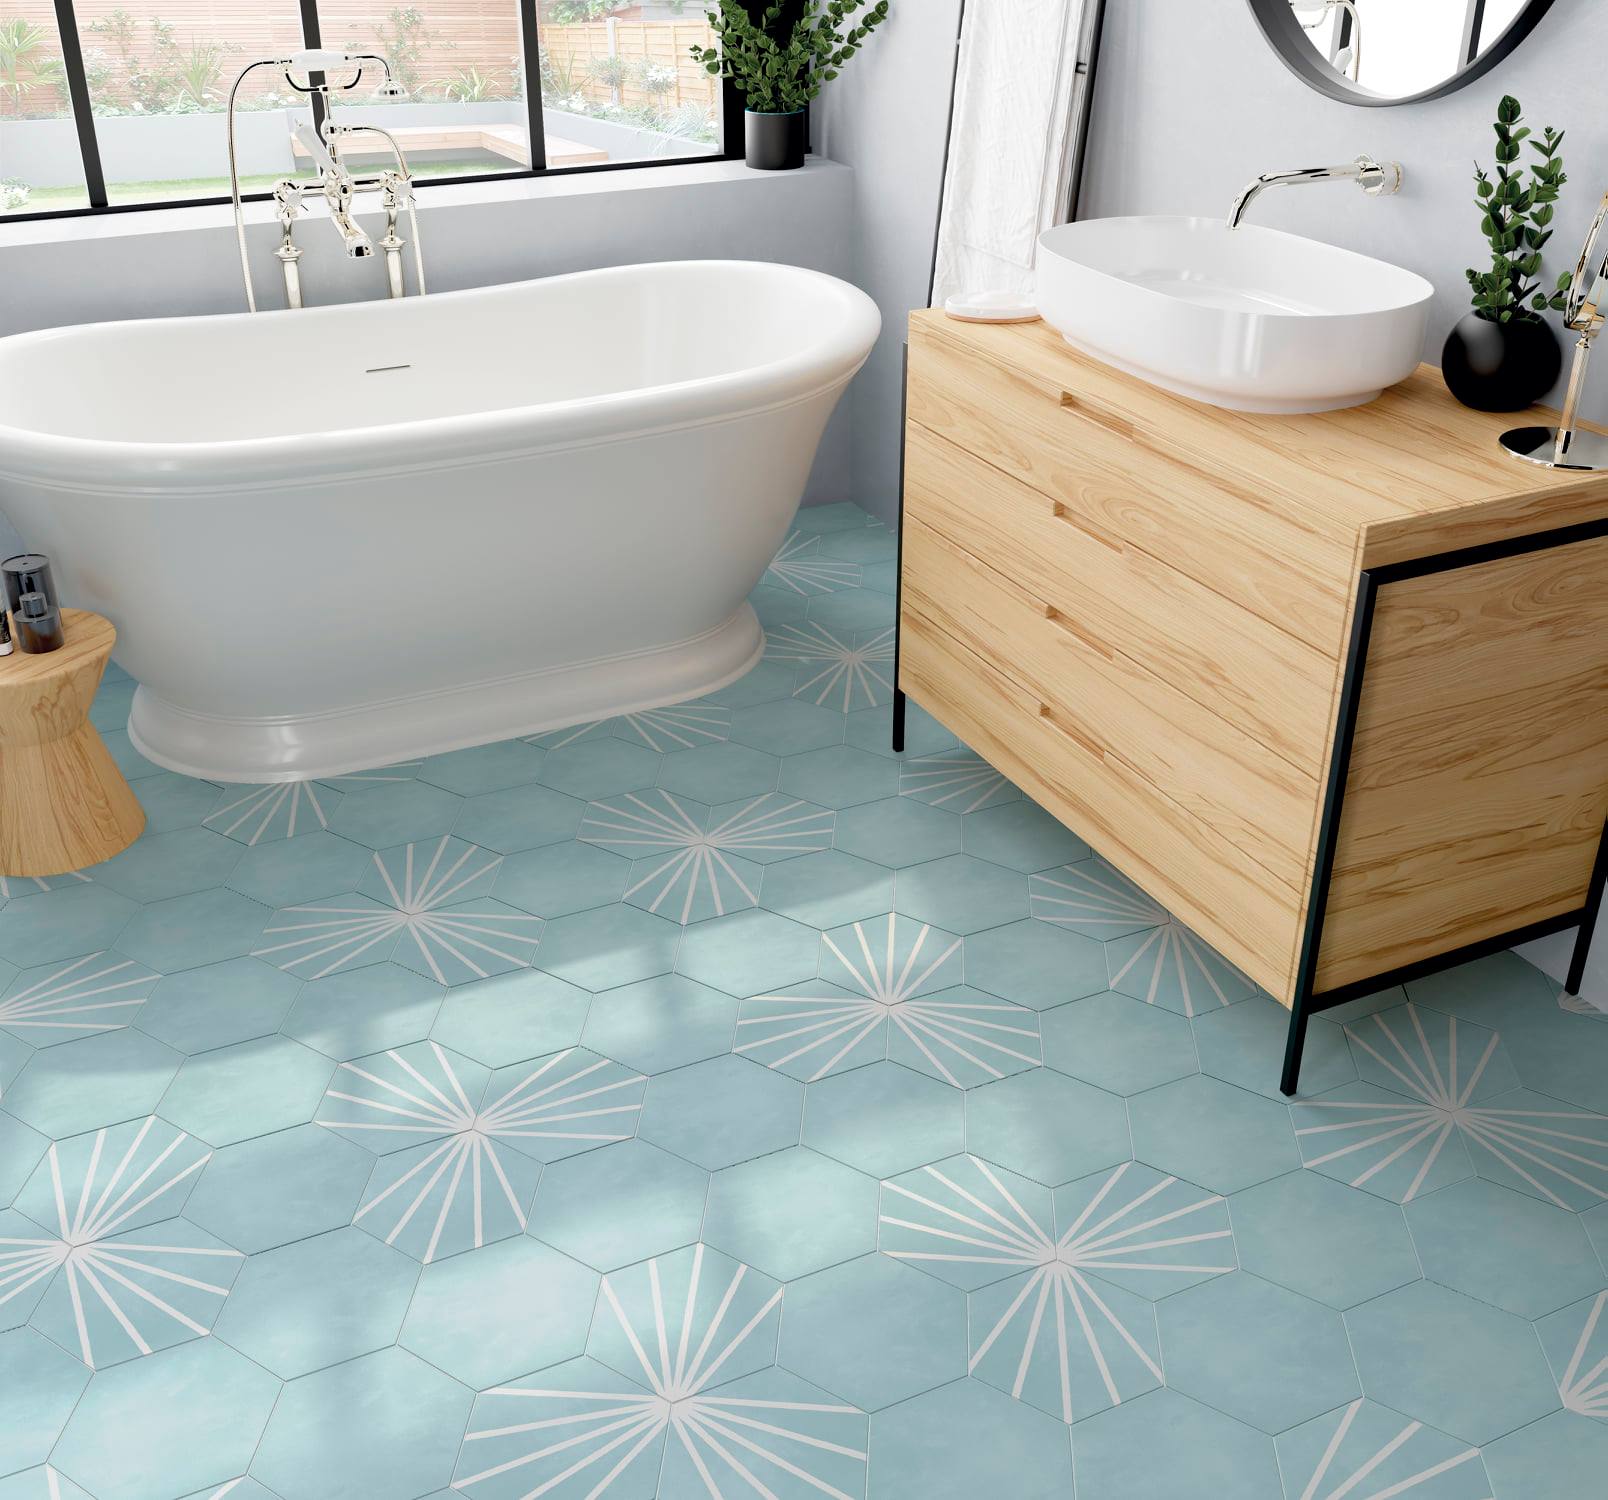
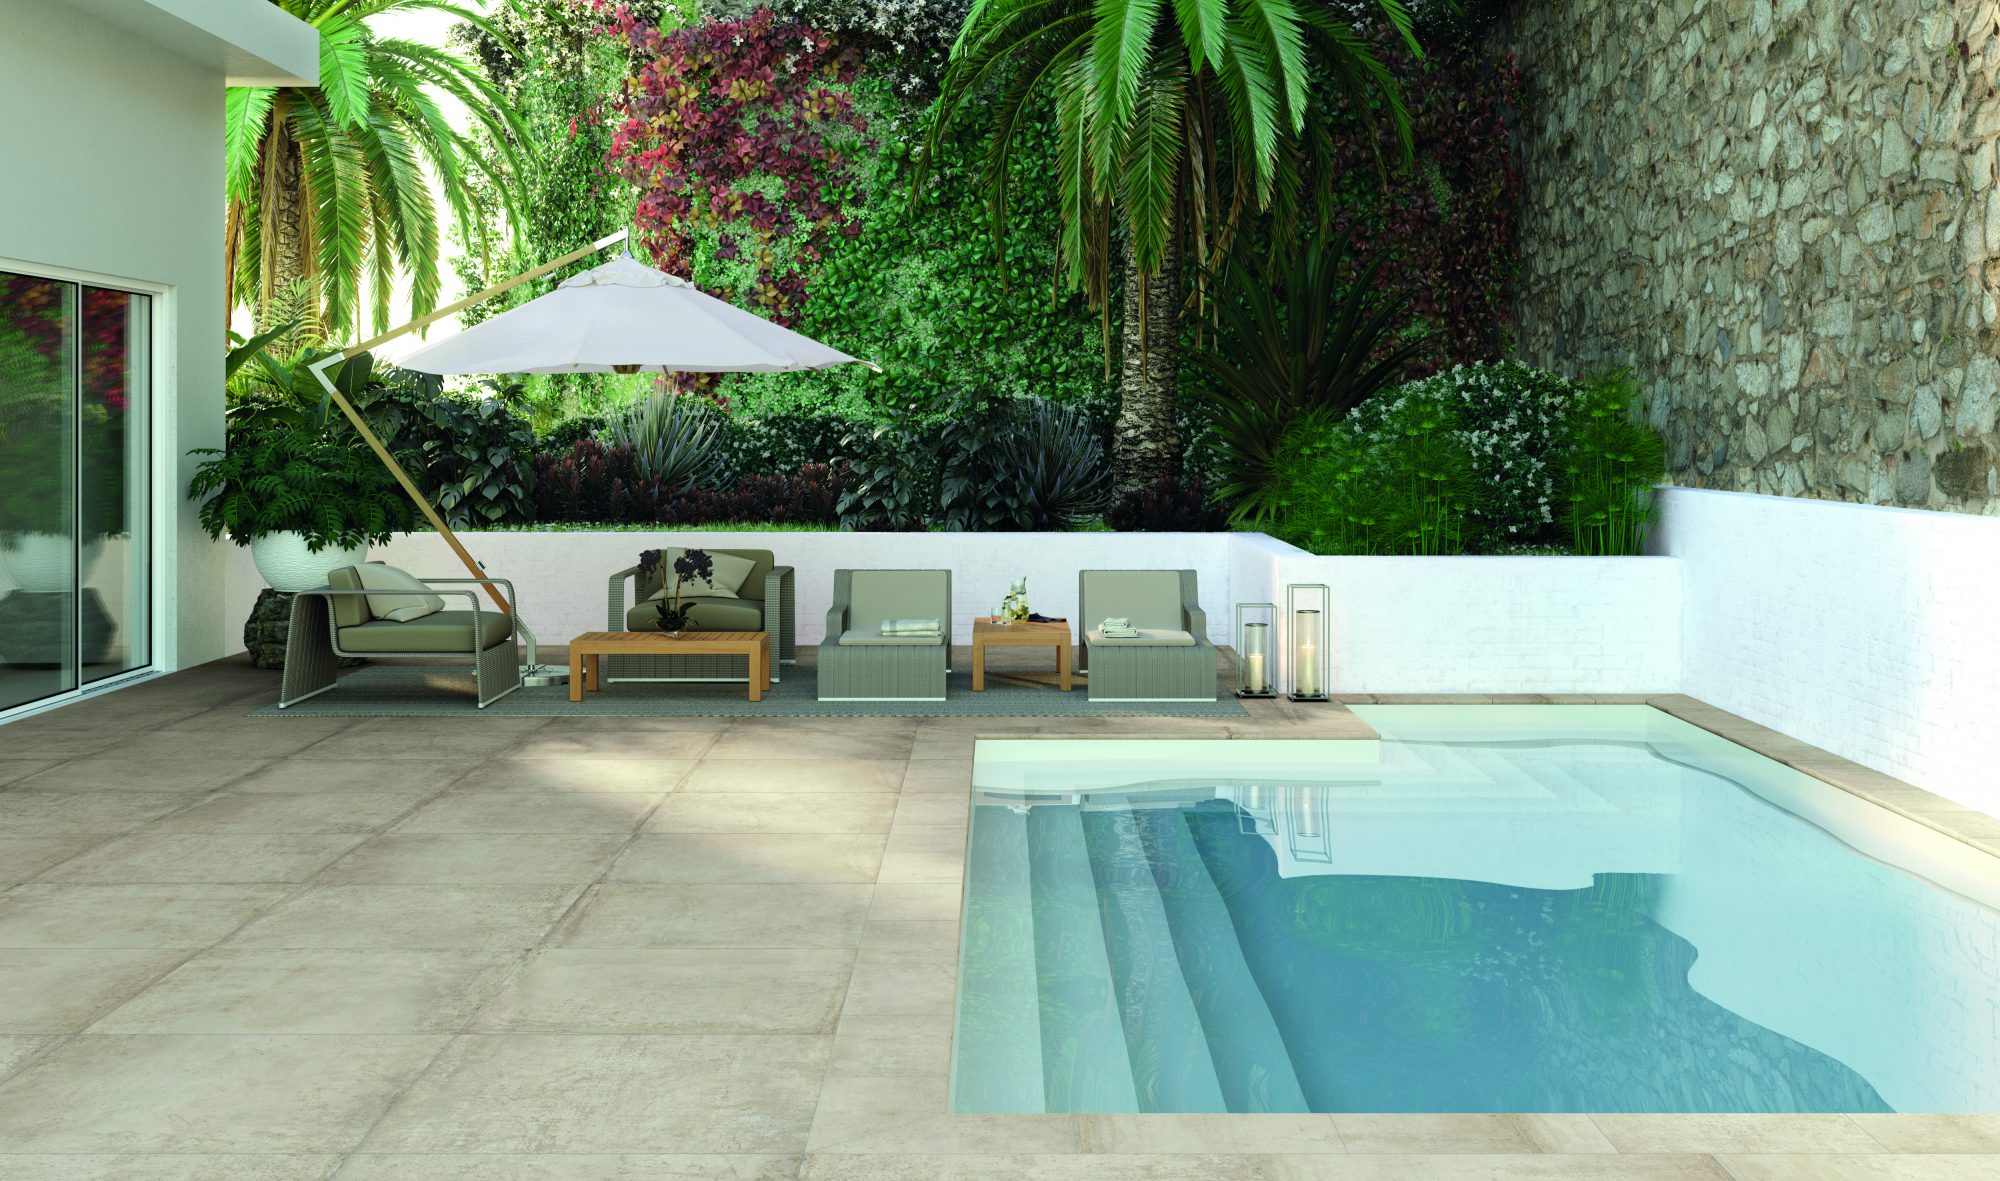
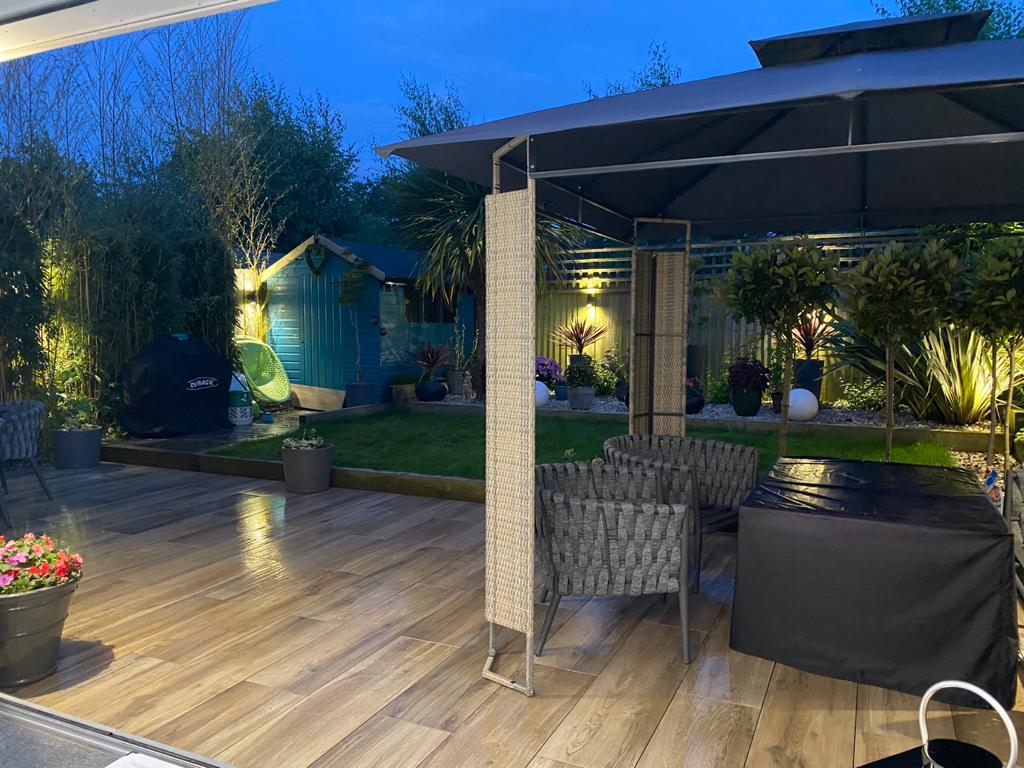
Here’s a selection of our personal favourite installations:
Which Type Of Sand Is Best?
The ideal type of sand to place under your natural stone or porcelain pavers is sharp sand.
It provides a firm, tightly packable foundation for your porcelain tiles (or indeed any type of paving) while retaining a malleability that makes it perfect for reshaping and drainage.
Furthermore, fine, kiln-dried or polymeric sand is required to fill the gaps between slabs after laying.
Laying Outdoor Tiles On Sand: Step By Step
Once you’ve sourced your tiles and purchased your sand and gravel, it’s time to make a start.
However, make sure you have all the correct equipment first:
- A wheelbarrow
- Spirit level
- Spade
- Rubber mallet
- Rake
- Soft brush
- String line
- Garden roller or plate compactor
- Screeding bar
Step 1: Select a suitable area
First, you need to select a good location for your new patio area. It should be level, firm, and have good drainage.
An area with poor drainage will encourage water to pool underneath your patio over time, causing the slabs to move and warp.
Likewise, an uneven, unstable surface will make laying your mortar bed more difficult while distributing pressure unevenly onto your tiles or slabs, causing damage over time.
Step 2: Clear vegetation and topsoil
Next, you’ll need to remove the vegetation and a layer of topsoil from the area, preferably about 170mm from the surface.
Step 3: Rake the soil and compact
Once you’ve removed the layer of topsoil, rake the uncovered earth evenly and then compact with your garden roller or compactor until firm and level.
Make sure the finished level of your patio will be at least 150mm below the damp proof course (DPC) of your house’s brickwork. This removes any opportunity for standing or splashback water to subvert the damp barrier.
Step 4: Place restraints around the edges
Having raked and compacted your soil, you need to install robust edge restraints (framework) around the outside of your patio area.
You can do this by laying one restraint perpendicular to the house and using your line of string to mark out where the corners will join.
From there, simply lay the rest of the frame.
Step 5: Lay down a sub-base
Next up, you need to lay your mortar base.
Gravel is an ideal material for your base layer as it aids water drainage. Two layers 50mm thick, compacted one on top of the other, should suffice.
Use your screeding bar to ensure the surface is level.
Step 6: Add a layer of sand
Finally, we come to the sand.
Measure the thickness of the sand layer required by subtracting the thickness of your tiles away from the remaining depth (remember, the final tile level need to be at least 150mm below the DPC).
Once the sand is down, compact and level it off, creating a slight slope away from your house to ensure surface water drains away nicely.
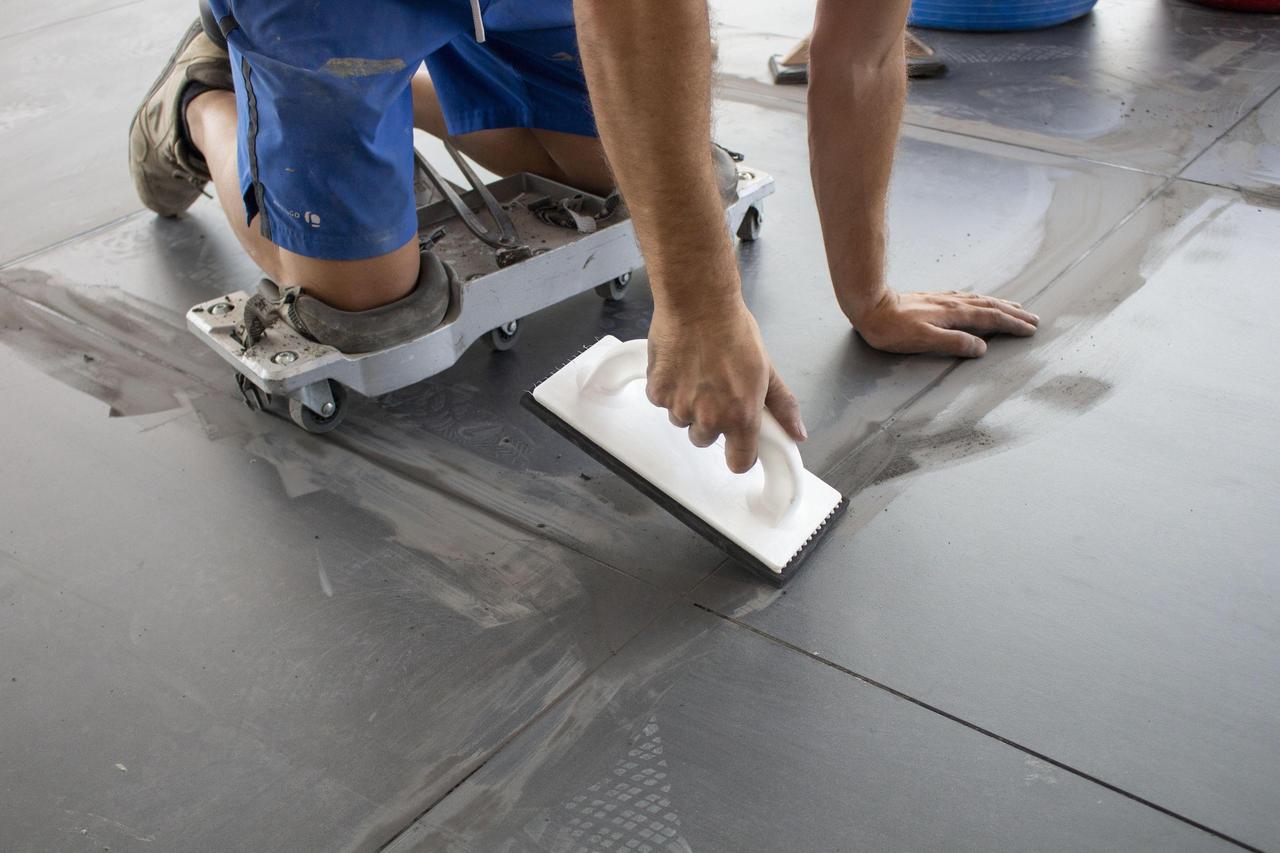
Step 7: Lay the tiles
It’s now time to start laying your tiles.
Having determined the correct size, number, and design of tile that you would like, carefully lower the first slab onto the sand, making sure to compress it 15mm into the sand.
Thereafter, continue to lay the rest of your slabs until complete.
Ensure you leave a 10 – 15mm gap between each and kneel on the sand while doing so. Using laid tiles for support might push them further into the sand.
Step 8: Fill joints in with sand
With all your slabs laid, it’s now time to fill the gaps in between with your kiln-dried sand.
Once you have done so, take a soft-bristled brush and gently sweep the excess sand into the gaps too, gently spraying with water afterwards to help it bond.
After allowing the slabs to settle for a week or so, pack the gaps with more sand, spray with water and allow it to settle again.
Et voilà, you have a homemade patio to be proud of!
Final Thoughts
To conclude, placing your own natural or porcelain slabs can be a challenging process. However, if you’d prefer to construct your own garden patio, using a sand base is the most accessible method.
FAQs
Can you lay natural stone paving on sand?
Of course, sand can provide an excellent base for most paving materials, including natural stone.
Will using a pressure washer on a patio remove sand from the joints?
If you’re careful not to spray your washer directly at the sand in the patio joints, it should be compact enough to withstand the spray back.
However, direct contact from pressurised water may well loosen and remove the sand.