


How To Grout Outdoor Tiles
When it comes to grouting outdoor tiles, the process is similar to indoor grouting, but with a couple of important differences. To start with, the grout being used has to be rated for outdoor use.
Looking for more information? In this article, we’ve got a complete guide on how to grout your outdoor tiles, complete with handy tips and tricks to help you get the job done.

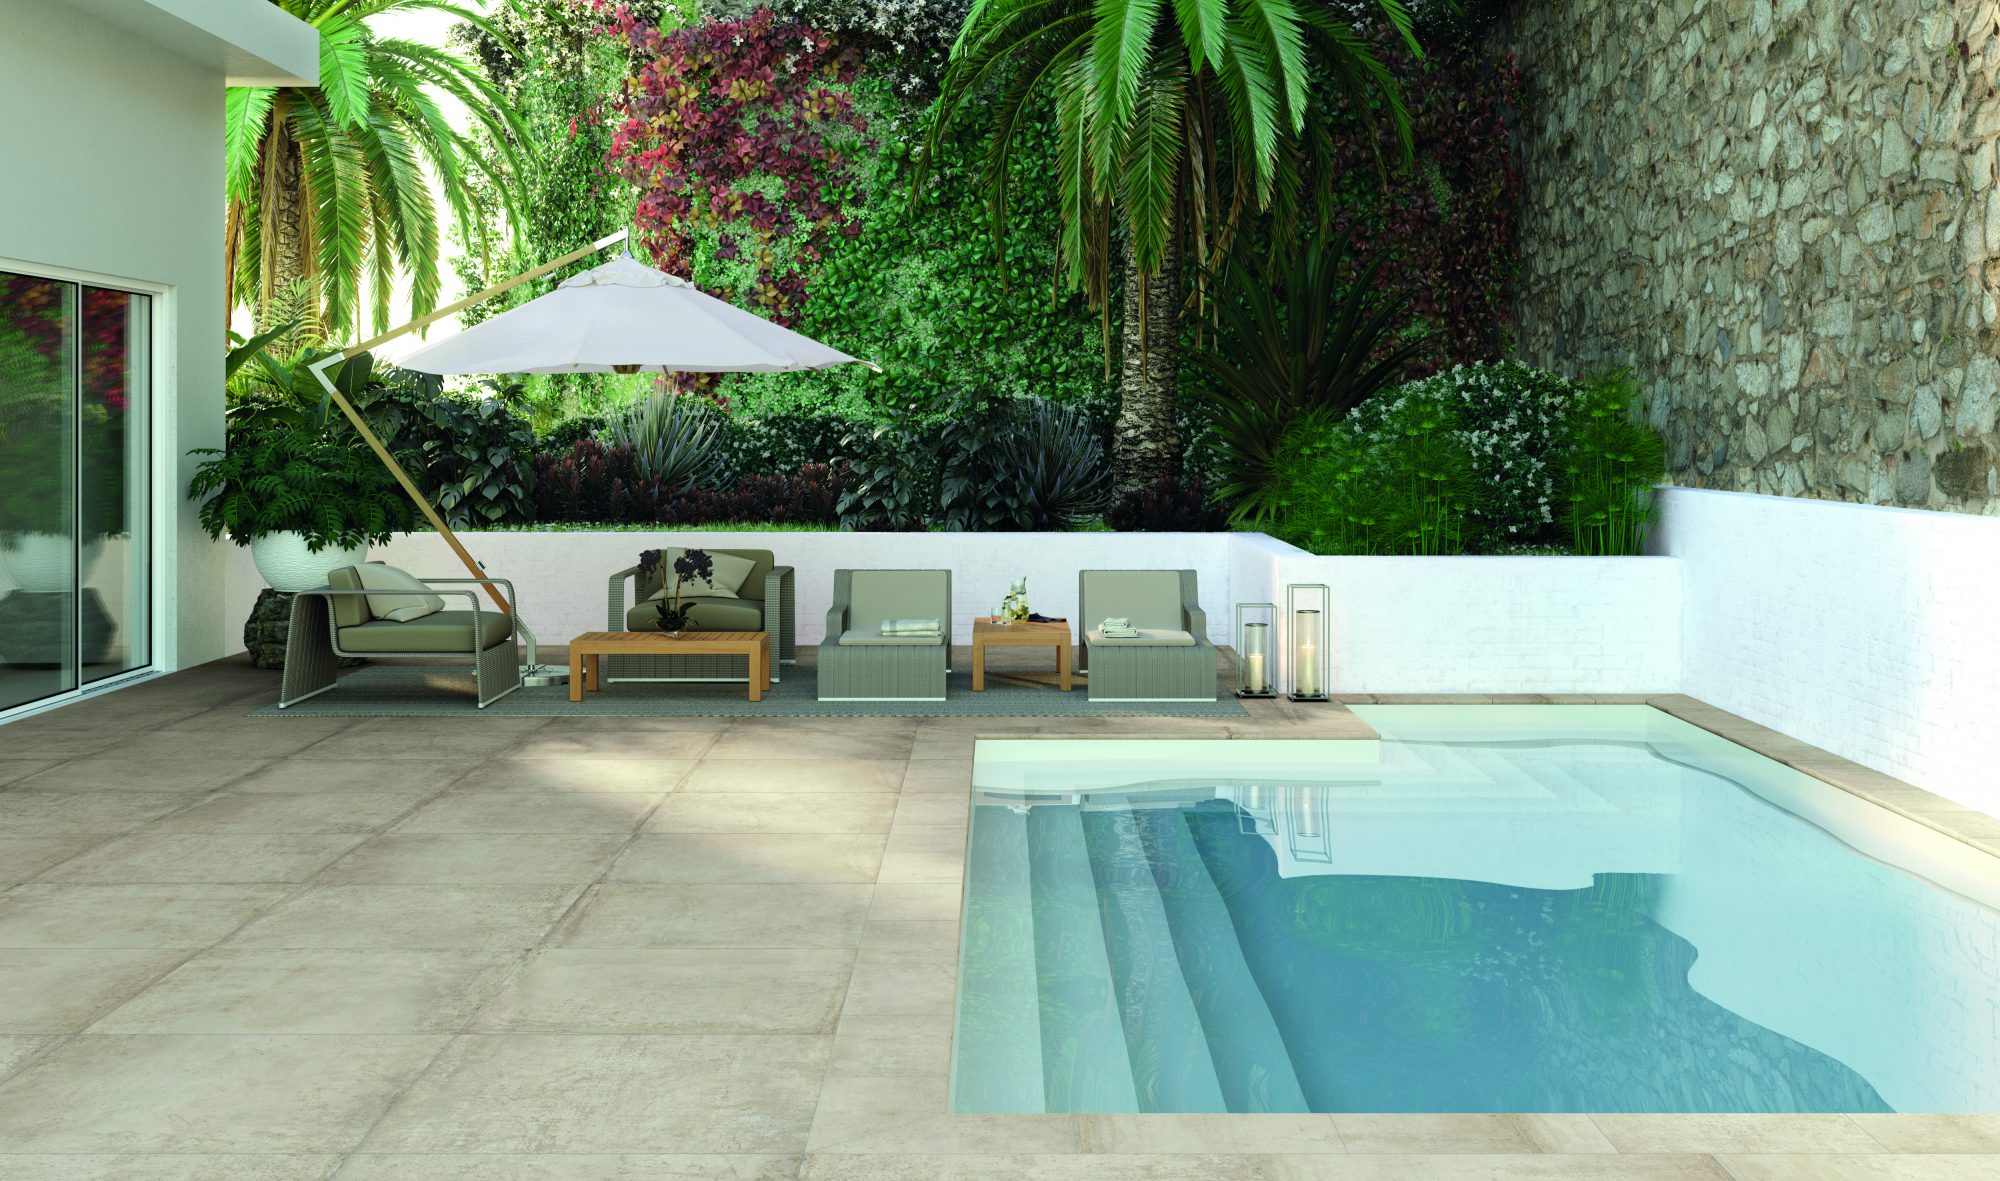
Why Is Grouting Important For An Outdoor Patio?
Grouting is especially important for areas with outdoor tiles. This is because there is a lot more exposure to the outside environment.
Dirt and harsh weather conditions can damage patios, but proper grouting is one of the best ways to protect against this. Grouting will seal off the gaps between tiles and help to prevent the build-up of dirt and damage to the outdoor tiles.

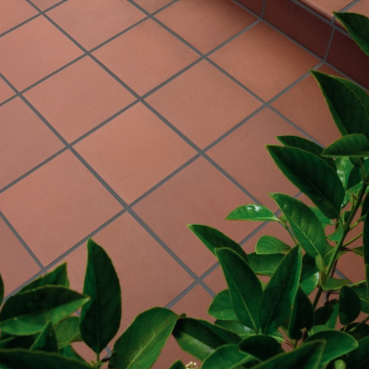
Which Types Of Grout Can Be Used Outdoors?
Two main types of grout are applicable for outdoor use. The first is the standard cement-based grout, and the second is the brush in grout. Below are some of the pros and cons of both, which will help weigh up what is best for you.
Rated for outdoor use
First of all, before we get into either type of grout, it is important to note that both must be rated for outdoor use. If you use grout that is not suitable for the outdoors, it will not last and may damage the tiles.
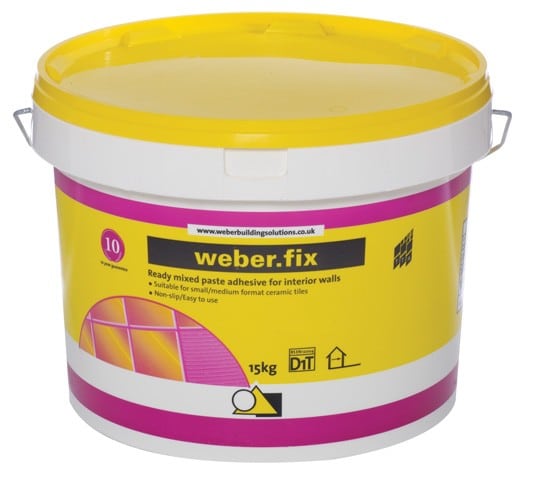
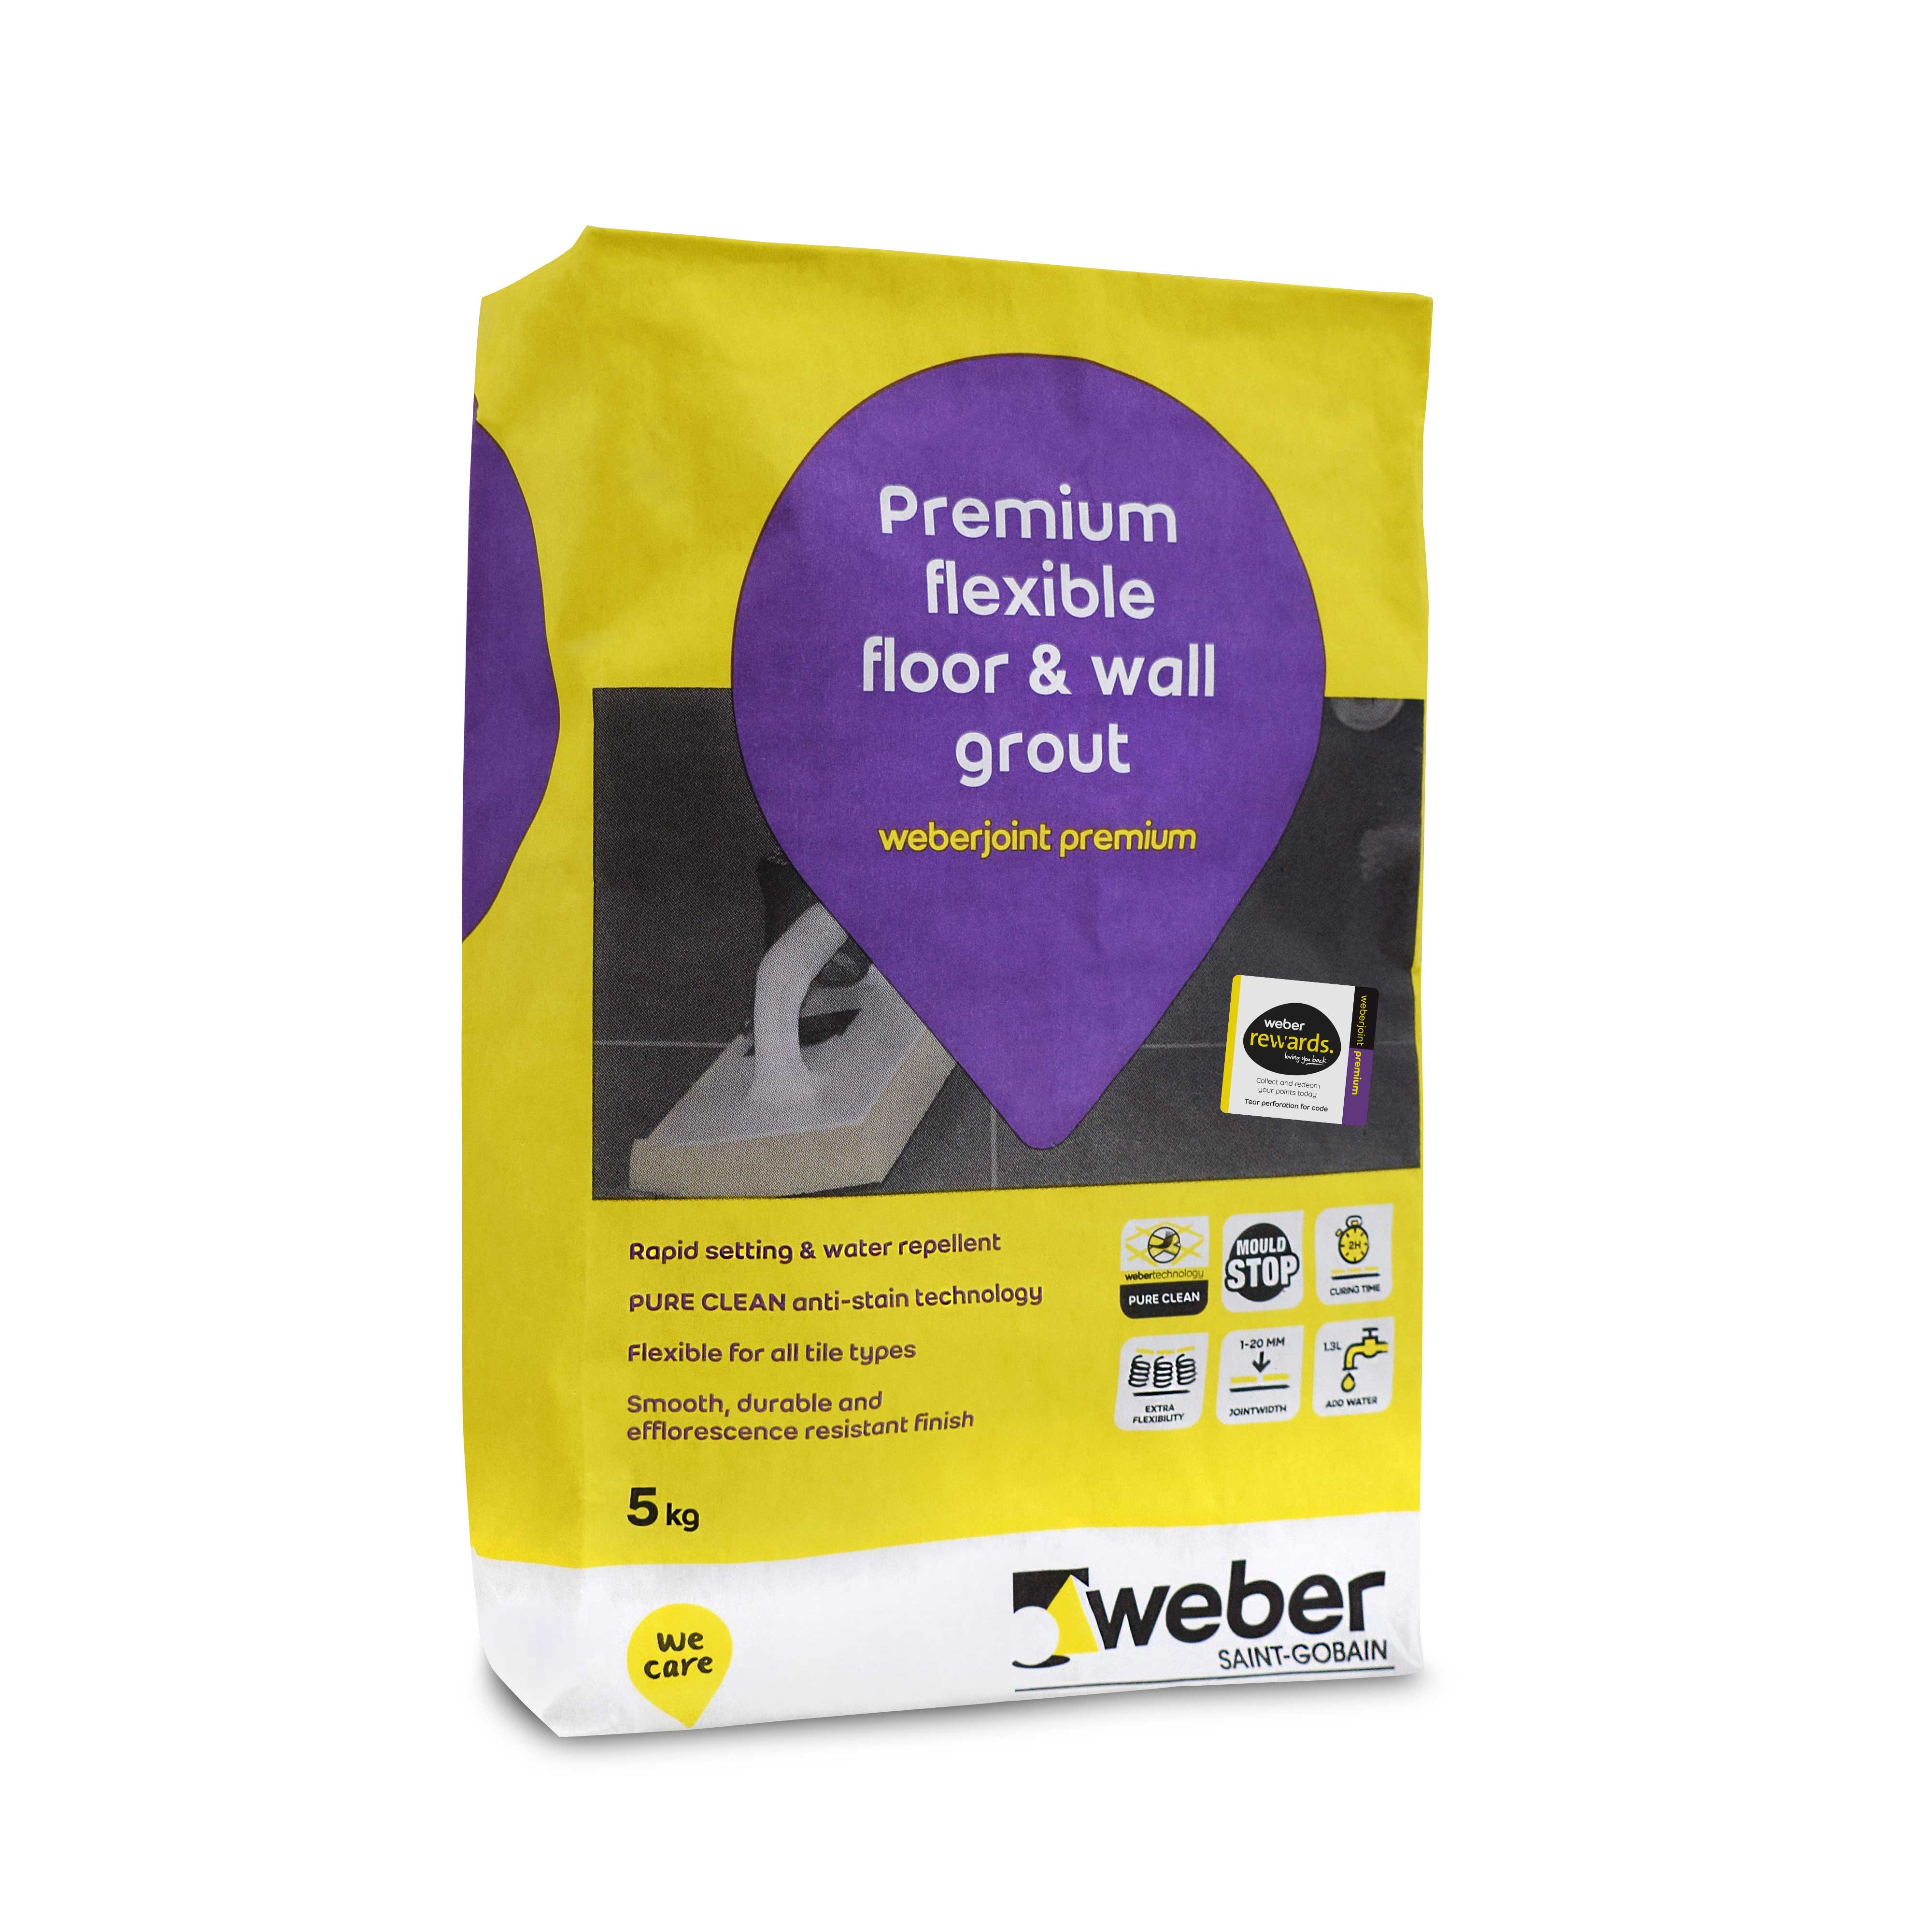
Cement-based grout
Cement-based grout comes in powder form, which is added to water before being applied. The most common type of outdoor grout is sanded grout. This is used when grout joints are 1/8 inch or wider.
If the grout joints are less wide than this, then unsanded grout is fine. The grout must also be rated for no efflorescence. This makes sure that white residue isn’t formed when moisture is lost.
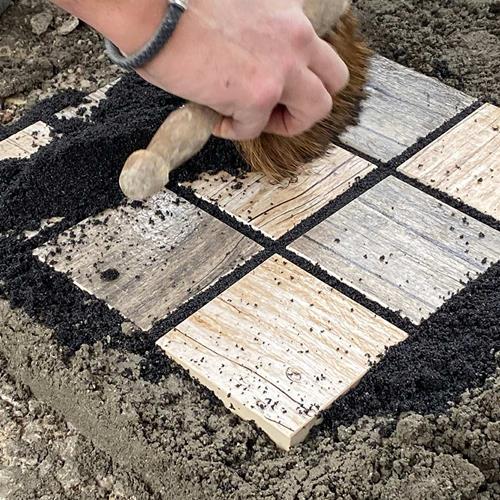
Brush in grout
The other type of grout available for outdoor use is brush in grout. There are two different application methods for brush in grout:
- Wet application – When the tiles are fixed using permeable bedding materials, brush in grout can be applied using the “Wet Application”
method. - Dry application – This method is used to apply brush in grout where the bedding materials used to fix the tiling are impermeable and therefore will not allow drainage of application water or where the temperature conditions are dropping below 3°C, with concern that the water application (Wet Application) will freeze and expand in the joint, before it has drained away, making it weak.
When’s The Best Time To Grout A Patio?
Both types of grout ideally require tile surface temperatures of at least 10 degrees Celsius and no more than 40 degrees Celsius.
Once grouting is complete, both types will need around 72 hours to start curing and up to a week to be fully cured.
Grouting Outdoor Floor Tiles: Step-By-Step Guide
There are several important steps to remember whilst grouting outdoor tiles. To ensure you don’t miss one out, we have listed the main points below in chronological order.
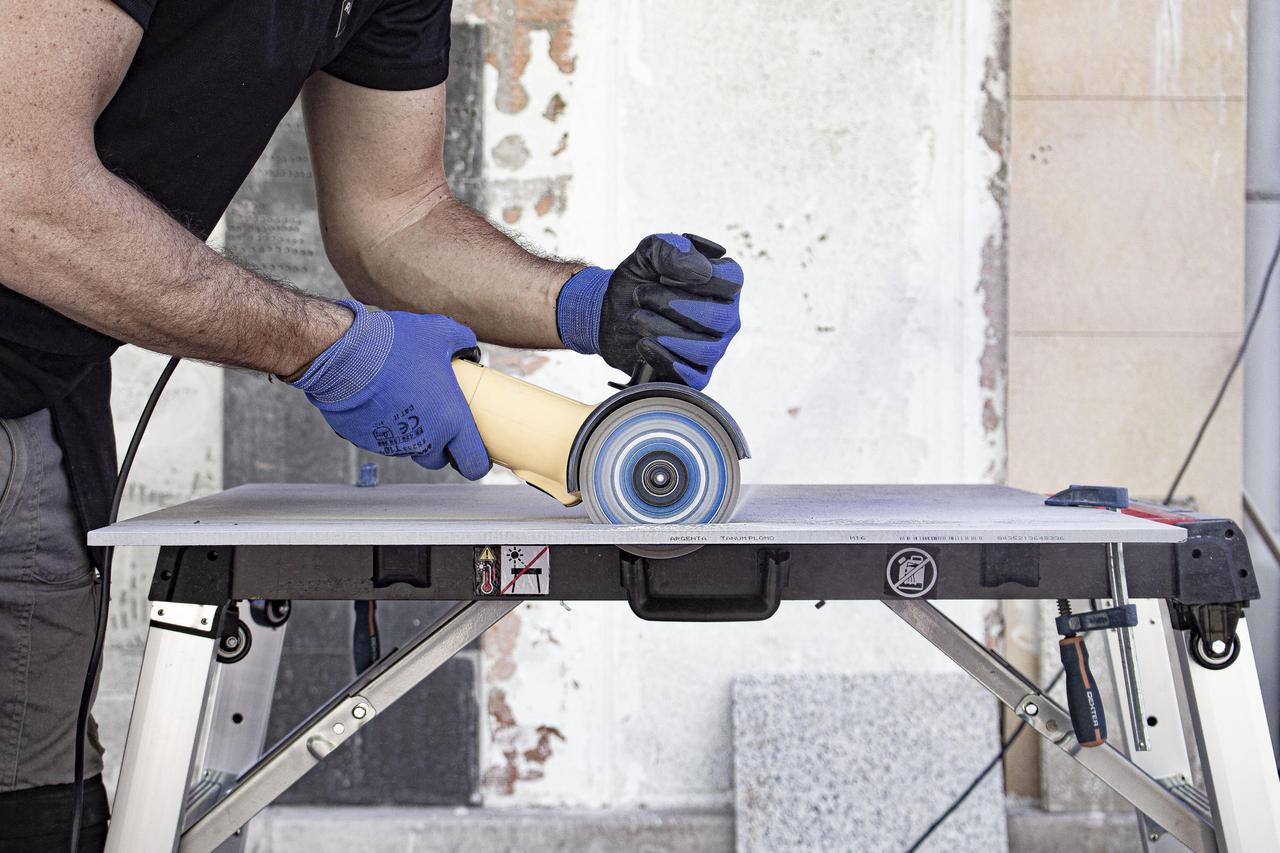
Step 1: Clean between the tiles
The first step is to clean between the tiles using a utility knife to remove any thin-set mortar left on the tile from outdoor tile installations.
Step 2: Mix your grout
Mixing your grout only really applies if you are using cement-based grout. In which case, use a bucket to empty your grout into and add water, following the manufacturer’s instructions.
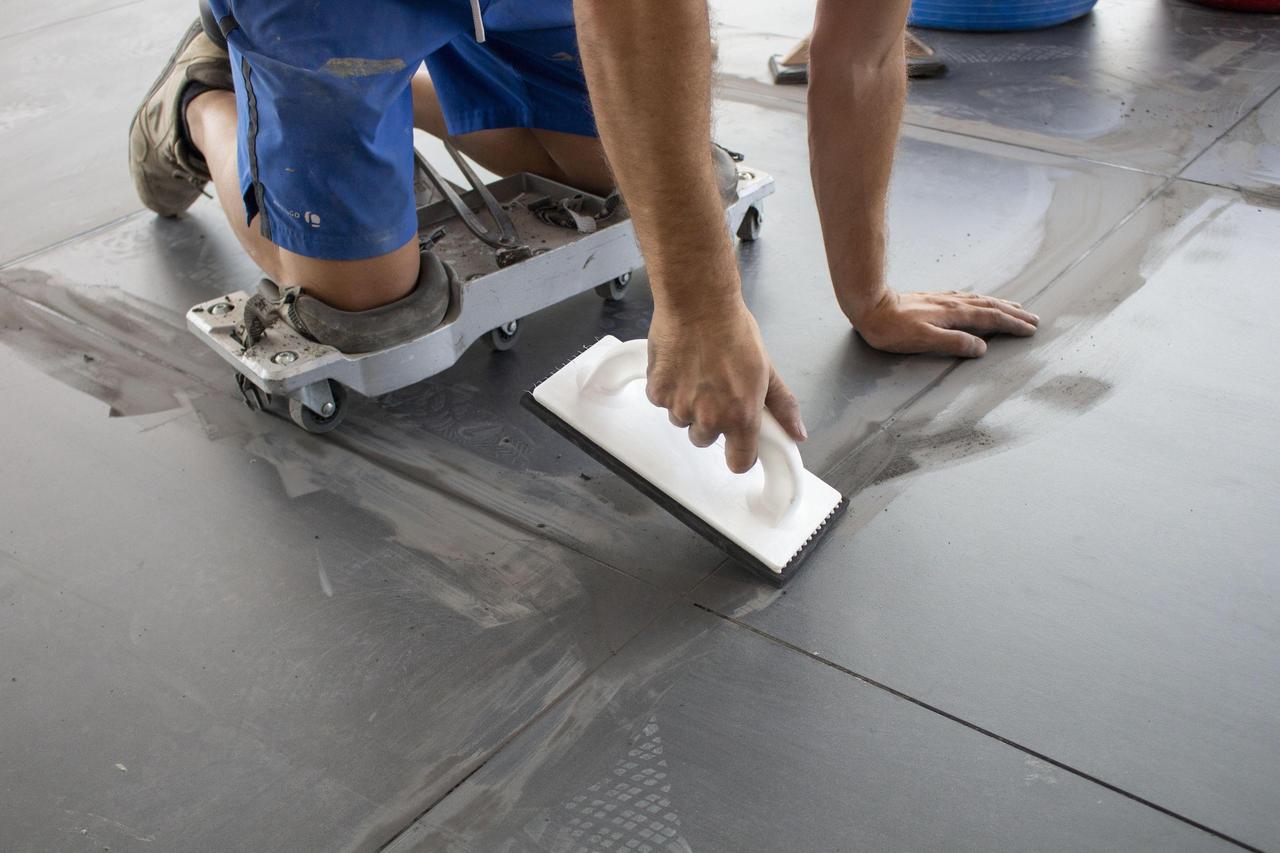
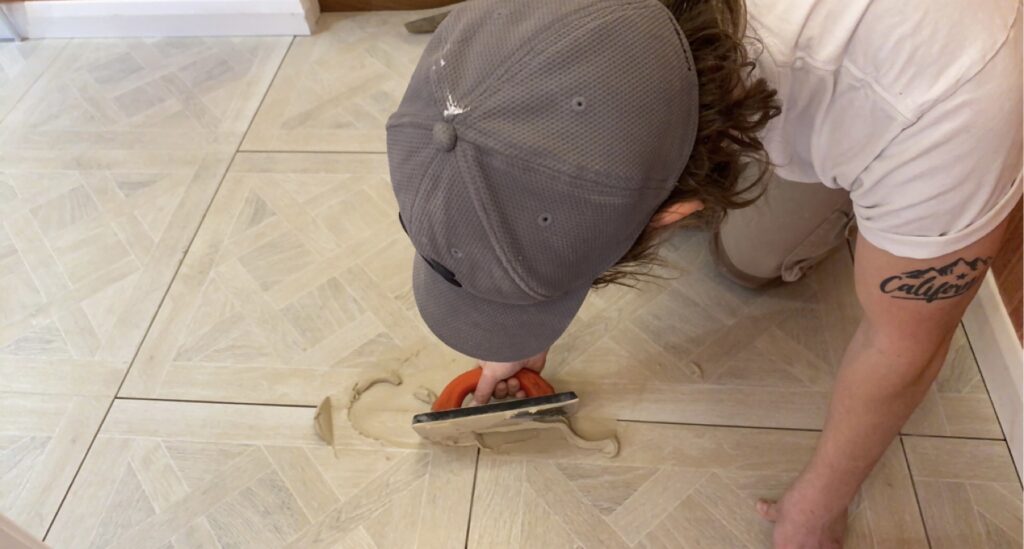
Step 3: Fill the grout joints
If using a cement-based grout: using a grout float, scoop up some grout, then deposit it onto the surface of the tile, spreading it over the tiles and grout joints.
Wet application: When the tiles are fixed using permeable bedding materials, ProPave can be applied using the “Wet Application” method. Thoroughly wet the patio surface with copious amounts of water. Using a stiff broom, brush sand into joints ensuring they are filled to capacity. Ensure the paving surface and sand are kept wet throughout the operation with continued use of gentle water flow from a hosepipe. This water aids deep penetration and compaction of the jointing sand as it drains. Repeat process until all jointing is filled to full depth. Soak the area with water & top up any joints that require further material and wash off excess sand from the surface.
Dry application: Once the tiles are firmly secured and set, gently pre-wet the surface using a mist spray of water, avoid flooding the joint. This prevents the jointing staining the tiles. Open the brush in and pour the material along the joint, brushing it into the joint at the same time. As there is no water to wash the product into the joint, using this method with a pointing trowel and jointing iron will enable the material to be compressed into the joint. Top up the joint after compacting and repeat process till you achieve a suitable level.
Step 4: Scrape away excess grout
If using a cement-based grout: Again, using the grout float, scrape away any excess grout by holding the float almost vertical to the tile and moving diagonally across the surface.
Step 5: Clean tiles with a damp sponge
It’s important to keep the tiles clean whilst you apply grout. To do this, get a moist sponge and sponge frequently to clean the tiles without removing grout.
Step 6: Grout the rest of the patio
Continue grouting in the same manner until every outdoor tile has been complete. It is a good idea to do a small section at a time so that the grout is spread evenly.
Step 7: Buff away any grout haze
Once you have let the grout set, you can buff the tiles using a microfiber cloth. This helps to remove any grout haze from the faces of the tiles.
Step 8: Seal the grout
Again this only really applies to cement-based grout. Using a sponge, you can seal the grout using an outdoor-rated grout sealer.
Final Thoughts
If you follow these steps properly then you should have no problem grouting your outdoor patio. The main problem beginners face is the initial challenge of grouting all the tiles before they harden.
FAQs
What is the best grout for outdoor tiles?
There is no best grout; however, there are advantages of some over others, for example brush in is generally quicker in application, just make sure whatever grout you use is rated for outdoor use.
What grout do you use for outdoor porcelain tiles?
Any of the grout mentioned previously will work fine for any type of outdoor tile, including porcelain. Again the most important thing to remember is that the grout is rated for outdoor use.
How long do you wait to wipe off grout?
This depends on the manufacturer’s instructions, but usually, this takes around 15 to 30 minutes. Make sure to check the instructions of the specific grout you are using.
How long does it take to grout a patio?
As with any trade, the more experience you have, the quicker you will be able to work. The answer to this question also depends on the size of the patio and weather conditions. If you still have queries, then do not hesitate to call our experts for help.


