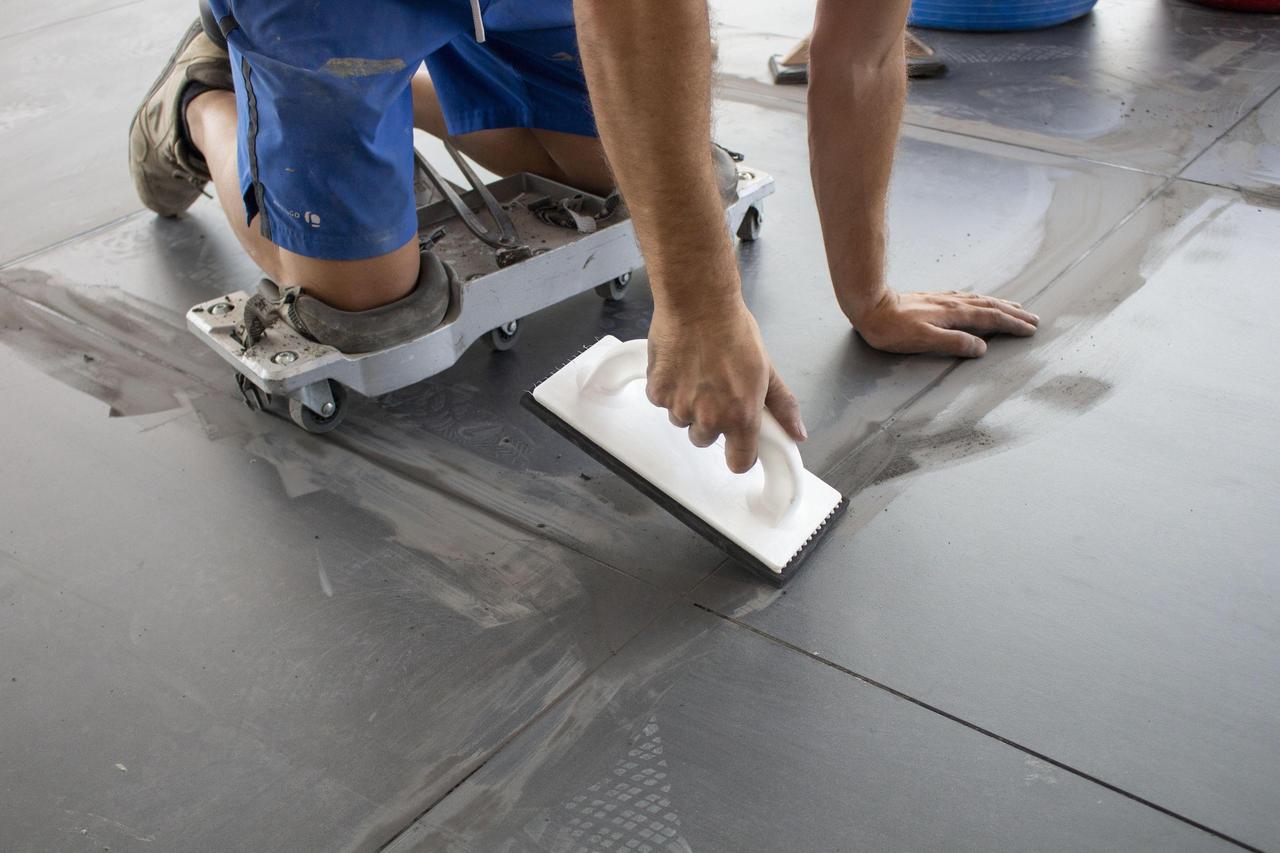


How to drill holes into Ceramic Tiles
Drilling through Ceramic tiles can be a very risky task, this is due to the fragile nature of the tile – as these tile tiles are known to crack and break when drilling is attempted and the person drilling is either unsure of how to do it correctly (or more commonly, because it needs to be done quickly and is rushed).
To drill through a ceramic tile you need to have patience and ensure that you have the right tools to get the job done properly.
Tools Required
- Battery Powered / Corded Drill
- Masking Tape
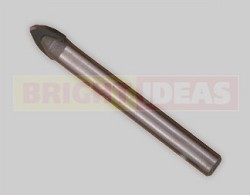
- Carbide Drill Bits
- Safety Glasses / Goggles
- Glass / Jug of Water
- Towel
1. Ensure the tiles(s) are clean
This will ensure that the surface is level, examining the tile as you clean will also enable you to double check the tile for any cracks that could make tile drilling an issue.
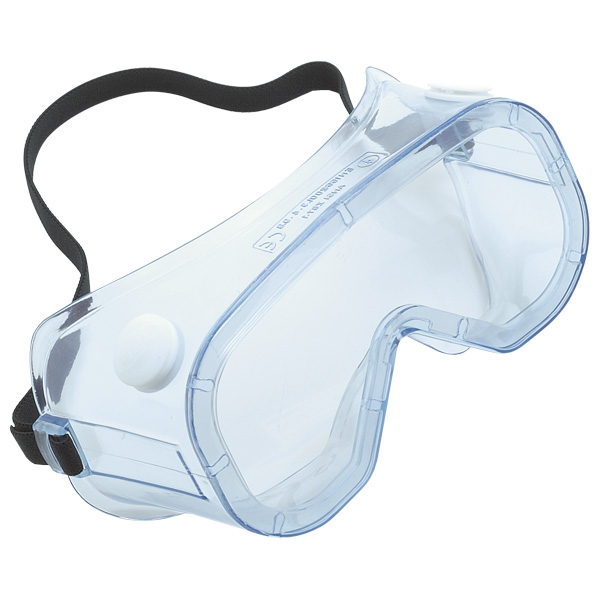 2. Wear Protection
Unlike clothing which can easily be replaced – we only get 2 eyes in our lifetime – wear safety glasses or goggles to prevent damage to your eyes in the relatively unlikely event that the tile chips or breaks.
3. Use Carbide
Carbide drill bits are sharp and durable as Carbide is extremely hard, however Carbide can be rather expensive; so many drill bits available on the market today are a combination of Carbide and Steel.
If the hole that you need to drill is larger than 1/4 inch, we recommend using a smaller carbide drill bit to create a pilot hole and another bit to drill the hole to the required size.
Without the pilot hole you bear a much greater risk of cracking the tile.
4. Penetrate the tile surface
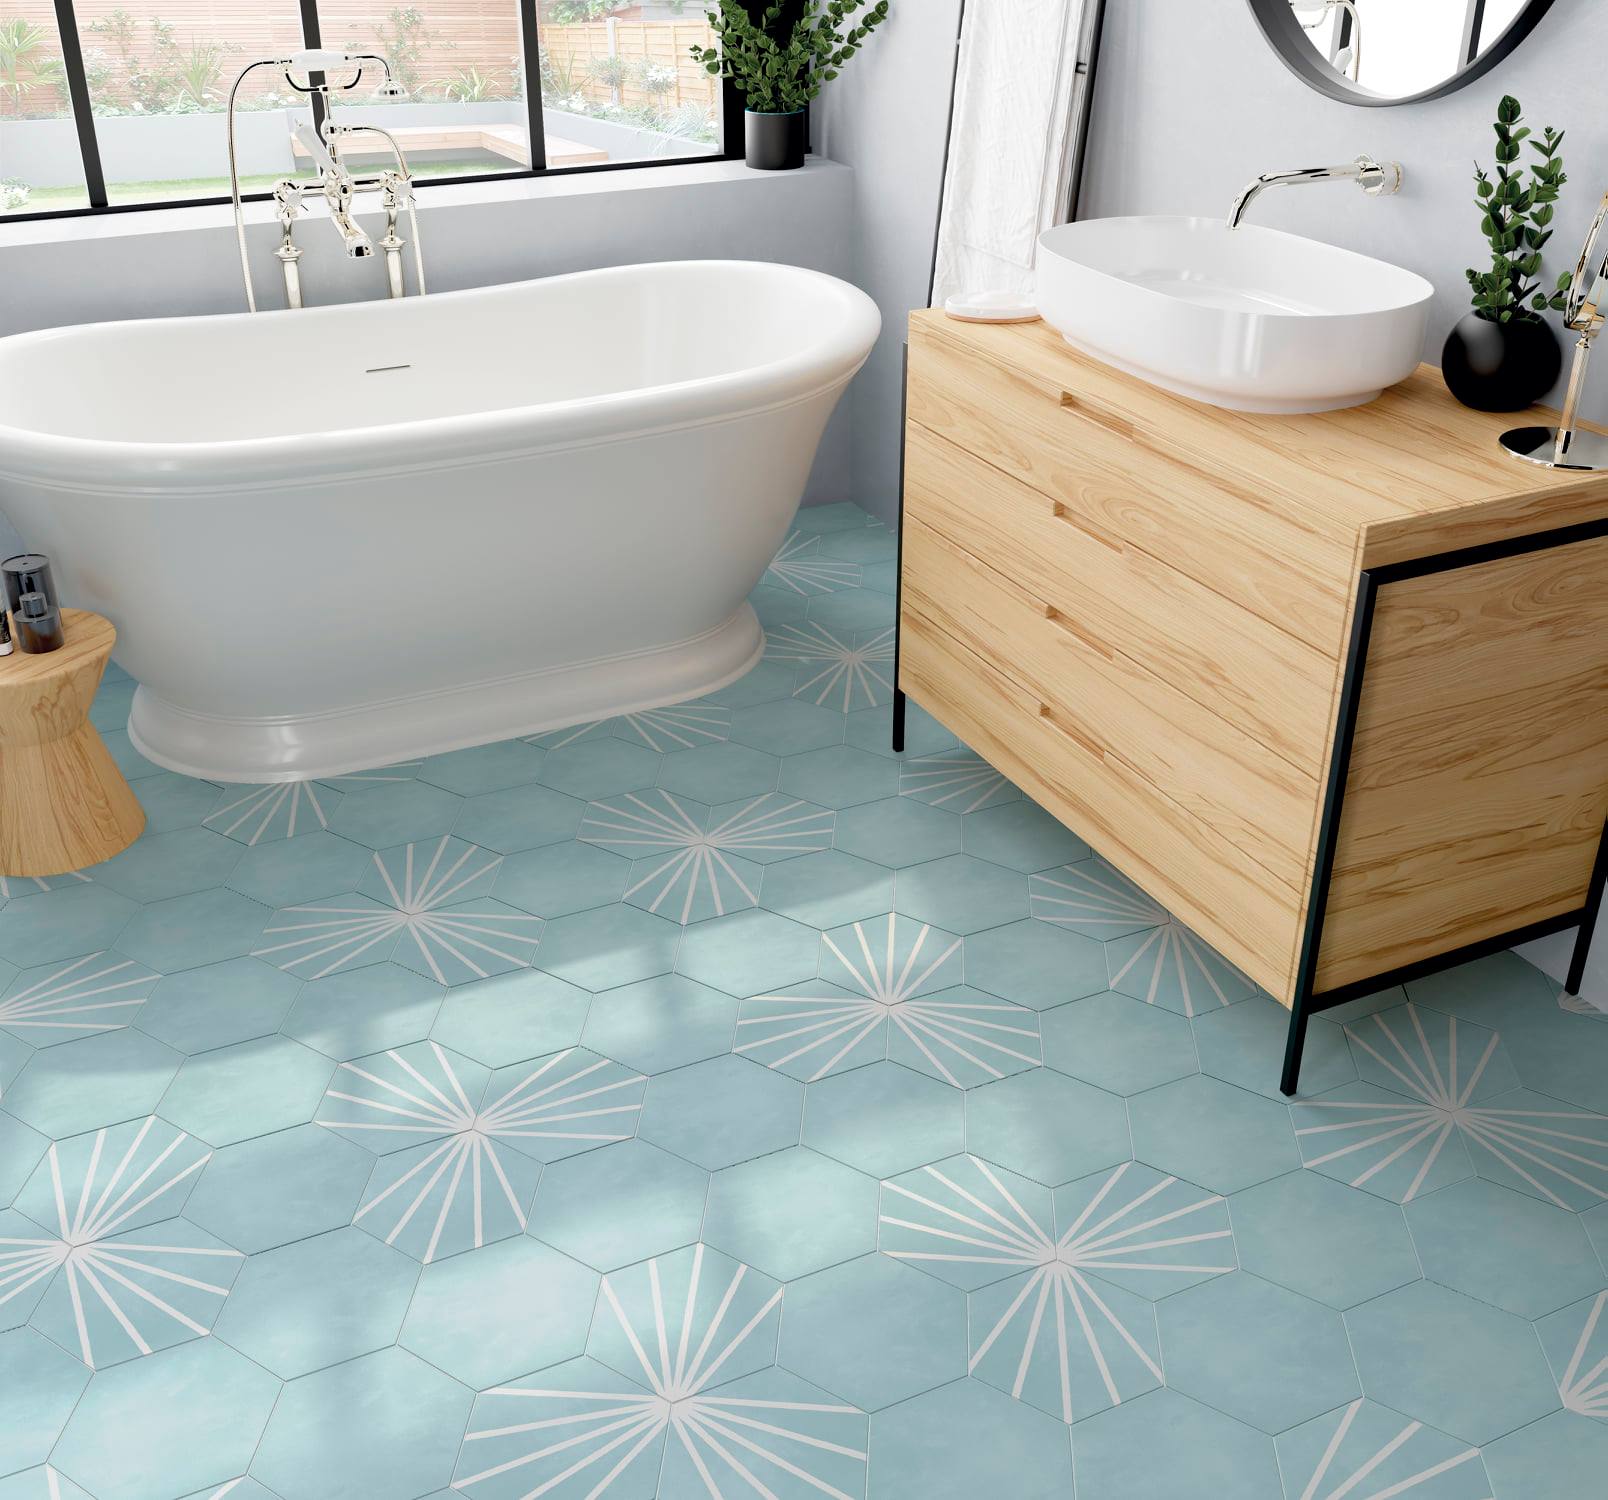
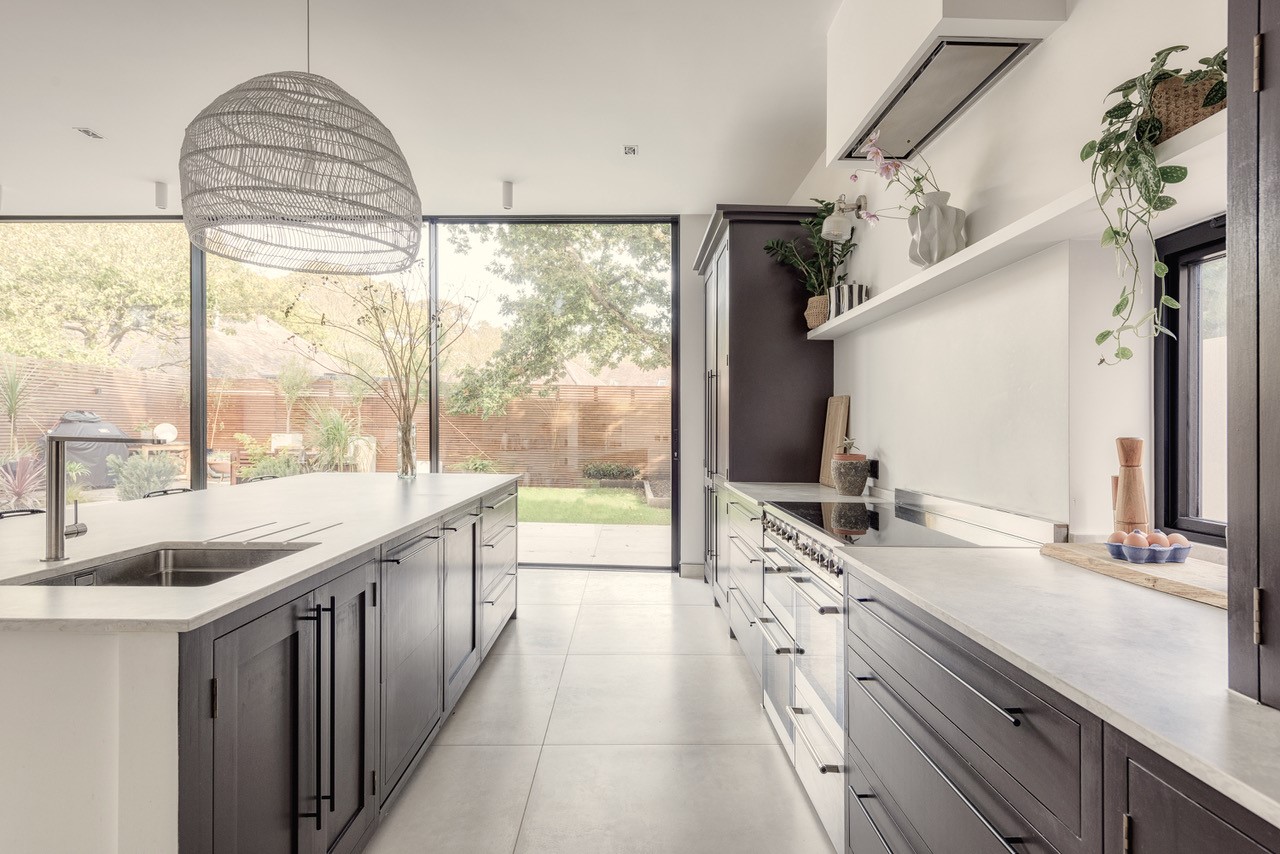
Ceramic tiles, most commonly used in Kitchens and Bathrooms; often have a hard, glazed surface to protect the tile from damage.
It is recommended to drill into the tile from this side, but due to the smoothness of the surface the drill bit can and will slip and jump – potentially adding unwanted scratches to the surface.
To prevent this from happening:
- Using masking tape – make an ’X’ shape that crosses over the area that you wish the hole to be.
- The tape is used to aid the drill by giving the drill bit some added traction.
- The tape also prevents the outer rim of the hole from chipping.
- Penetrate the glazed surface (if you are drilling a pilot hole, remember to use a smaller drill bit), once you have broken through the surface, stop the drill before continuing to step 5.
 5. Lubricate the drill bit
This is done to prevent the drill bit from overheating and to also control dust.
- Fill a glass or jug of water and keep it to hand.
- Using one hand or with some assistance from a friend/colleague – pour a consistent trickle of water onto the rotating bit.
- Place a towel under the hole to soak up any excess water.
6. Drill through the tile
Set your drill to a low speed and apply a modest amount of pressure to the surface.
Allow the drill to work slowly rather than pushing through and causing damage to the tile.
Applying too much pressure can cause the tile to blow out and crack on the back side, this blow out creates a weak spot in the tile, and can also make a much larger hole than you initially required.
7. Penetrate the backing board
Continue to drill slowly and do not be impatient, because it is extremely important to maintain the integrity of the backing material (you can use a regular drill bit for this if you prefer).
Maintaining the backing material’s integrity is so important because any damage to the backing boards can make it difficult to use anchors for hanging a towel rod, a screw, or anything else you are planning to use the hole for.
If you adhere to these 7 steps there is no reason why every hole that you drill shouldn’t be a complete success.
Please feel free to pick up the phone and call (01425) 621173 or drop us an email to info@atlasceramics.co.uk should you have any questions relating to this article, the tools required or anything else.
We are always happy to help.
Peter’s Bonus Tip
If you are intending to use wall plugs on your project, you will need to ensure that you push the plug all the way through the hole and into the backing material – this is recommended because when you screw into a wall plug, the plug will expand and if the plug is in contact with the tile there is a higher probability that the tile will crack or break due to this expansion.
Share this article
Article by Mike Lovatt
Here at Atlas Ceramics we import and distribute high quality products to support the tiling industry. These products include Polished tiles, Matt tiles or Satin tiles for the wall and floor, ceramic and porcelain tiles, natural stone and mosaics, from Italy, Portugal, and Spain.