


How to Install Mesh Backed Mosaic Tiles – A Step-By-Step Guide

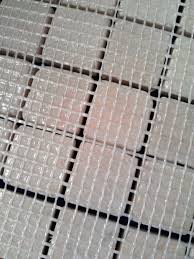
At Atlas Ceramics, the majority of our ever popular mosaic tiles come pre-backed on a mesh; this enables the installer of the mosaics to do the following:
- Install the mosaics quickly and easily.
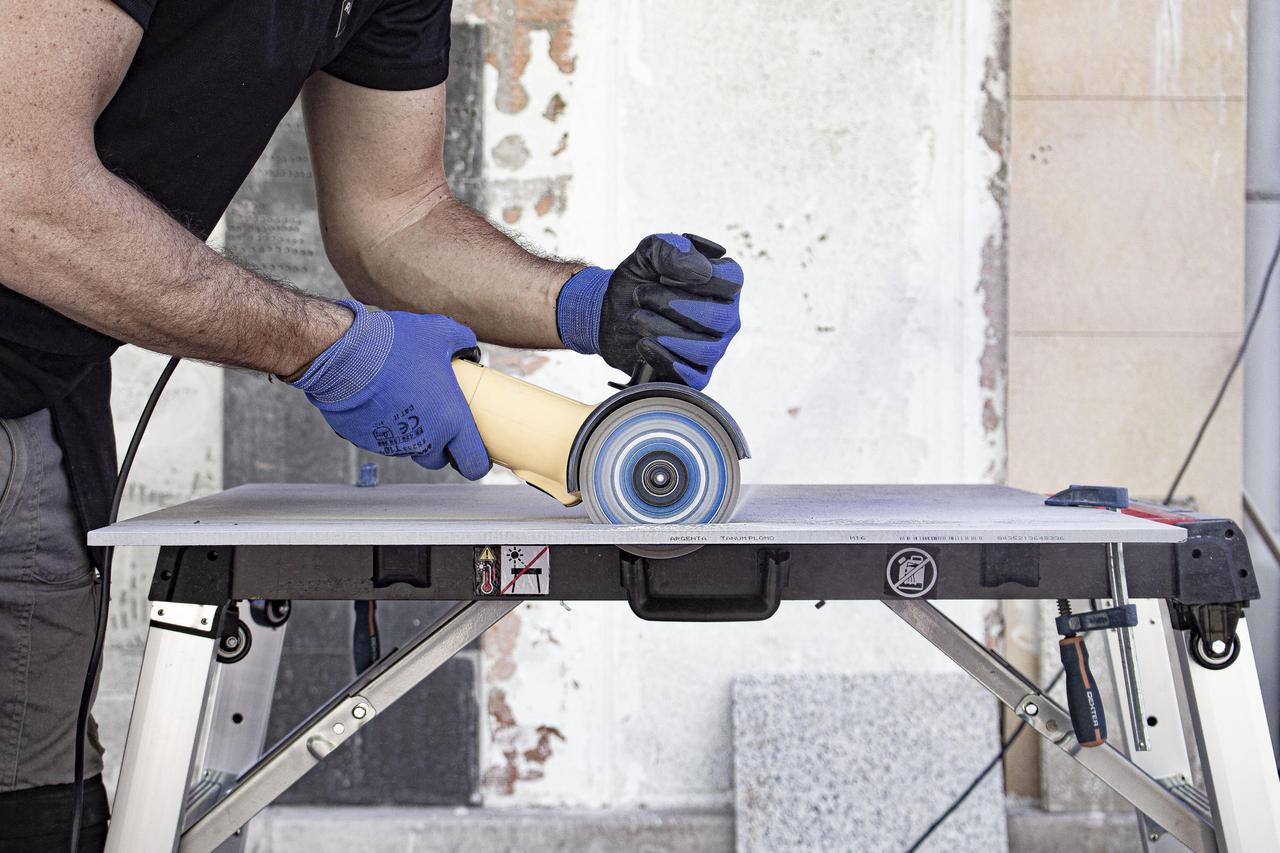
- If working in a smaller area or for a border like design – the mesh is easily cut using a utility knife (with the mesh facing up), or with a pair of scissors (tiles facing up).
- The installer will not have to worry about the straightness of the individual tiles as much as they would have done should the mesh not be present.
The following steps will take you through the basics of installing a mesh backed mosaic:
Tools Required:
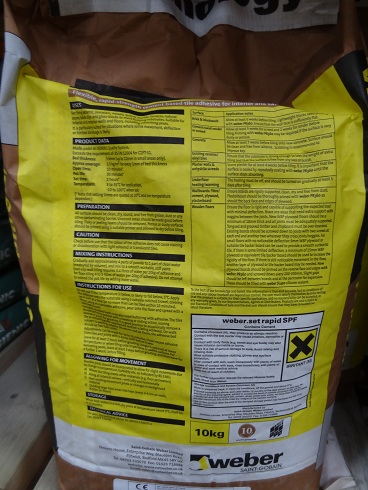
- Flexible Tile Adhesive – we recommend Weber
- Tile Grout – again we recommend weber – grouts are available in a variety of colours to allow you to match where possible.
- V Notched Trowel
- Rubber Grout Float
- Sponge
- Dry Cloth/Towel
- Water
Step 1.
Ensure that the substrate is prepared for installation (Clean, dry and free from Dust & Debris).
Step 2.
Mix your flexible adhesive following direction from the manufacturer; this is generally on the bag.
Step 3.
Once mixed – apply the adhesive to the substrate using a V-Notched trowel.
Step 4.
Using the flat side of the trowel, smooth out all of the ridges in order to achieve a consistent and even 1/8” thick coverage approximately.
Step 5.
Apply your mosaic tiles into the freshly trowelled adhesive. Remember to do this MESH SIDE DOWN!
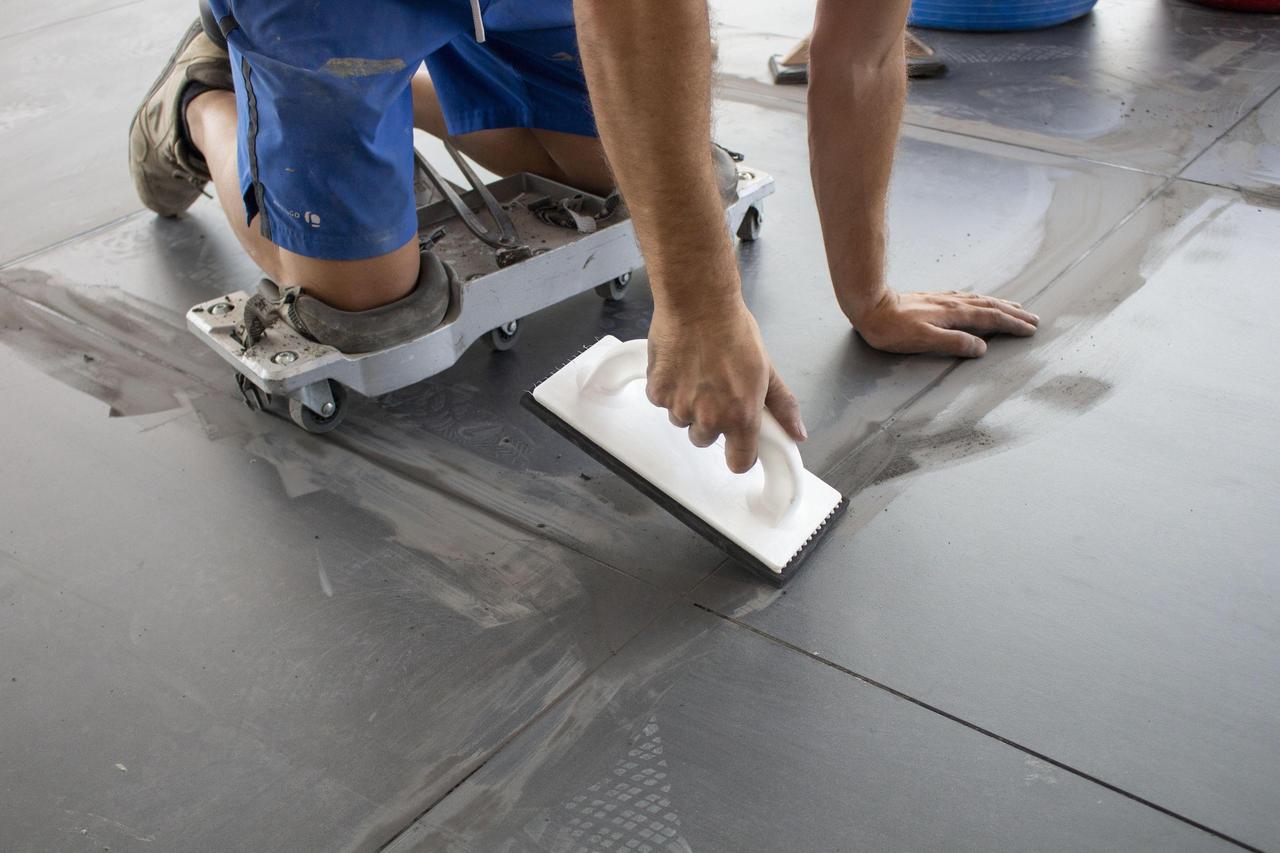
Step 6
Using your rubber grout float (or an equivalent); gently press the tile into the adhesive and flatten sheets to each other to ensure contact.
TRY NOT TO PUSH MOSAICS TOO DEEPLY INTO THE ADHESIVE AS THIS CAN CAUSE THE ADHESIVE TO OOZE BETWEEN THE TILES.
Step 7.
Give the adhesive time to set – ensure this is done in line with the manufacturer’s guidelines.
Step 8.
Clean any excess adhesive with a damp sponge; wipe away any haze that may have remained.
Step 9.
After 24 hours, mix your grout (again in line with the manufacturer’s guidelines),
Apply the grout to the tile openings between the tiles.
Work in sections – removing excess with a damp sponge as you go.
Step 10.
Polish off any remaining haze with a dry cloth or towel.
Follow these steps and there is no reason why your mosaic installation should be anything other than a success.
If you have any questions regarding this guide, the products mentioned or anything else, please feel free to get in touch , our team are on hand to answer your questions.
Share this article
Article by Mike Lovatt
Here at Atlas Ceramics we import and distribute high quality products to support the tiling industry. These products include Polished tiles, Matt tiles or Satin tiles for the wall and floor, ceramic and porcelain tiles, natural stone and mosaics, from Italy, Portugal, and Spain.