


How To Re-Grout Bathroom Tiles
Tiling projects take a lot of effort. When the final cuts have been laid, it’s tempting to think that’s the last you’ll have to deal with – that the bathroom, in particular, won’t need maintenance in the future.
But unfortunately, grout may give you a nasty surprise. This is the cementing material between the tile lines, keeping them in place (and in order) on your walls and floors. Eventually, it’ll show the effects of moisture exposure: yellowing, mould, and/or peeling on the surface.
Searching for advice on how to re-grout your bathroom tiles? Look no further, because we’re giving a no-holds guide to the task, with helpful tools that are sure to make the job a swift one…
Stage 1 – Scrape The Existing Grout Off
To prepare the tiling layers, you’ll have to get rid of the damaged, mould-speckled grout that’s already between the lines. We can do this with a Grout Removal Rake. It can file away grout less than 3mm thick. Wear a pair of tight, shatter-proof goggles before you get to work; they will protect your face from flying debris.
Open a door or window for ventilation to avoid dust, or tie a breathing mask over your mouth. We’d also advise a set of tough gloves for your hands. If you’re treating a shower, sink or bath area, plug it up so that no cast-off materials can clog the drain. Ideally, the tiles should be dry.
Then, working on the vertical joints, run the rake directly over the grout. Do the same for horizontal lines. A protective sheet will catch any dust, particles or old grout solution that falls – unless, of course, you’re slicing at a floor tile section, which means you can simply sweep up the excess materials with a dustpan and brush.
Carve least 1/8th of an inch into the degraded grout layer, using both hands to give you the right level of support. For future tasks, you can buy a couple of Replacement Blades to stop the tool from blunting: a sharp cut is essential.
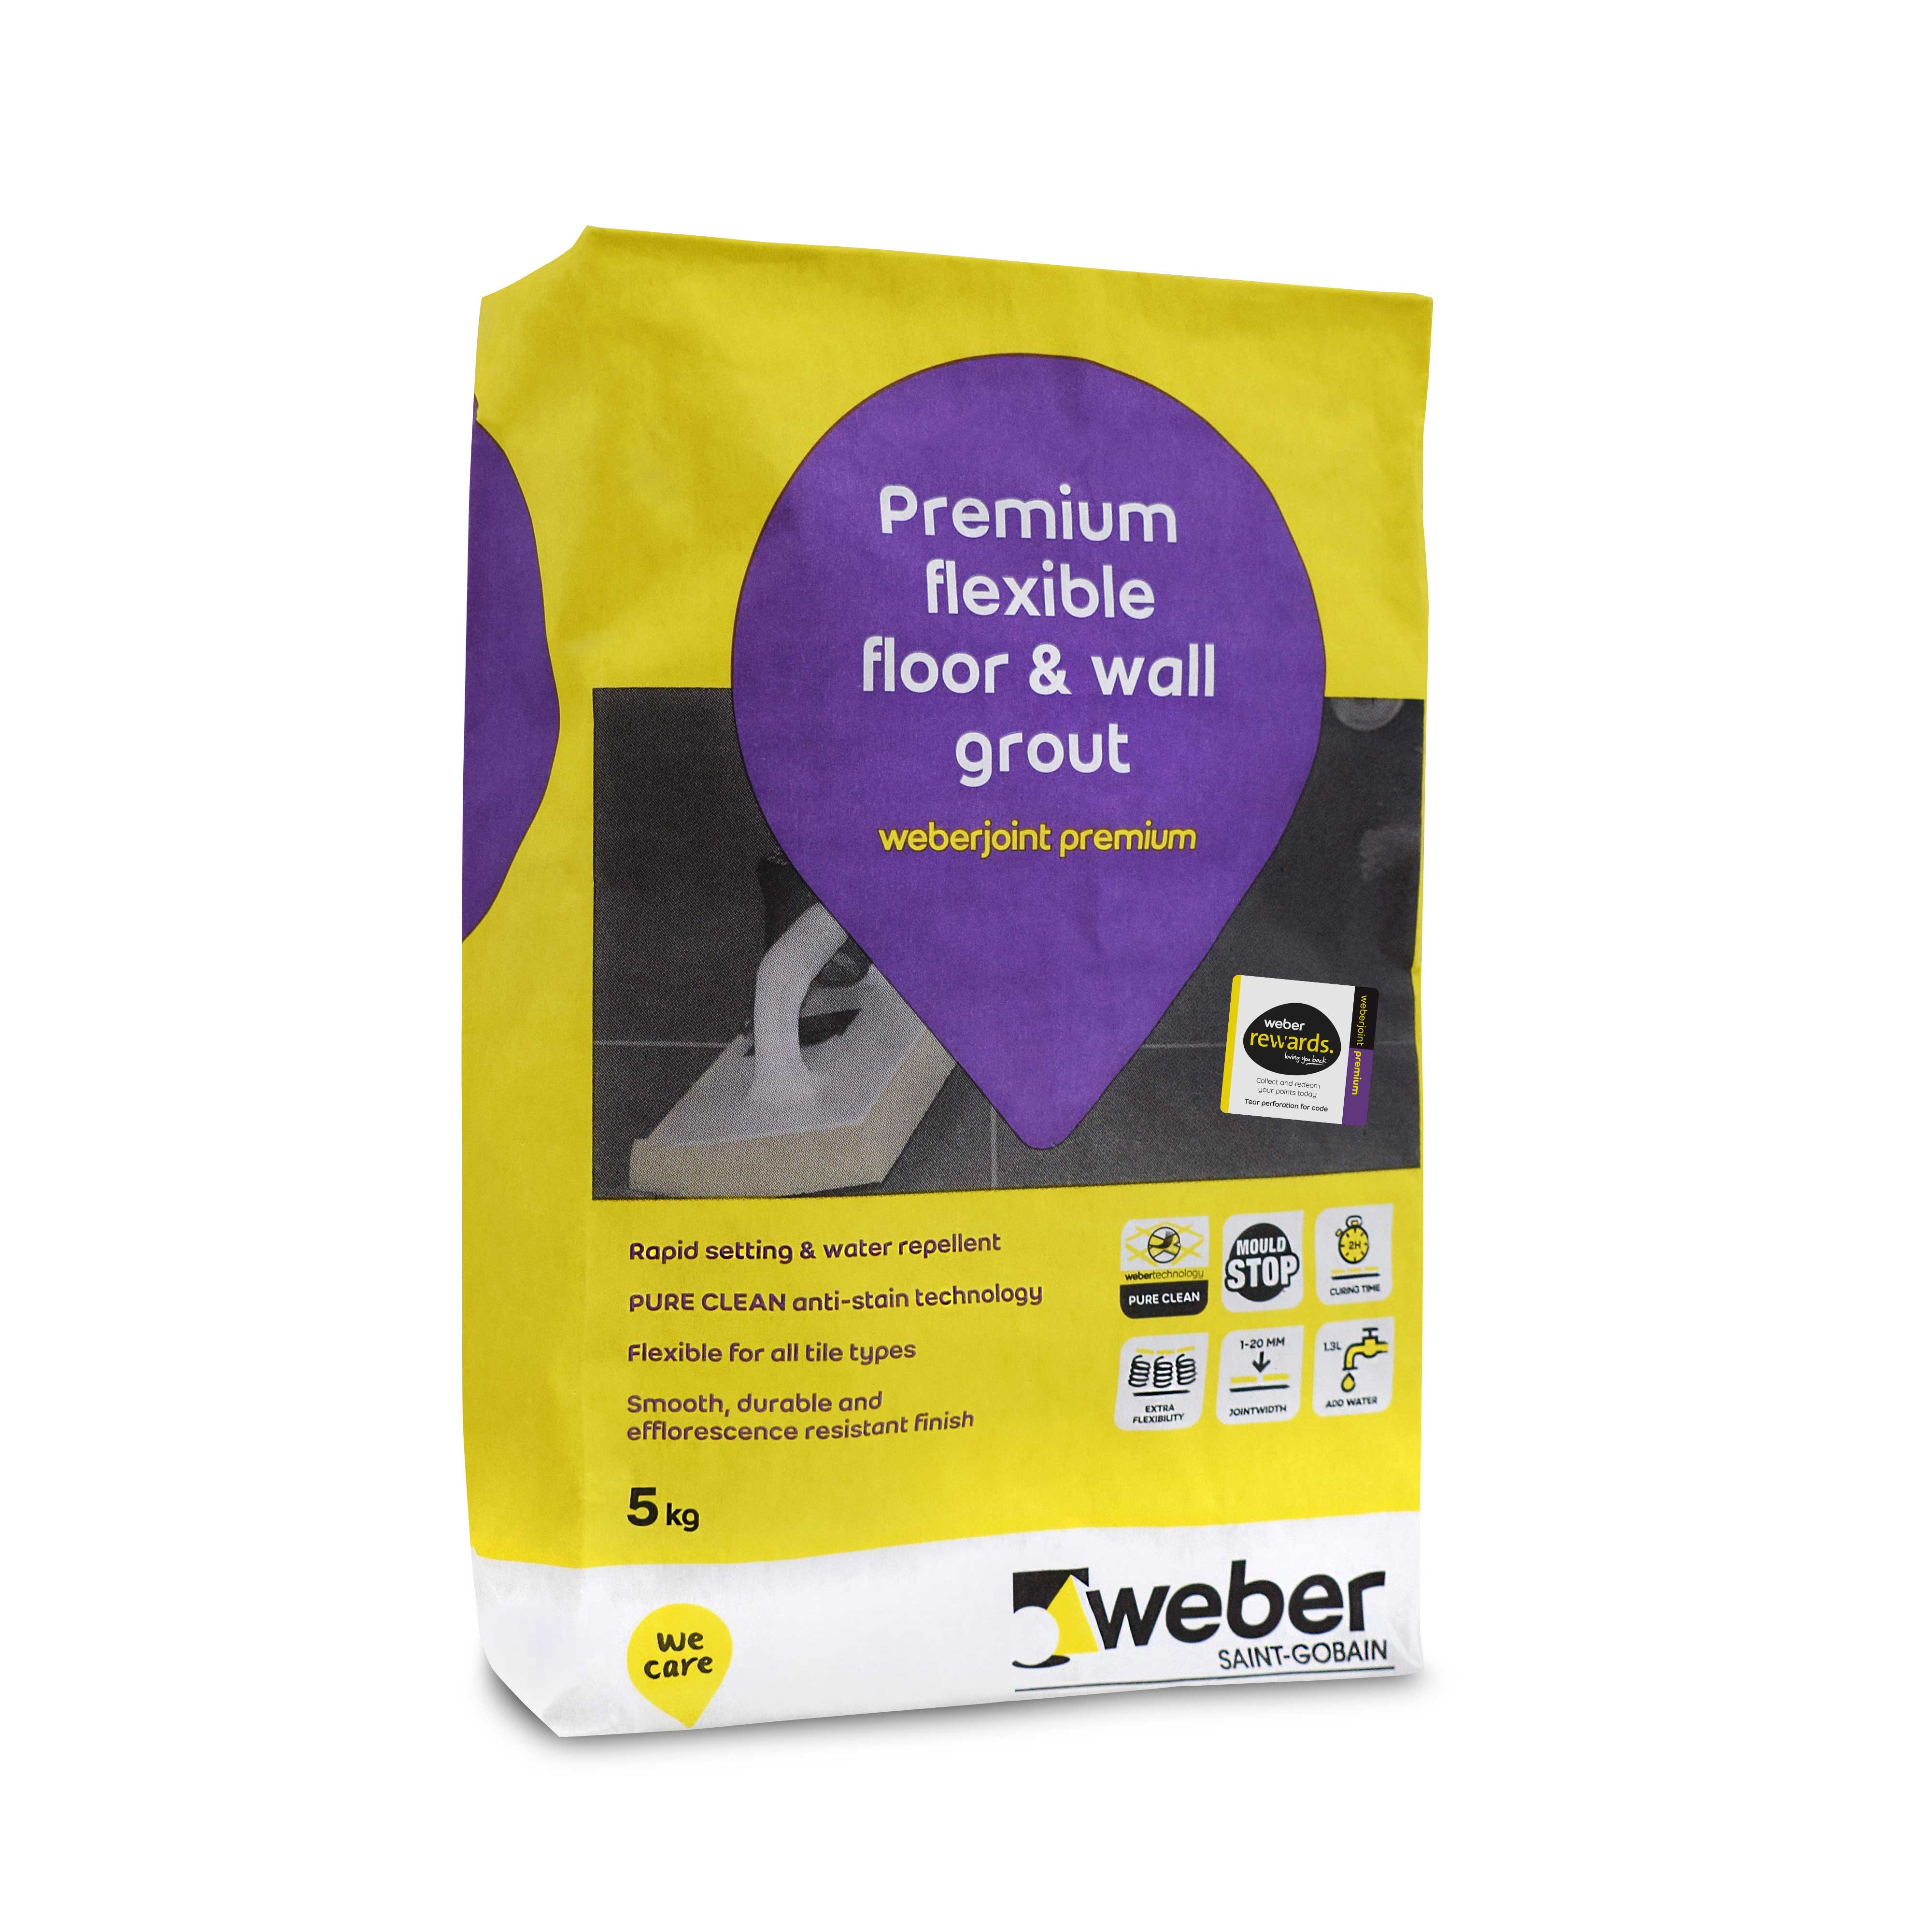
Stage 2 – Mix The New Grout
Typically, you’ll have a 30-45-minute window for applying the fresh layer. Grout has to be mixed individually, like cement, for every tiling task. Every step must be taken to use the solution appropriately as soon as it’s ready, so make sure you have the time to complete stages two and three all in one go.
Just follow the instructions and add the assigned level of water to the packet materials. Our buckets, like the Brit Adhesives Mixing Bucket, are designed to hold lubricious grout as you move it around the bathroom; therefore, carry it promptly to the affected area, aiming not to form air bubbles with too much stirring.
The trick is not to make the grout too watery or too sticky, so add a little bit of water at a time to judge the consistency. Again, the manufacturer’s instructions should guide you.
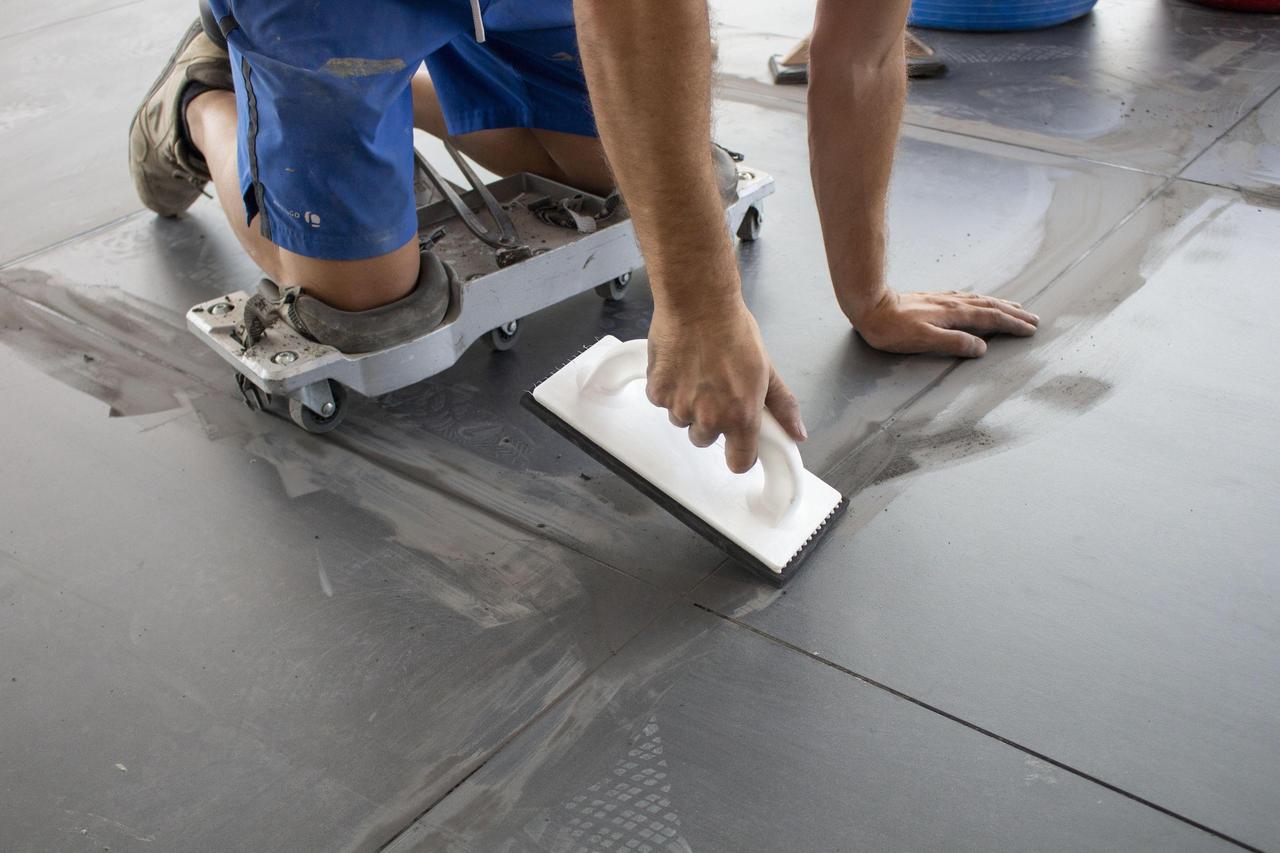
Stage 3 – Paste Over The Tiles
Once the solution has been prepared, take a Grout Float and dip it into the adhesive. This equipment ensures you get a good, even spread across the surface area. Don’t worry about covering the tiles themselves – you can wash each piece clean with a damp cloth, doing as much as you can to avoid wetting the grout as it sets.
Our floats come with an aluminium-backed design and a wooden handle. Together, these features make for a smooth, steady motion when you’re treating the grout lines. Wipe the mixture over four tiles at a time; that’s the perfect amount for cleaning the top surface before it starts to harden, whilst remaining fairly quick.
As a finishing touch, run your finger along the grout delineations. That will give them a subtle, exacting indent that will look ever better for the end result. We also suggest using a Grout Squeegee for parts of a wall that need a bit more care, i.e. a mosaic design.
Stage 4 – Seal Your Work
Leave the project for 48 hours. After that time, you can pretty much guarantee that the grout has set and won’t rub off at a heavy touch.
When learning how to re-grout bathroom tiles, it’s important to note that sealant is a very, very big section of the tiling project. Without it, you’ll be leaving the adhesive open to water damage and structural issues. Buy a treatment product like the Weber Joint Silicone, a 310mm tube of clear or coloured sealer that can match your grout aesthetic.
Seeking a 100% silicone variant is vital for the dependability of your tiling, so remember to take nothing less than this. It’ll stand guard against moisture and subsequent mould, extreme heat, and UV radiation from an uncovered window.
The pinpointed head of the sealant tube will craft sleek, thin applications across the room, wherever necessary. When you’re finished, simply dab any stray sealant away with a paper towel.
Stage 5 – All Done
Some homeowners may wish to caulk their bathroom as a lasting flourish. That, however, is a whole other task in itself. If you are wanting a truly professional look, read this handy article on the subject here – it offers some of the best caulking guidance on the web.
Yet in terms of how to re-grout your bathroom tiles, you’ve made it! A gorgeous aesthetic is now yours to savour, proofed against damage and slippage. By investing your time into fresh grout, you can transform the room you want to love returning to.
Atlas Ceramics are the primary source of quality tiling equipment in the UK. We have everything you require for a fast, beautiful, no-fuss project, either for domestic or commercial use. See what’s new in our online store, where grouts, tools and tiling materials are yours to purchase. Alternatively, get in touch with our experts – they can add more clarity to everything we’ve discussed.
Share this article
Article by Mike Lovatt
Here at Atlas Ceramics we import and distribute high quality products to support the tiling industry. These products include Polished tiles, Matt tiles or Satin tiles for the wall and floor, ceramic and porcelain tiles, natural stone and mosaics, from Italy, Portugal, and Spain.