


How To Tile a Floor : A Detailed Guide
PREPARATION
Spending a little time on the proper preparation makes the fixing easier, quicker and ensures a better finish.
TILING ONTO CONCRETE
New concrete must be at least six weeks old and thoroughly dry before fixing floor tiles.
The surface must be smooth, flat and free from dirt and grease. Uneven surfaces can be improved with a levelling compound.
TILING ONTO WOOD
Existing wooden floors must be rigid, stable and capable of supporting an additional load without flexing and have sufficient ventilation between them. There are three basic alternative methods to follow:
- Overlay the existing timber with 15mm (minimum) dry exterior grade plywood, which has been sealed on the edges and back.
- Fully screw down the ply at 300mm intervals ensuring all junctions are supported by noggins or joists.
- When applying the tiles using this method – a category C2 adhesive is required.
- Overlay the existing timber with a proprietary uncoupling membrane and use a category C2 adhesive.
- Overlay the existing rigid timber with a proprietary tile backer board and install using the instructions supplied by the manufacturer; use a category C2 adhesive.
A CG2 grout is recommended with all of these methods. A CG2 grout is improved cement based grout with high abrasion resistance and reduced water absorption.
There are many factors that need to be taken into consideration when deciding which method of tiling is best suited for your circumstances. If unsure we recommend getting some advice from a professional.
TILING ONTO VINYL FLOORS
Existing hard tiles must be free of grease, polish etc and firmly adhered to the subfloor. The surface of the tile will need to be primed and allowed to dry before spreading the adhesive (Category C2).
TILING ONTO EXISTING QUARRIES, GLAZED & UNGLAZED TILES
Existing tiles must be checked to ensure they are sound, clean and free from grease/dust/debris and firmly adhered to the subfloor.
Priming may be required and a Category C2 adhesive should be used. When tiling onto glazed tiles a polymer additive may be required.
UNDERFLOOR HEATING
 Electrical underfloor heating is readily available and if you choose to have this installed it will need to be done following the instruction of the supplier and connected by a Part P competent electrician.
Electrical systems should be encapsulated before tiling over using a flexible self-levelling compound.
The system should be commissioned following the manufacturer’s instruction before and after tiling.
It is important to make sure that the system is switched off and cooled down to ambient temperature during the adhesive and grout curing periods.
Tiles should then be fixed, using the solid bed method using a category C2 tile adhesive.
Movement joints will be required around the perimeter of the floor, and where tiling lies alongside columns, curbs and steps.
In large floor areas tiles should be divided by movement joints into bays not exceeding 40 square metres in area.
SETTING OUT
Laying floor tiles will raise the level of the finished floor, so if possible remove all fixtures prior to tiling.
Check the overall flatness of the floor. A levelling compound can be used to improve flatness levels.
Mark a chalk line on the floor down the centre of the room parallel to the most suitable wall (this can normally be achieved by viewing the room from the doorway).
Lay the tiles down this line and then work towards the wall that you think is best, leaving a joint between the tiles of at least 3mm.
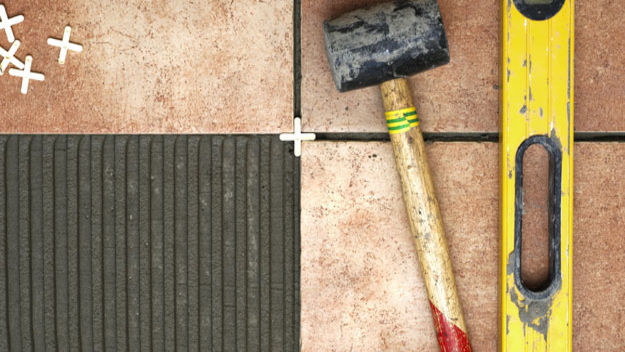
Tile spacers can be used to achieve a uniform size joint, however they should be removed prior to grouting.
Also try to avoid making small cuts as these can be difficult to do and do not look very professional.
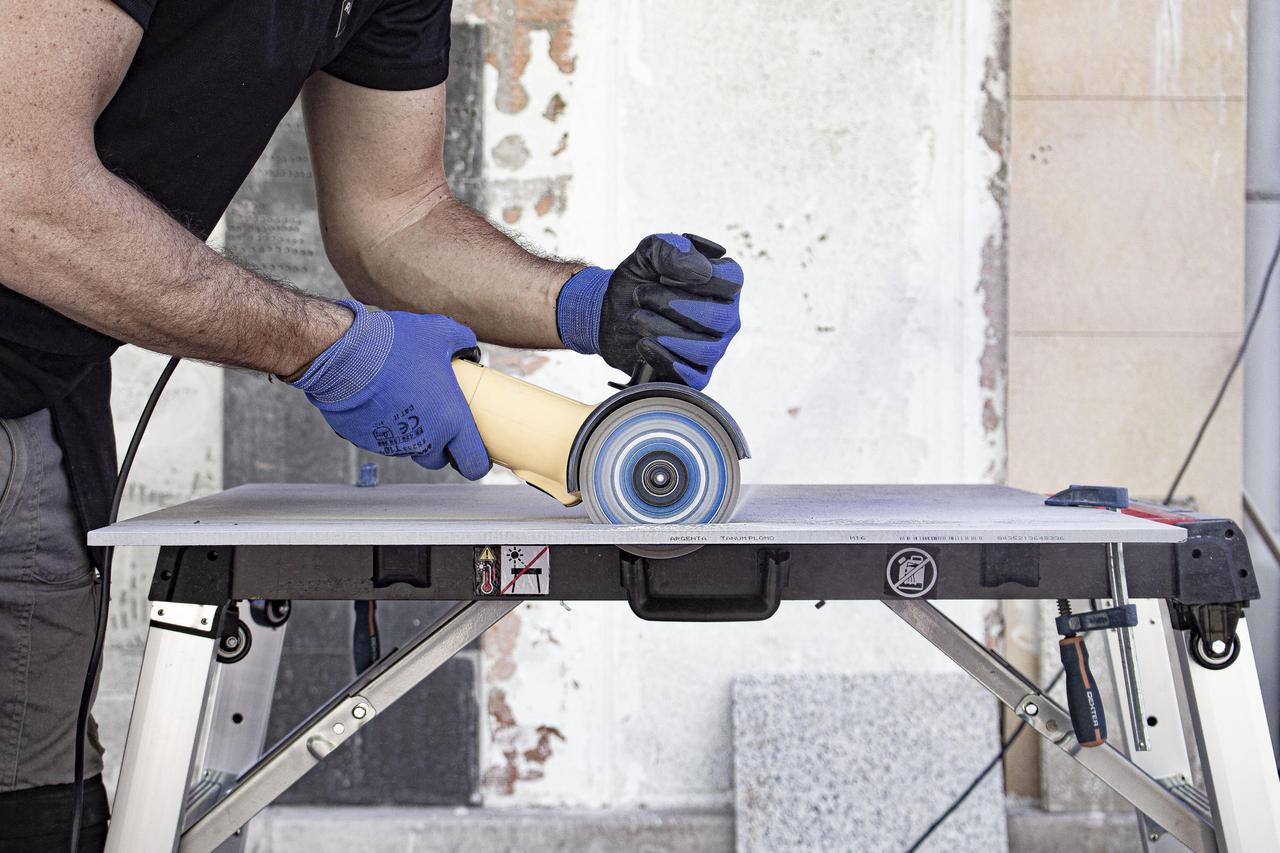
CUTTING TILES
Floor tiles are generally harder to cut than wall tiles – however there are tools available to make the cutting of ceramic and porcelain tiles easier. 
ADHESIVES
Use normal or rapid setting adhesives conforming to BS EN 12004.
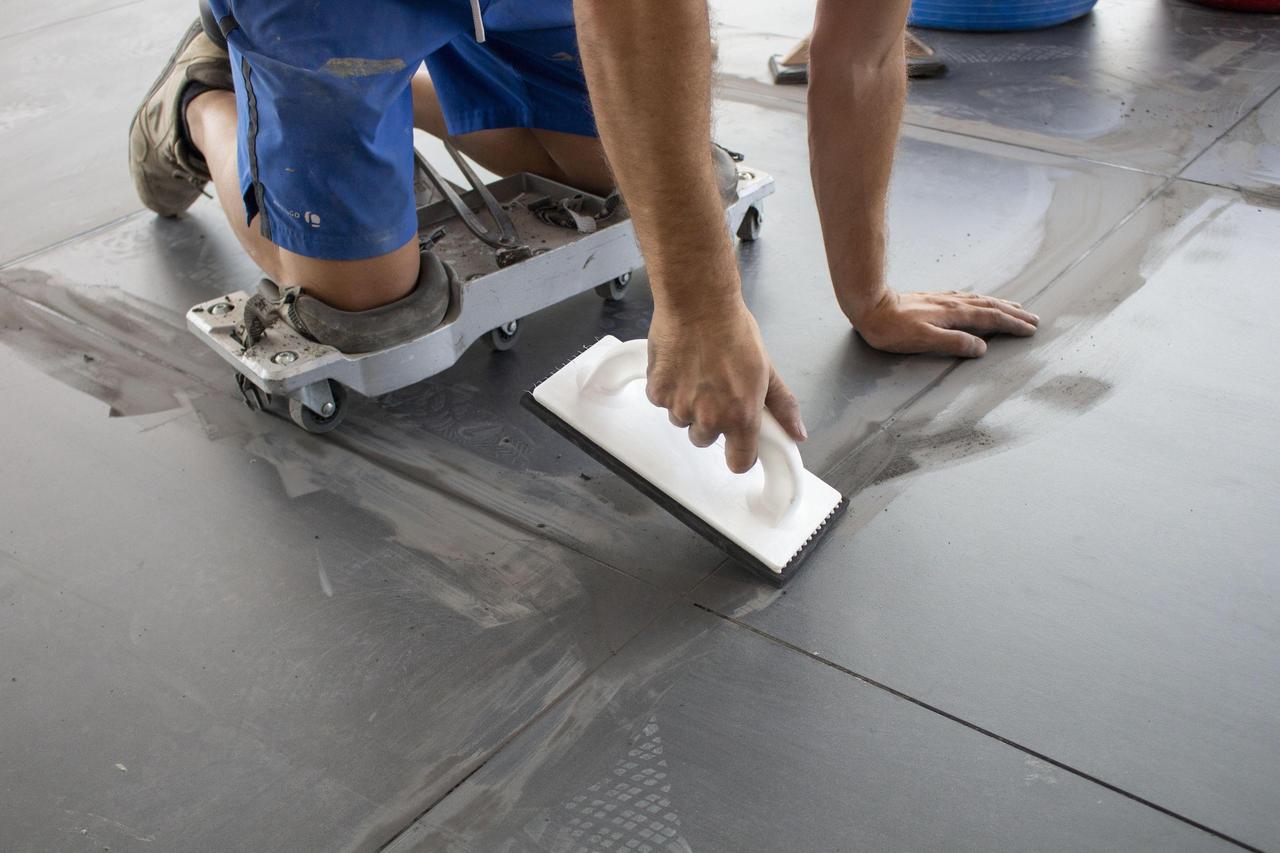
- Mix the adhesive as per manufacturers’ instructions and spread with the recommended notched trowel to give a ribbed adhesive bed on the surface to be tiled.
- Butter the back of each tile with a thin layer of adhesive immediately before bedding it firmly into the fresh ribbed adhesive bed with a slight twisting motion to ensure a solid bed and to prevent voids under the tile.
- Remove surplus adhesive from the tile surface and joints with a damp sponge or cloth.
- Work in small areas up to 1m² at a time so that tiles are fixed while the surface of the ribbed bed is still workable.
- Every so often use a spirit level or straight edge to check that the tiles that have been fixed are flat.
- Remove and adjust the amount of adhesive to achieve a flat surface, but do not leave it too long or the adhesive will begin to set.
It is also advised to leave the adhesive to set prior to grouting (minimum of 24 hours unless you are using a rapid setting adhesive).
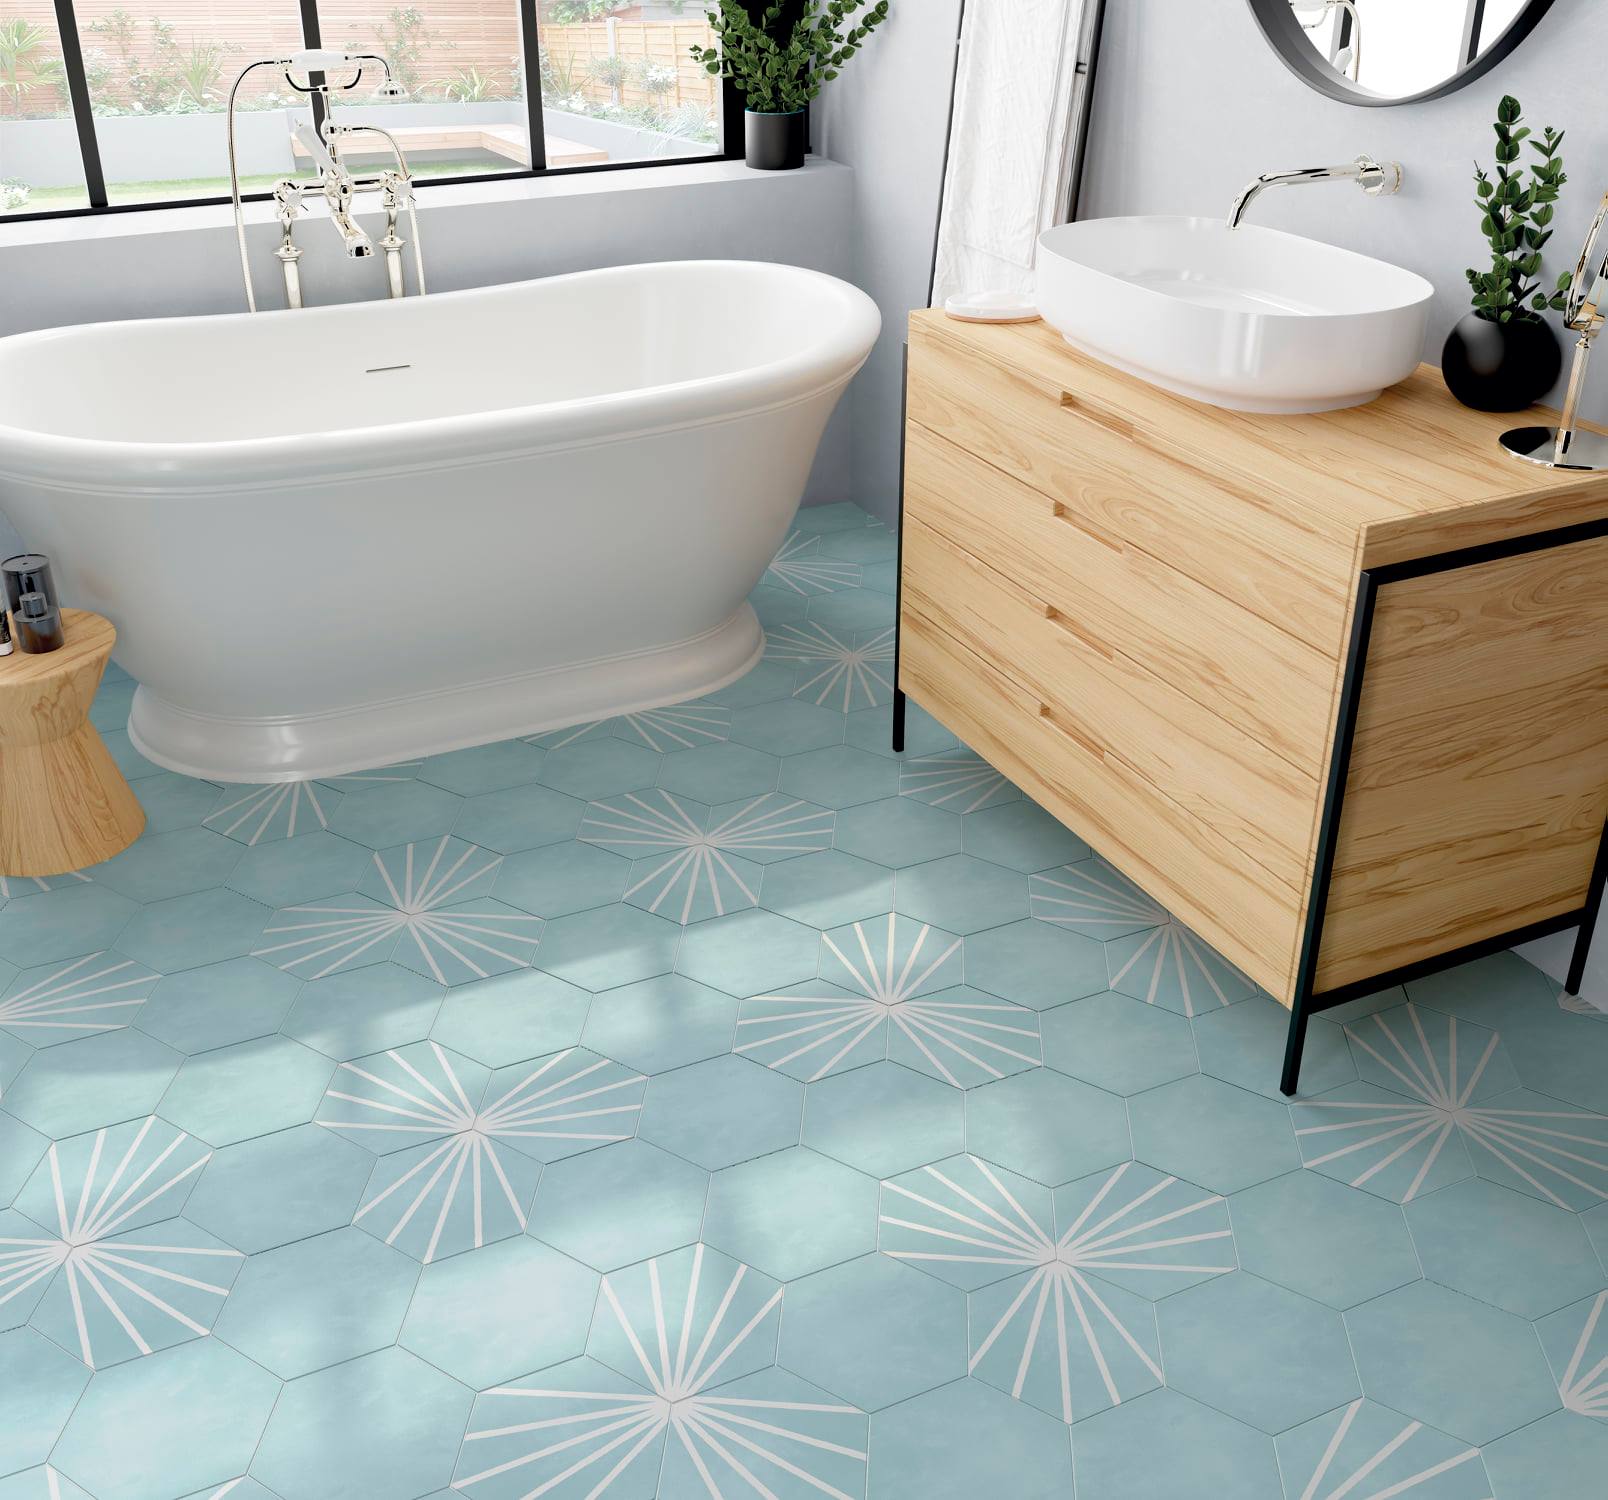
In bathrooms, special attention should be paid to sealing the gap between the wall and floor base using a flexible antibacterial sealant.
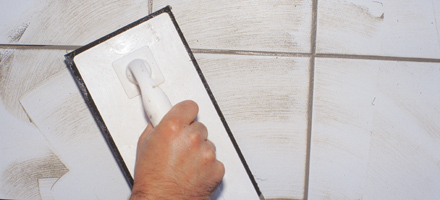
GROUTING
Do not begin grouting or walking on the floor tiles for at least 24 hours (unless you have used a rapid setting adhesive) to avoid disturbing the tiles before they have completely bonded with the adhesive.
There are many types of grout so please be sure to seek advice to ensure you have the one that will best suit your requirements.
Force grout into the joints using a squeegee. Remove any surplus grout from the surface with a sponge and, if required, peg the joints with a rounded stick to achieve an even better finish. (NOTE – WHEN GROUTING TILES ON A TIMBER FLOOR, USE A WATER BASED POLYMER ADMIXTURE TO IMPROVE FLEXIBILITY)
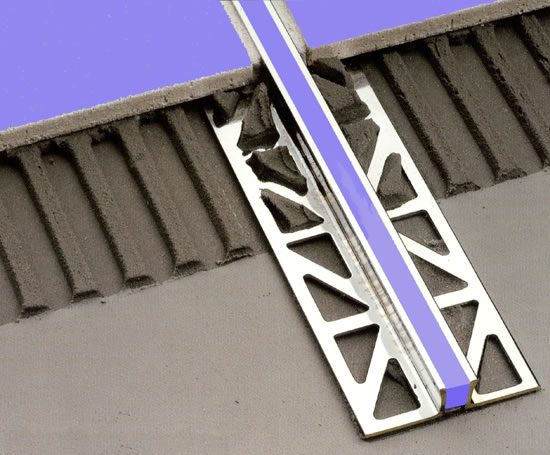
MOVEMENT JOINTS
Movement joints allow for movement and help to prevent tile damage. The recommended minimum width is 6mm, but it depends on each individual application.
Movement joints are either field applied sealant or a pre-fabricated profile with anchoring legs which are adhered beneath the tile.
Movement joints are normally installed where flooring abuts wall, steps, columns etc – on large floor areas and over structural movement joints.
Floors with less than 2 metres will not normally require movement joints except where there is underfloor heating.
Share this article
Article by Mike Lovatt
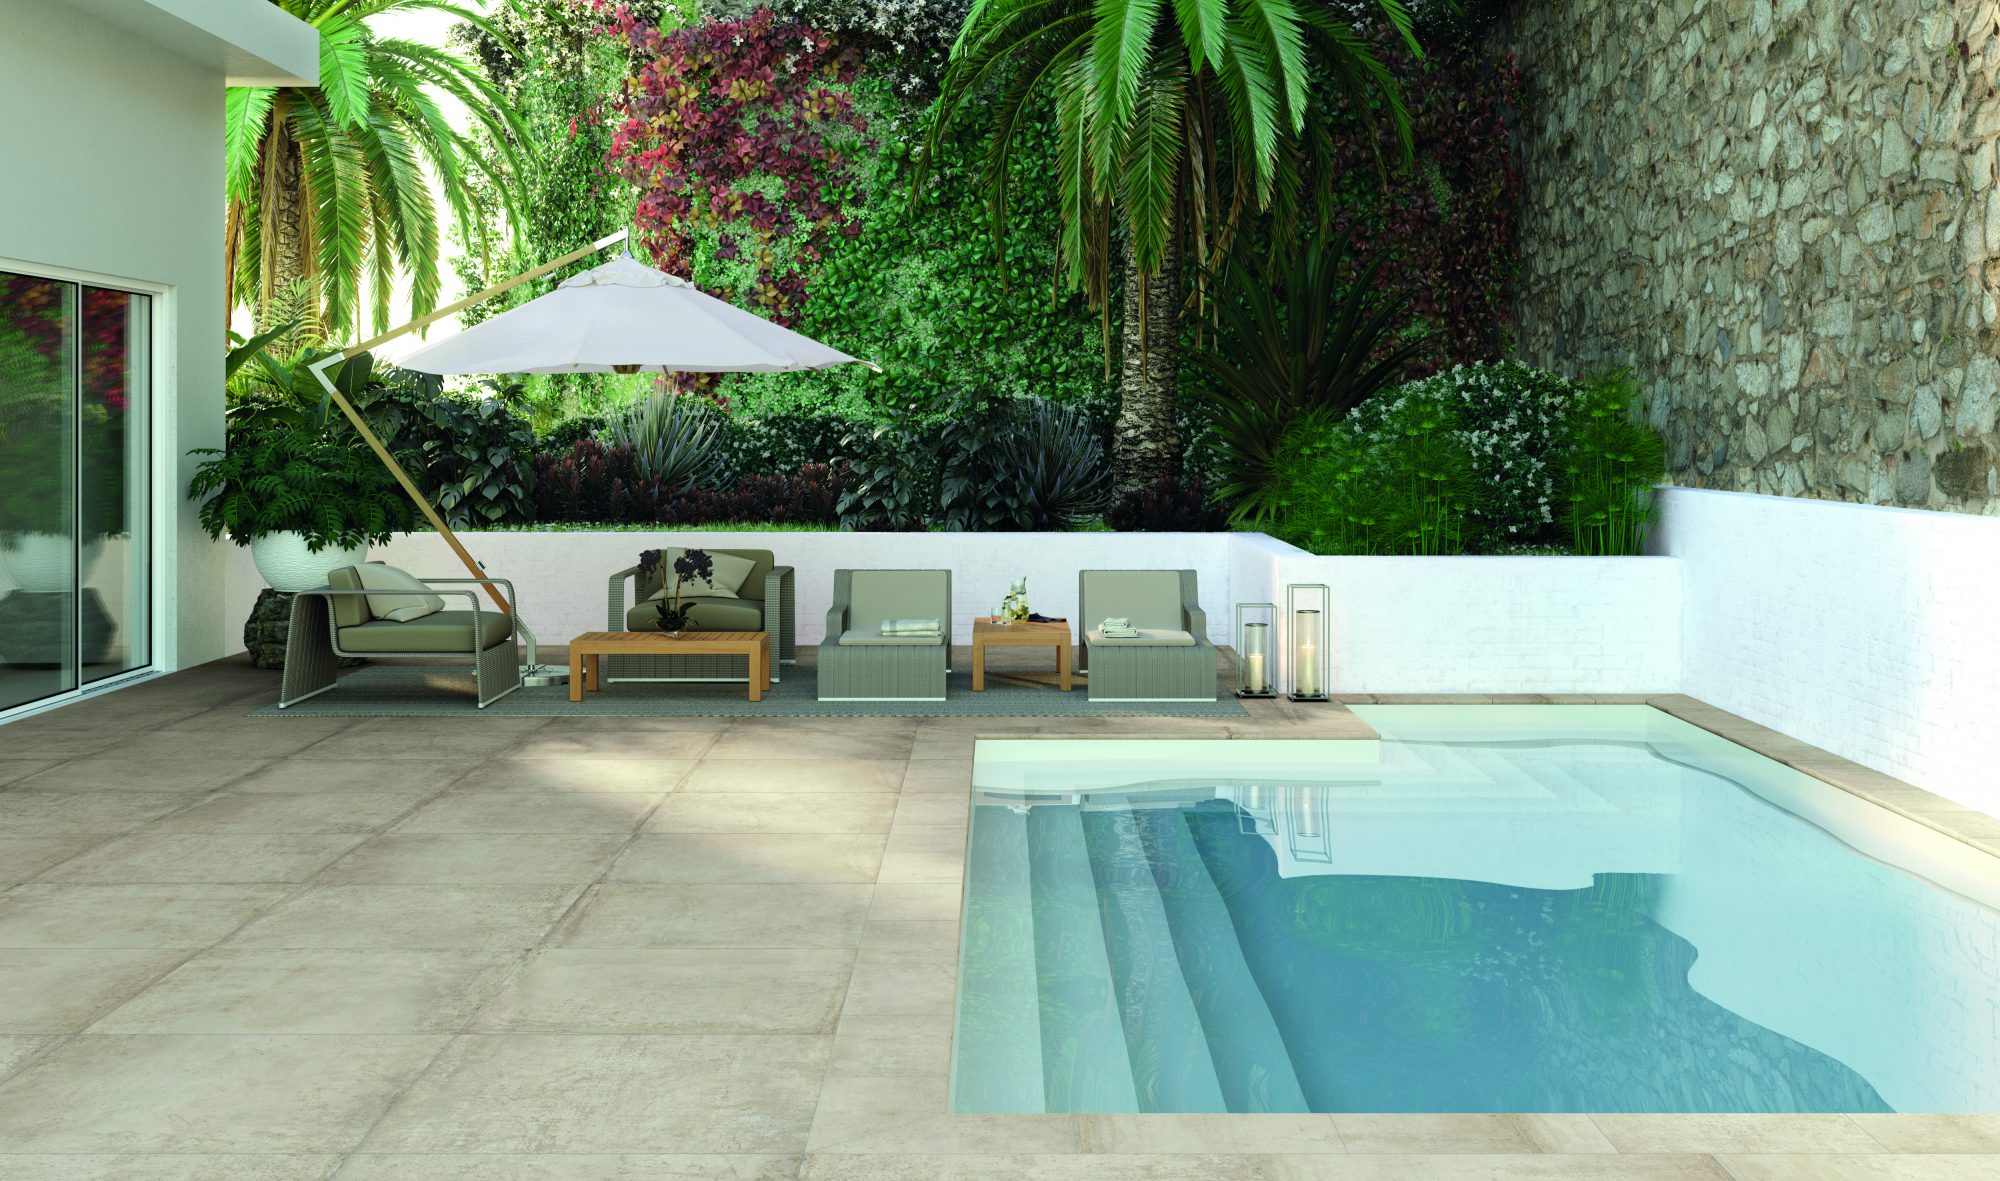
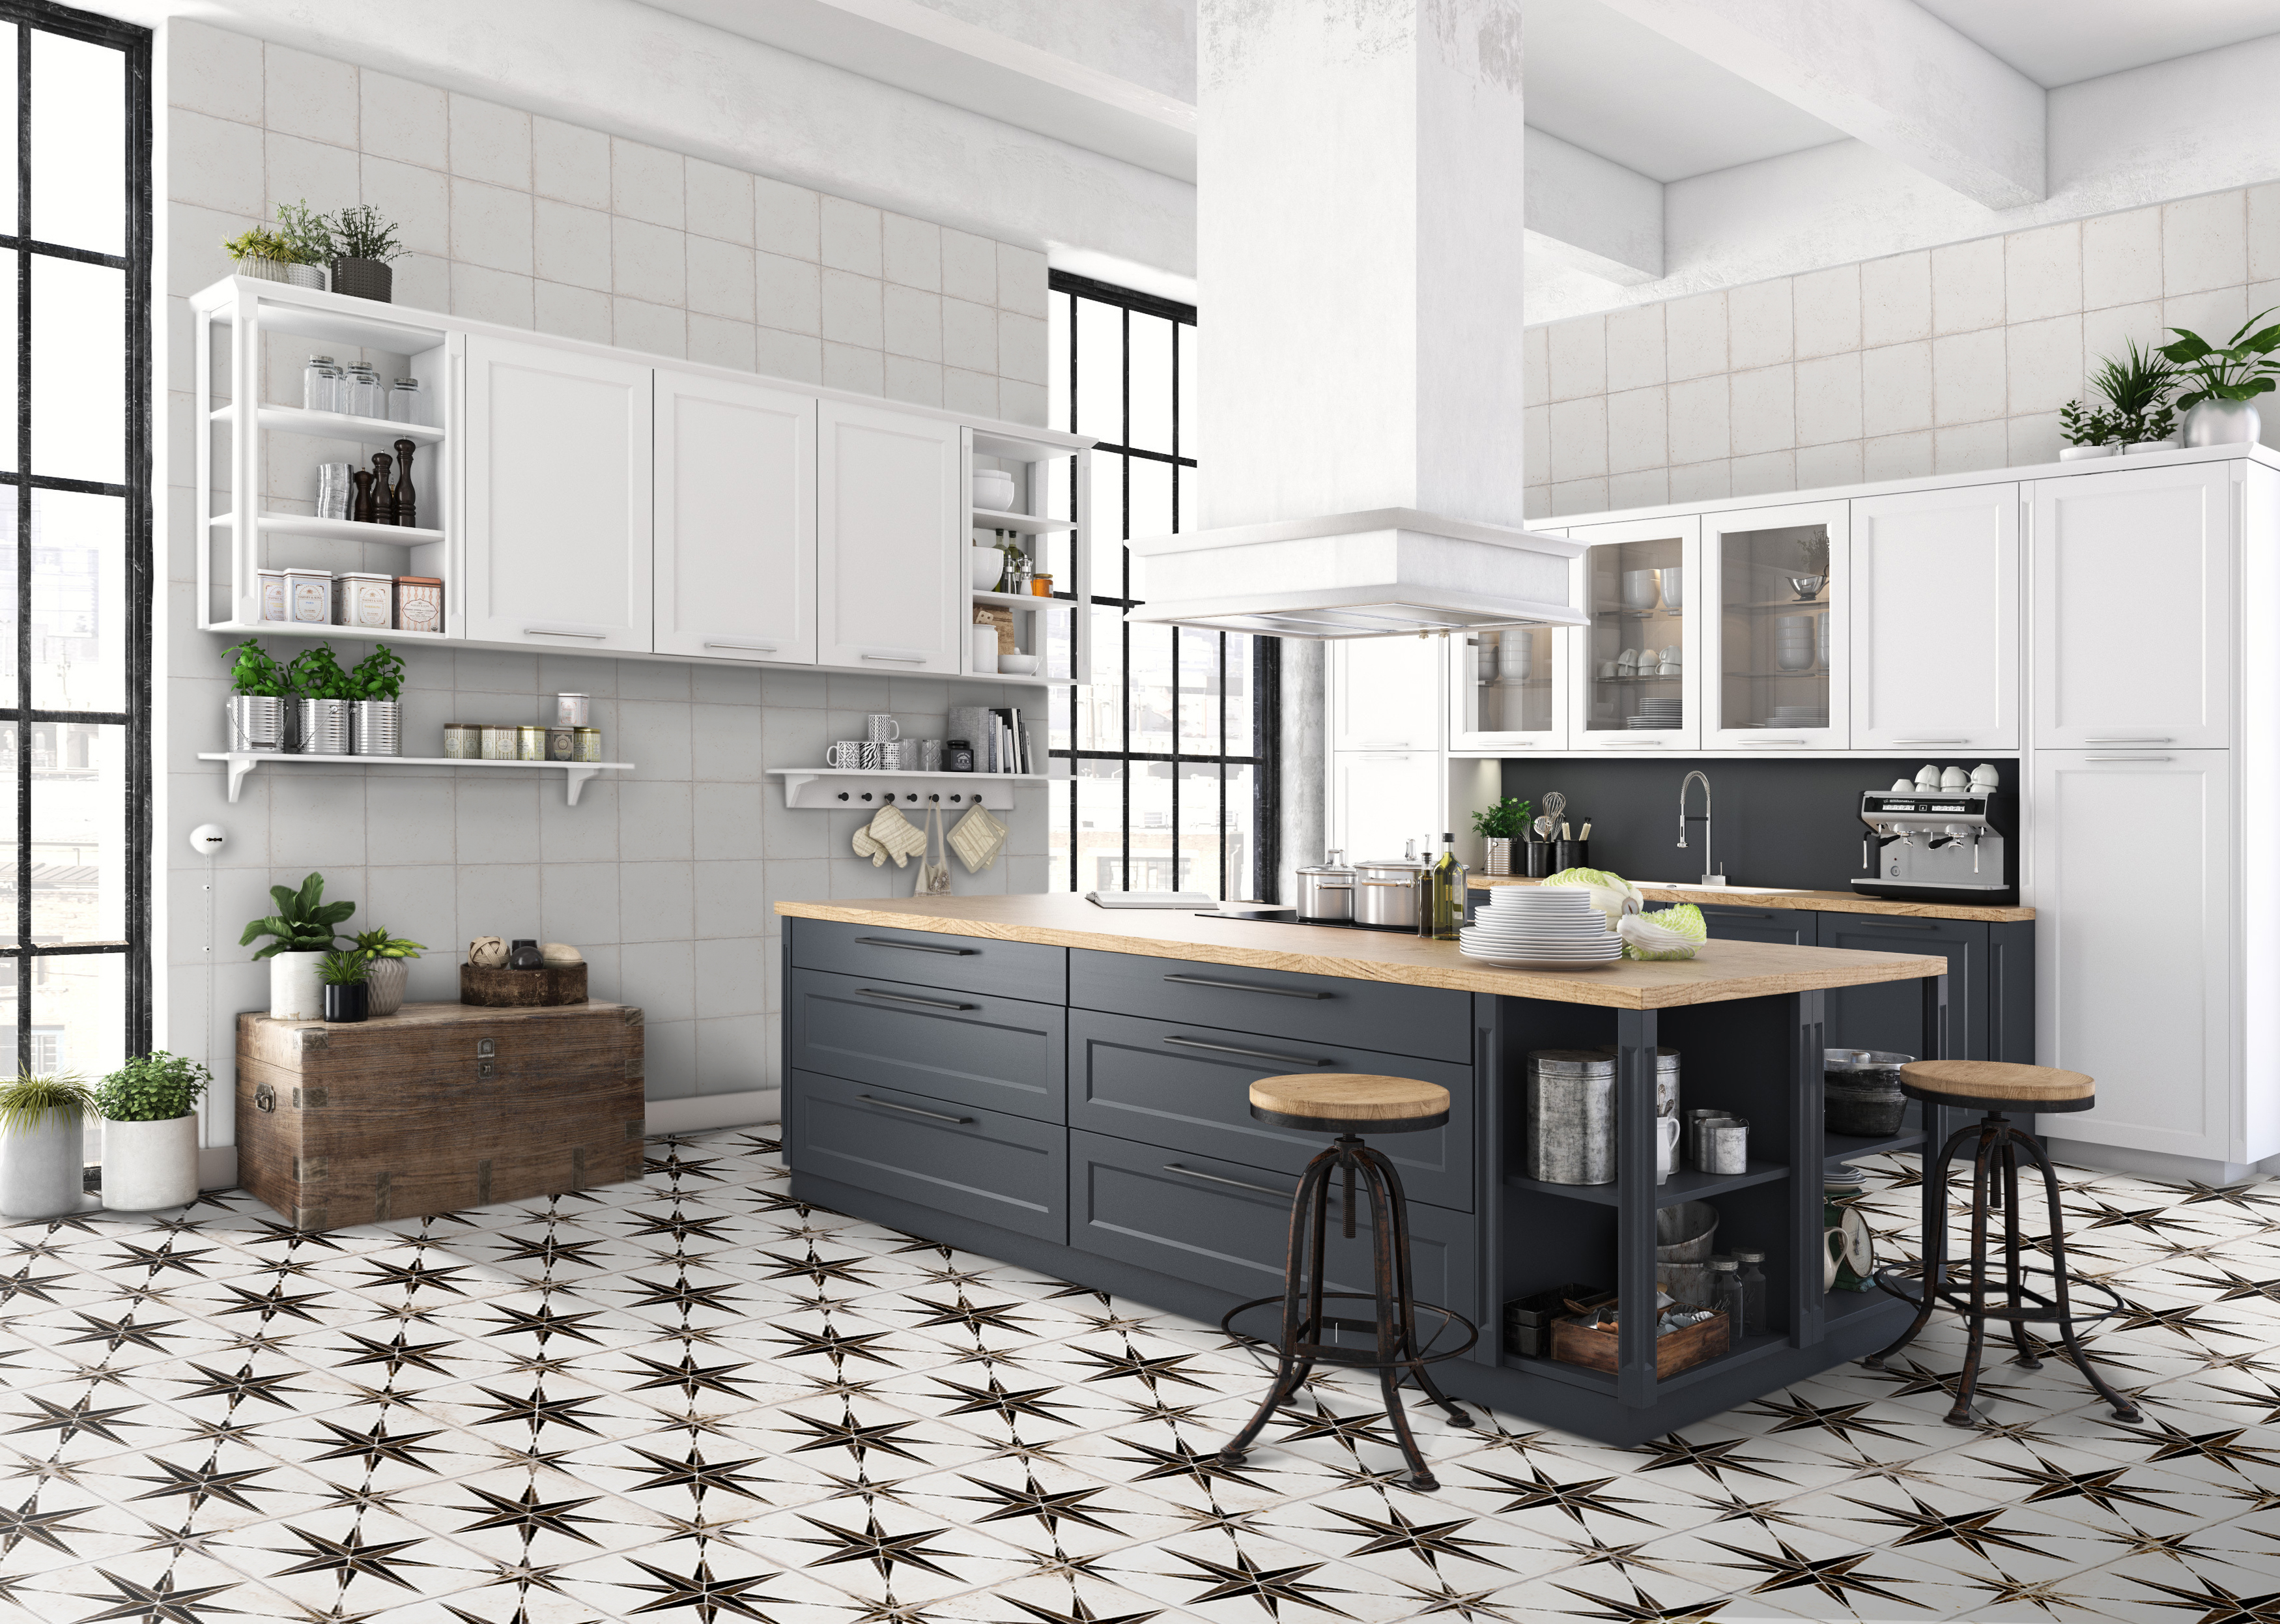
Here at Atlas Ceramics we import and distribute high quality products to support the tiling industry. These products include Polished tiles, Matt tiles or Satin tiles for the wall and floor, ceramic and porcelain tiles, natural stone and mosaics, from Italy, Portugal, and Spain.