


How To Tile A Step – A Step by Step Guide!

Some tiling tasks are straightforward. You lay the adhesive, start from the middle of a room, and go from side to side until the floor or wall is covered. Steps, however, are another challenge. You have a whole other dimension to deal with.
Ever wondered how to tile a step? We’re going to show you. After reading, you’ll be able to step up your tiling game and avoid common pitfalls:
Step 1 – Buy the right tiles and sealants for the job
Not all tiling materials are equal. Some are better for indoor areas, whereas others can withstand a lot of rain, frost and elemental erosion.
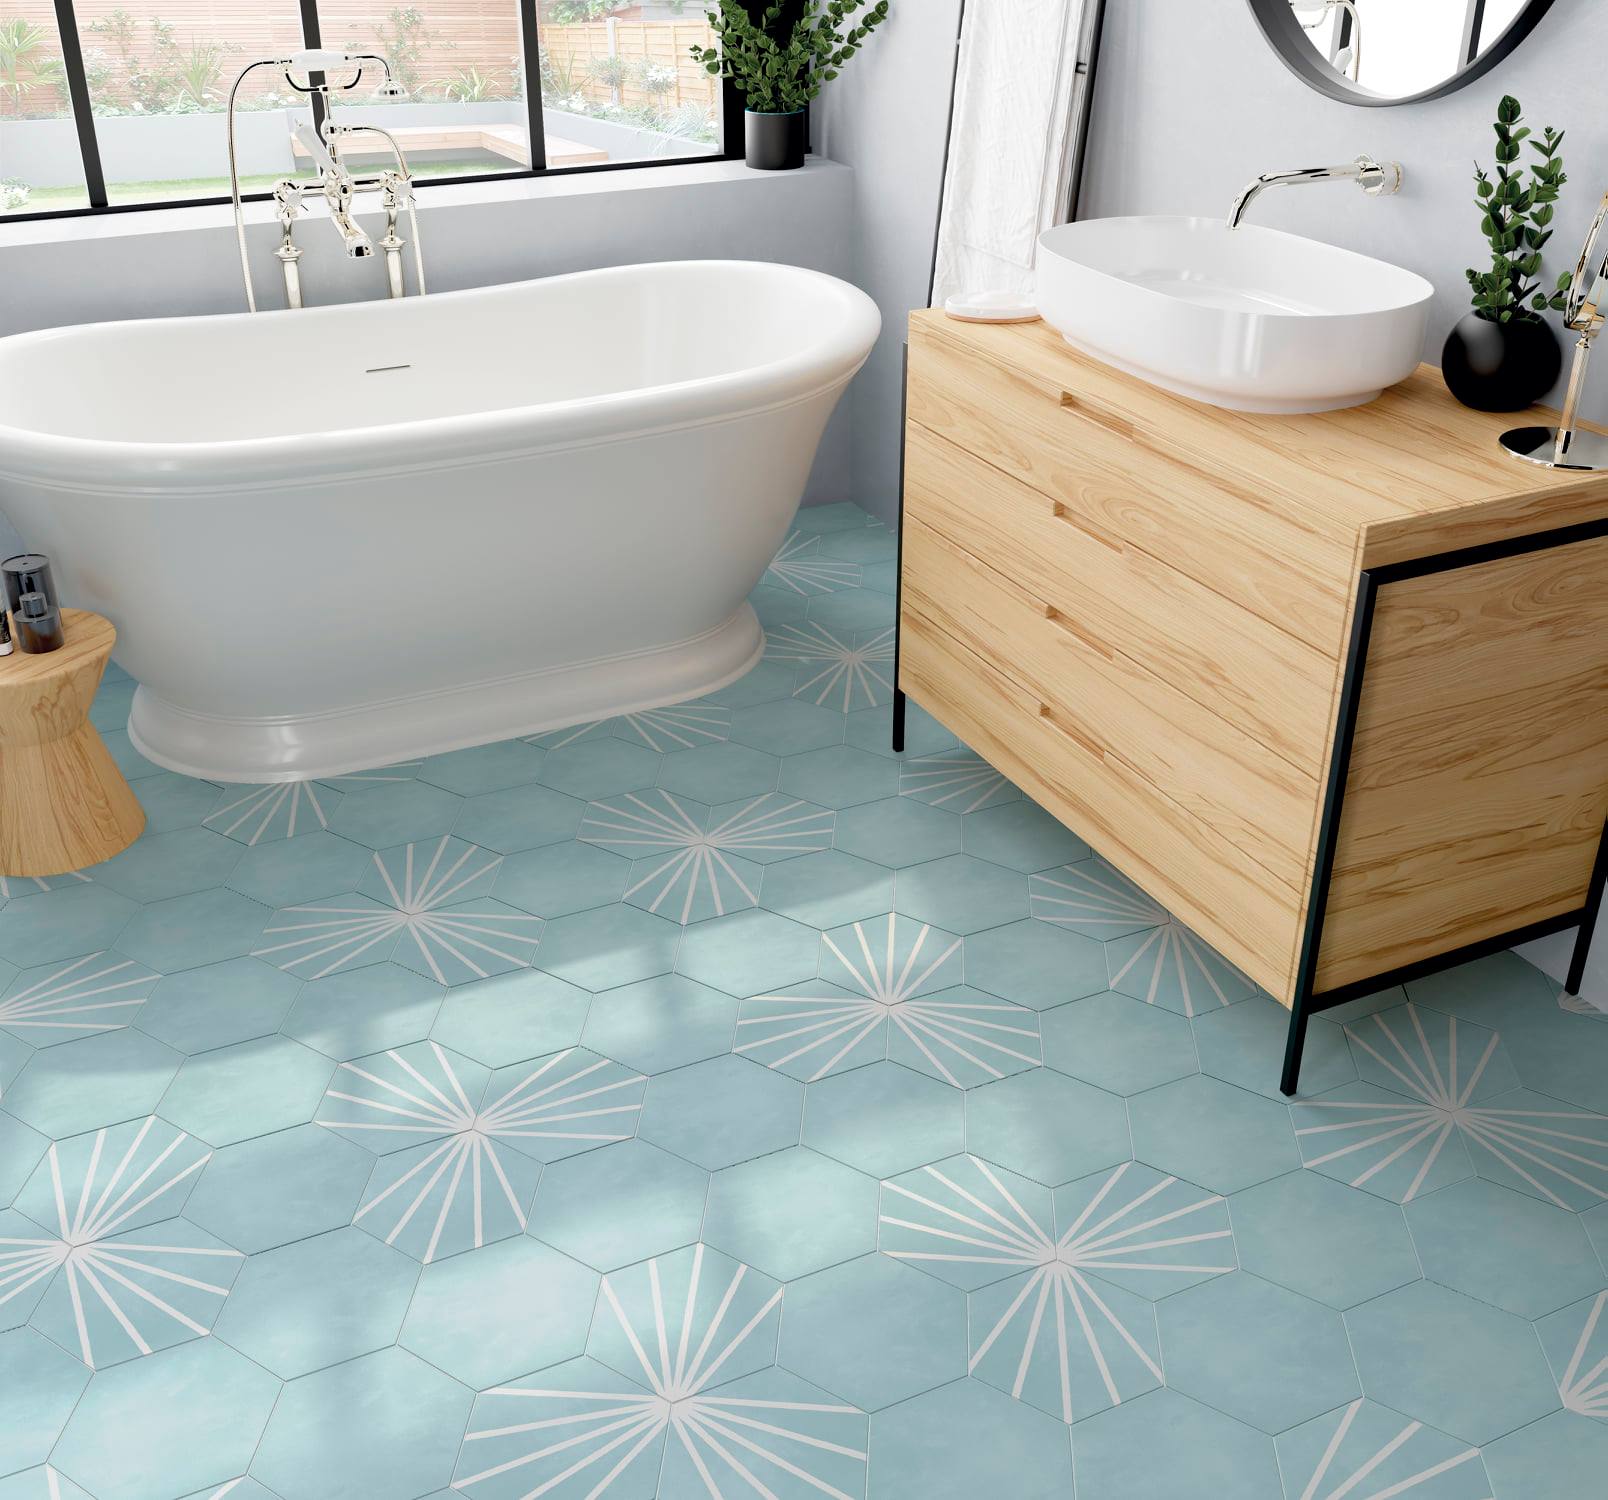
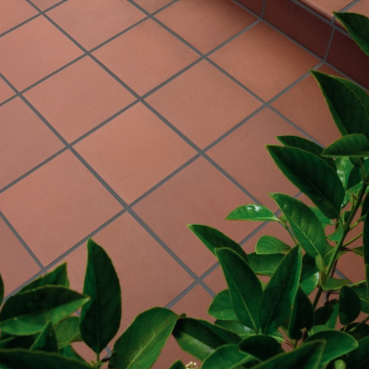
Many people like to have natural stone tiles for their front door or patio steps. That’s fine – quartz, travertine and marble are a wonderful aesthetic choice. But they have to be sealed if they are going to be laid outside.
The Weber Joint Silicon sealant is one of several tools that proof the stone against the debilitating effects of weather – available in a number of colours to complement your tile choice.
When you come to treat the grout lines, use it for a quick, convenient layer of anti-UV and mildew protection.
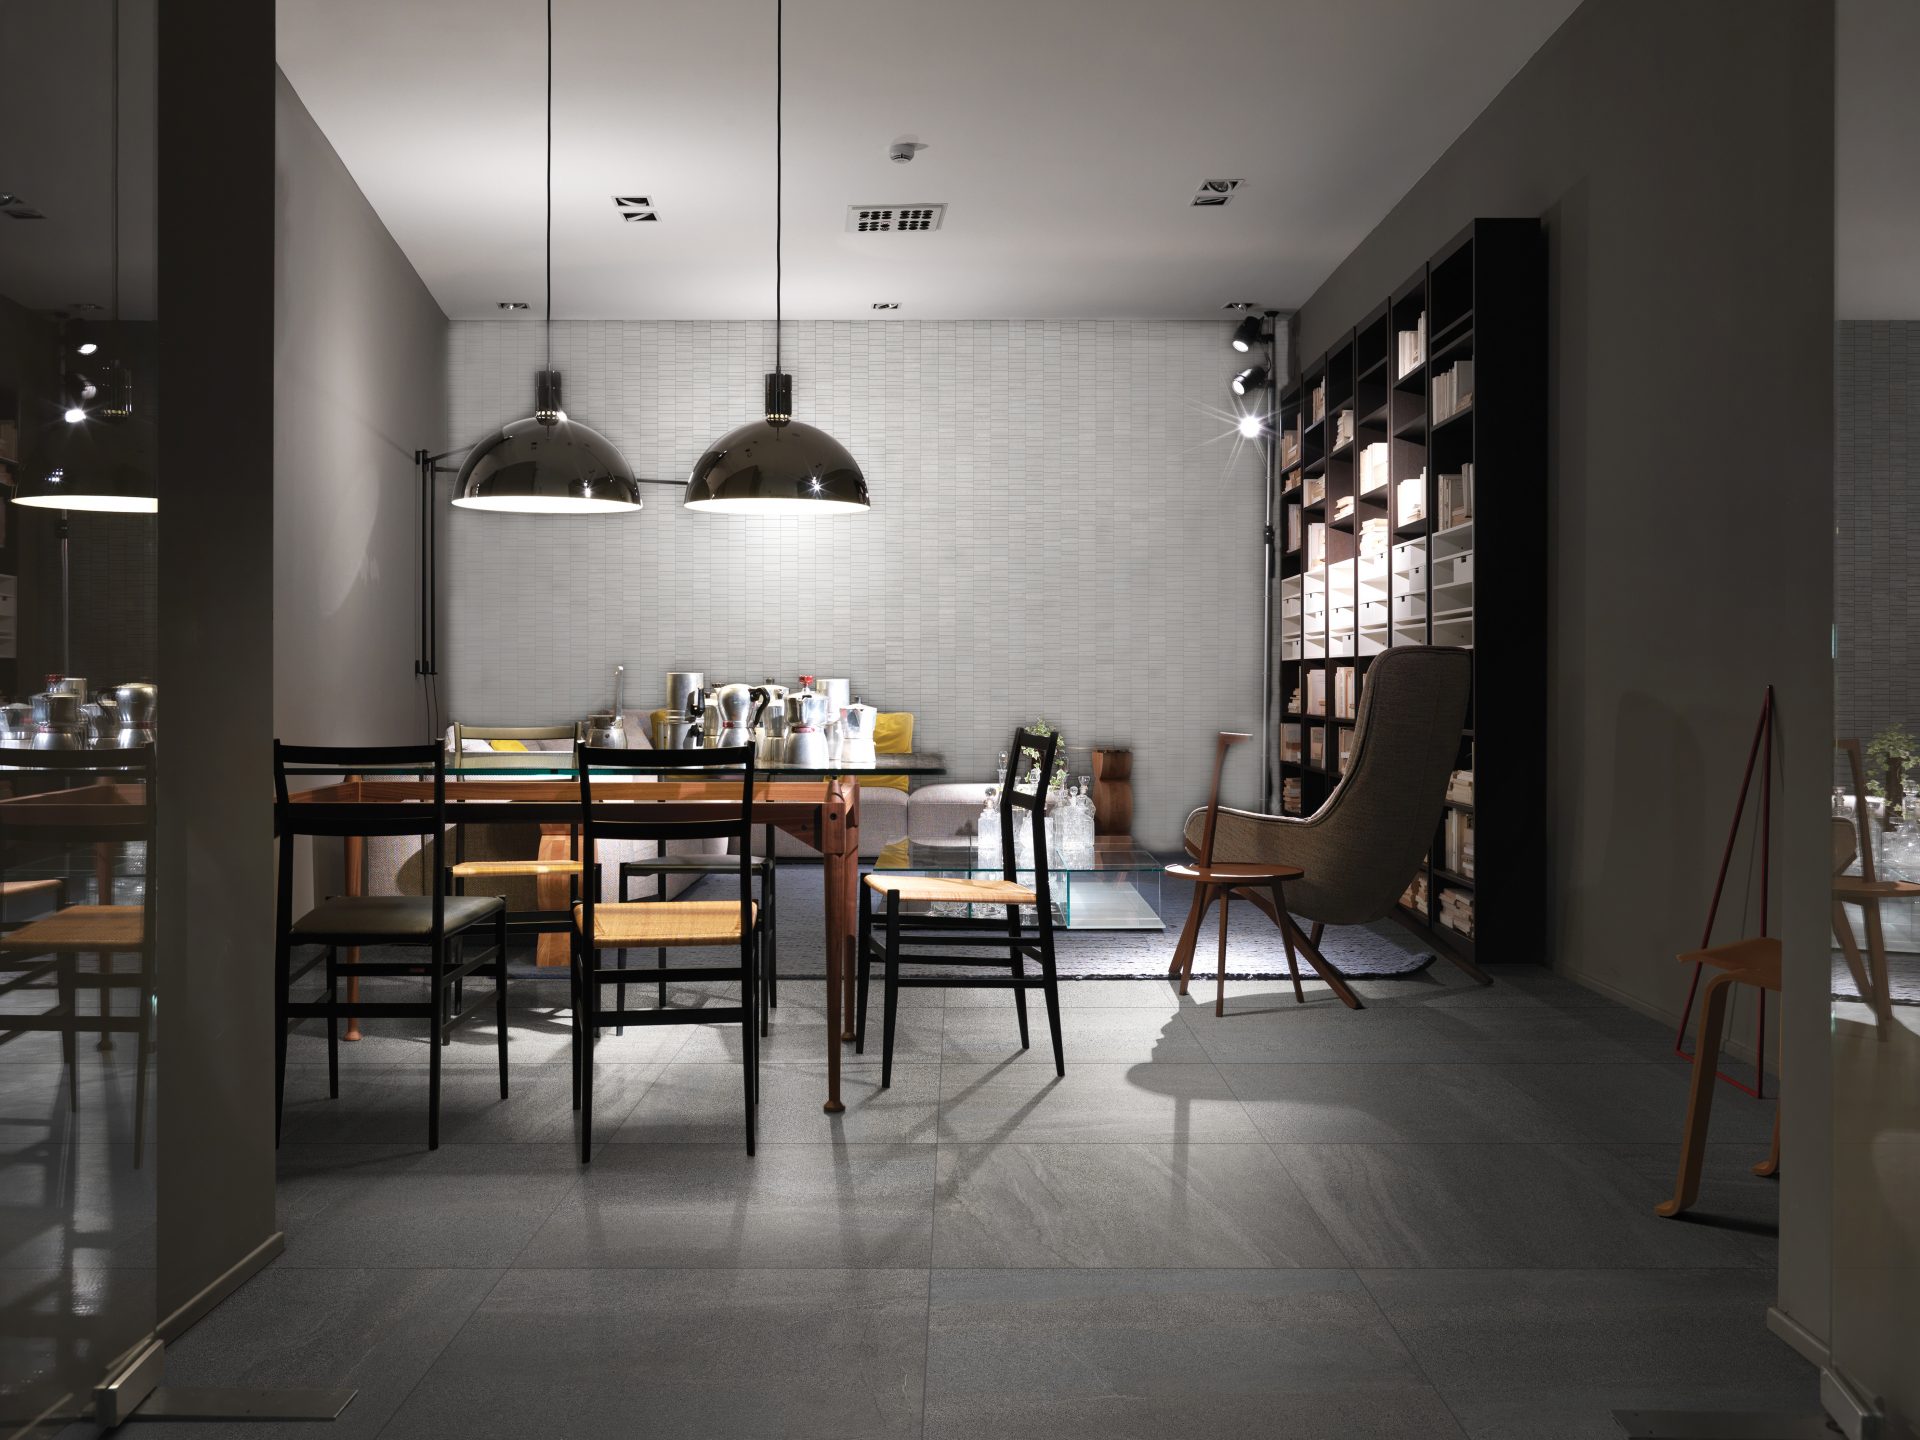
Alternatively, coving tiles are useful for the smoothest surface you can ask for. These are a fine candidate for your tiling, but note that sealants are (once again) advisable. We recommend the Lithofin KF Stainstop for use in the home, where it can protect against grease and water.
Step 2 – Proof the environment for tiling
Now for the start of your tiling project… The first thing to do, beyond having the right resources to hand, is even out the surface.
Take a spirit level and place it on the stairs, one at a time. If the bubble moves off-centre, you will have to fill the area with a levelling mix that runs over the bumps and inconsistencies, making it flat.
Clean the area with a scrubbing brush and a mild soap solution, so there’s no dust, mould or debris. Then mix your levelling compound – something like the Floor Rapid from Weber will be up to the job.
Pour it onto the stair and wait until it seeps and dries. Check with the levelling tool again to ensure it is totally straight.
Wooden stairs are a trickier proposition. You must fill any holes with specialised wood putty, before sanding the stairs and slicing off the nose boards (the rims of the steps that jut out).
Step 3 – Chalk the centre of each stair rise
It’s time to arrange the tiles as you want them to appear when the project’s finished. Measure the vertical length of the risers – these are the back surfaces that make the stairs ascend, facing your feet.
Mark a middle point on every riser. That’s where your initial tile should be set down. The others will be laid alongside it, at either end.
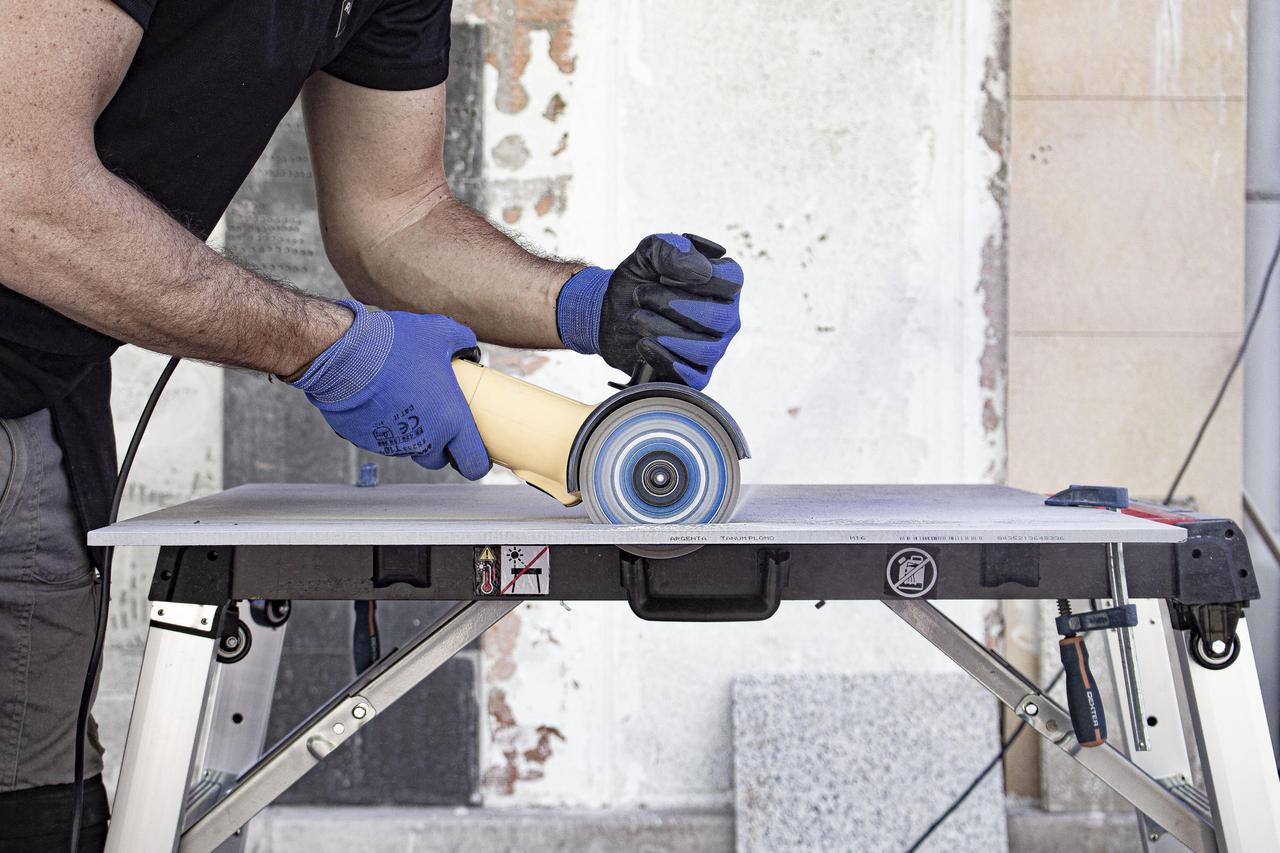
At this stage, you can chalk the sections of tile that will need to be cut away with a tile cutter for a tight, squared finish. Making the relevant trims is a very important part of how to tile a step; slapdash projects will seem uneven and messy.
Step 4 – Get your adhesive ready
Do you have a good adhesive mix? Atlas Ceramics have plenty to choose from, such as the Weber Fix Plus 15kg, which also comes in a Weber deal for levelling/mixing purchases.
Regardless, this is the stuff that’s going to glue your tiles in place. A notched trowel delivers the best effect. Follow the adhesive preparation instructions, dip the trowel into the solution, and paste a layer that isn’t significantly thicker than 1/8 inch.
You’ll need to treat every step individually, tiling each one completely as you go and working down from the top stair to the bottom. Don’t wait longer than 15-20 minutes after you’ve finished spreading; a good tiler will want to use the stick-fast qualities of a mortar mix before they diminish.
Step 5 – Place the tiles in order
Using the chalk lines for definition, lay your tiles on the adhesive. Space them out at 2-3mm intervals if you can – no tile should violate this rule.
For assistance, use a bag of spacer clips to hold the slabs where they are, keeping these distances in check. Don’t worry: they won’t stick to the mortar overnight. Plastic is safe from specialised tiling gear.
Begin with the risers, as we mentioned earlier, moving on until you treat the base of the step. Press the tiles gently so they’re flat and stable. Bring the tile cutter out again, if you need to slice any further edges.
Stair by stair, the project will start to look like a gleaming masterpiece. When you’re finished, leave the area to dry for a full day.
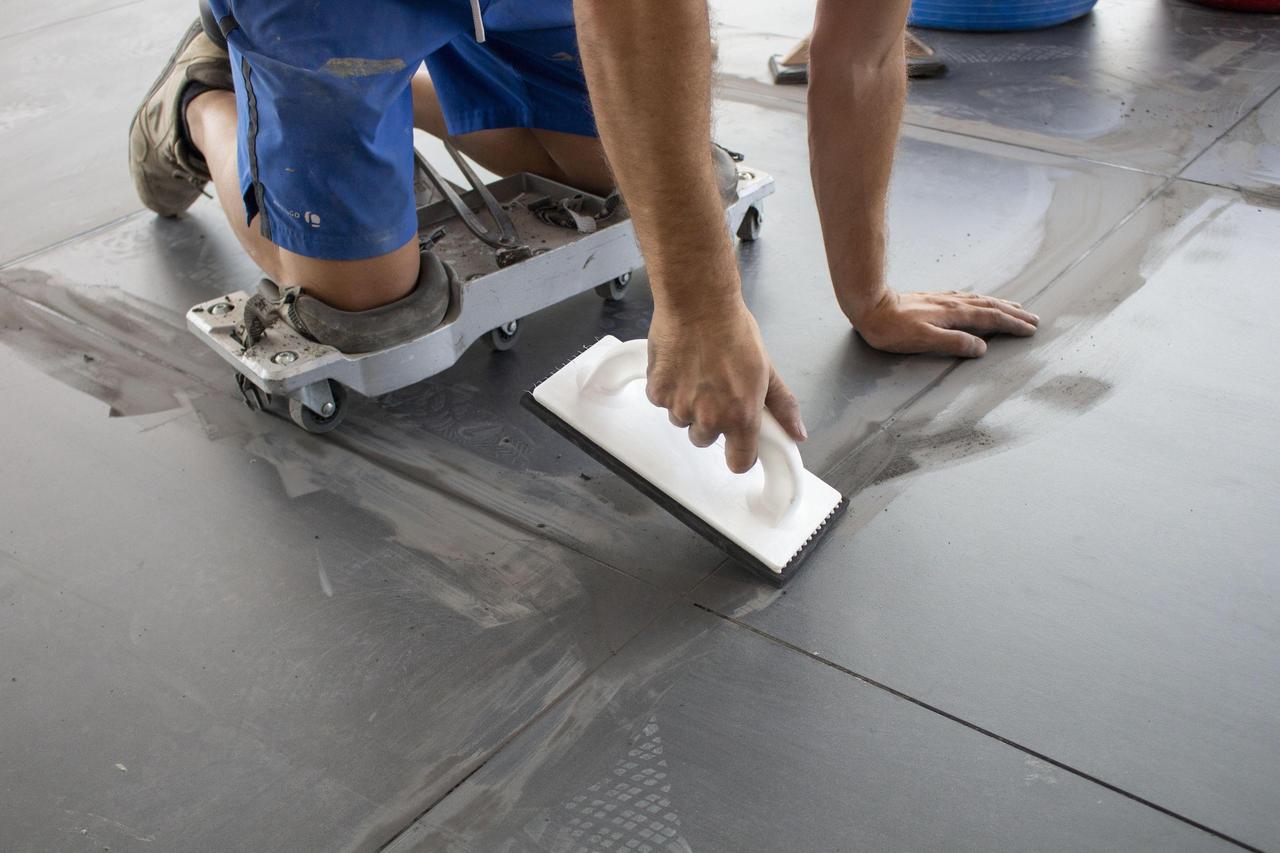
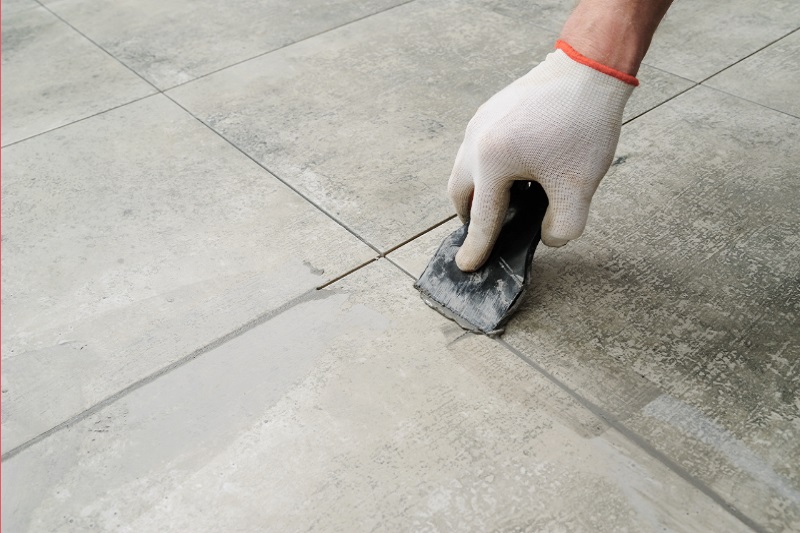
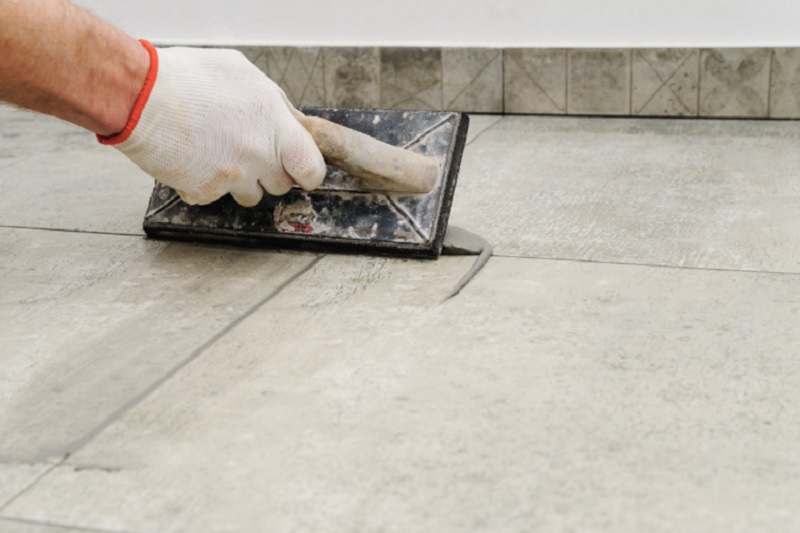
Step 6 – Grout the lines
Next up is the grouting phase, which involves the ‘filling in’ of all the lines running across the tile patchwork.
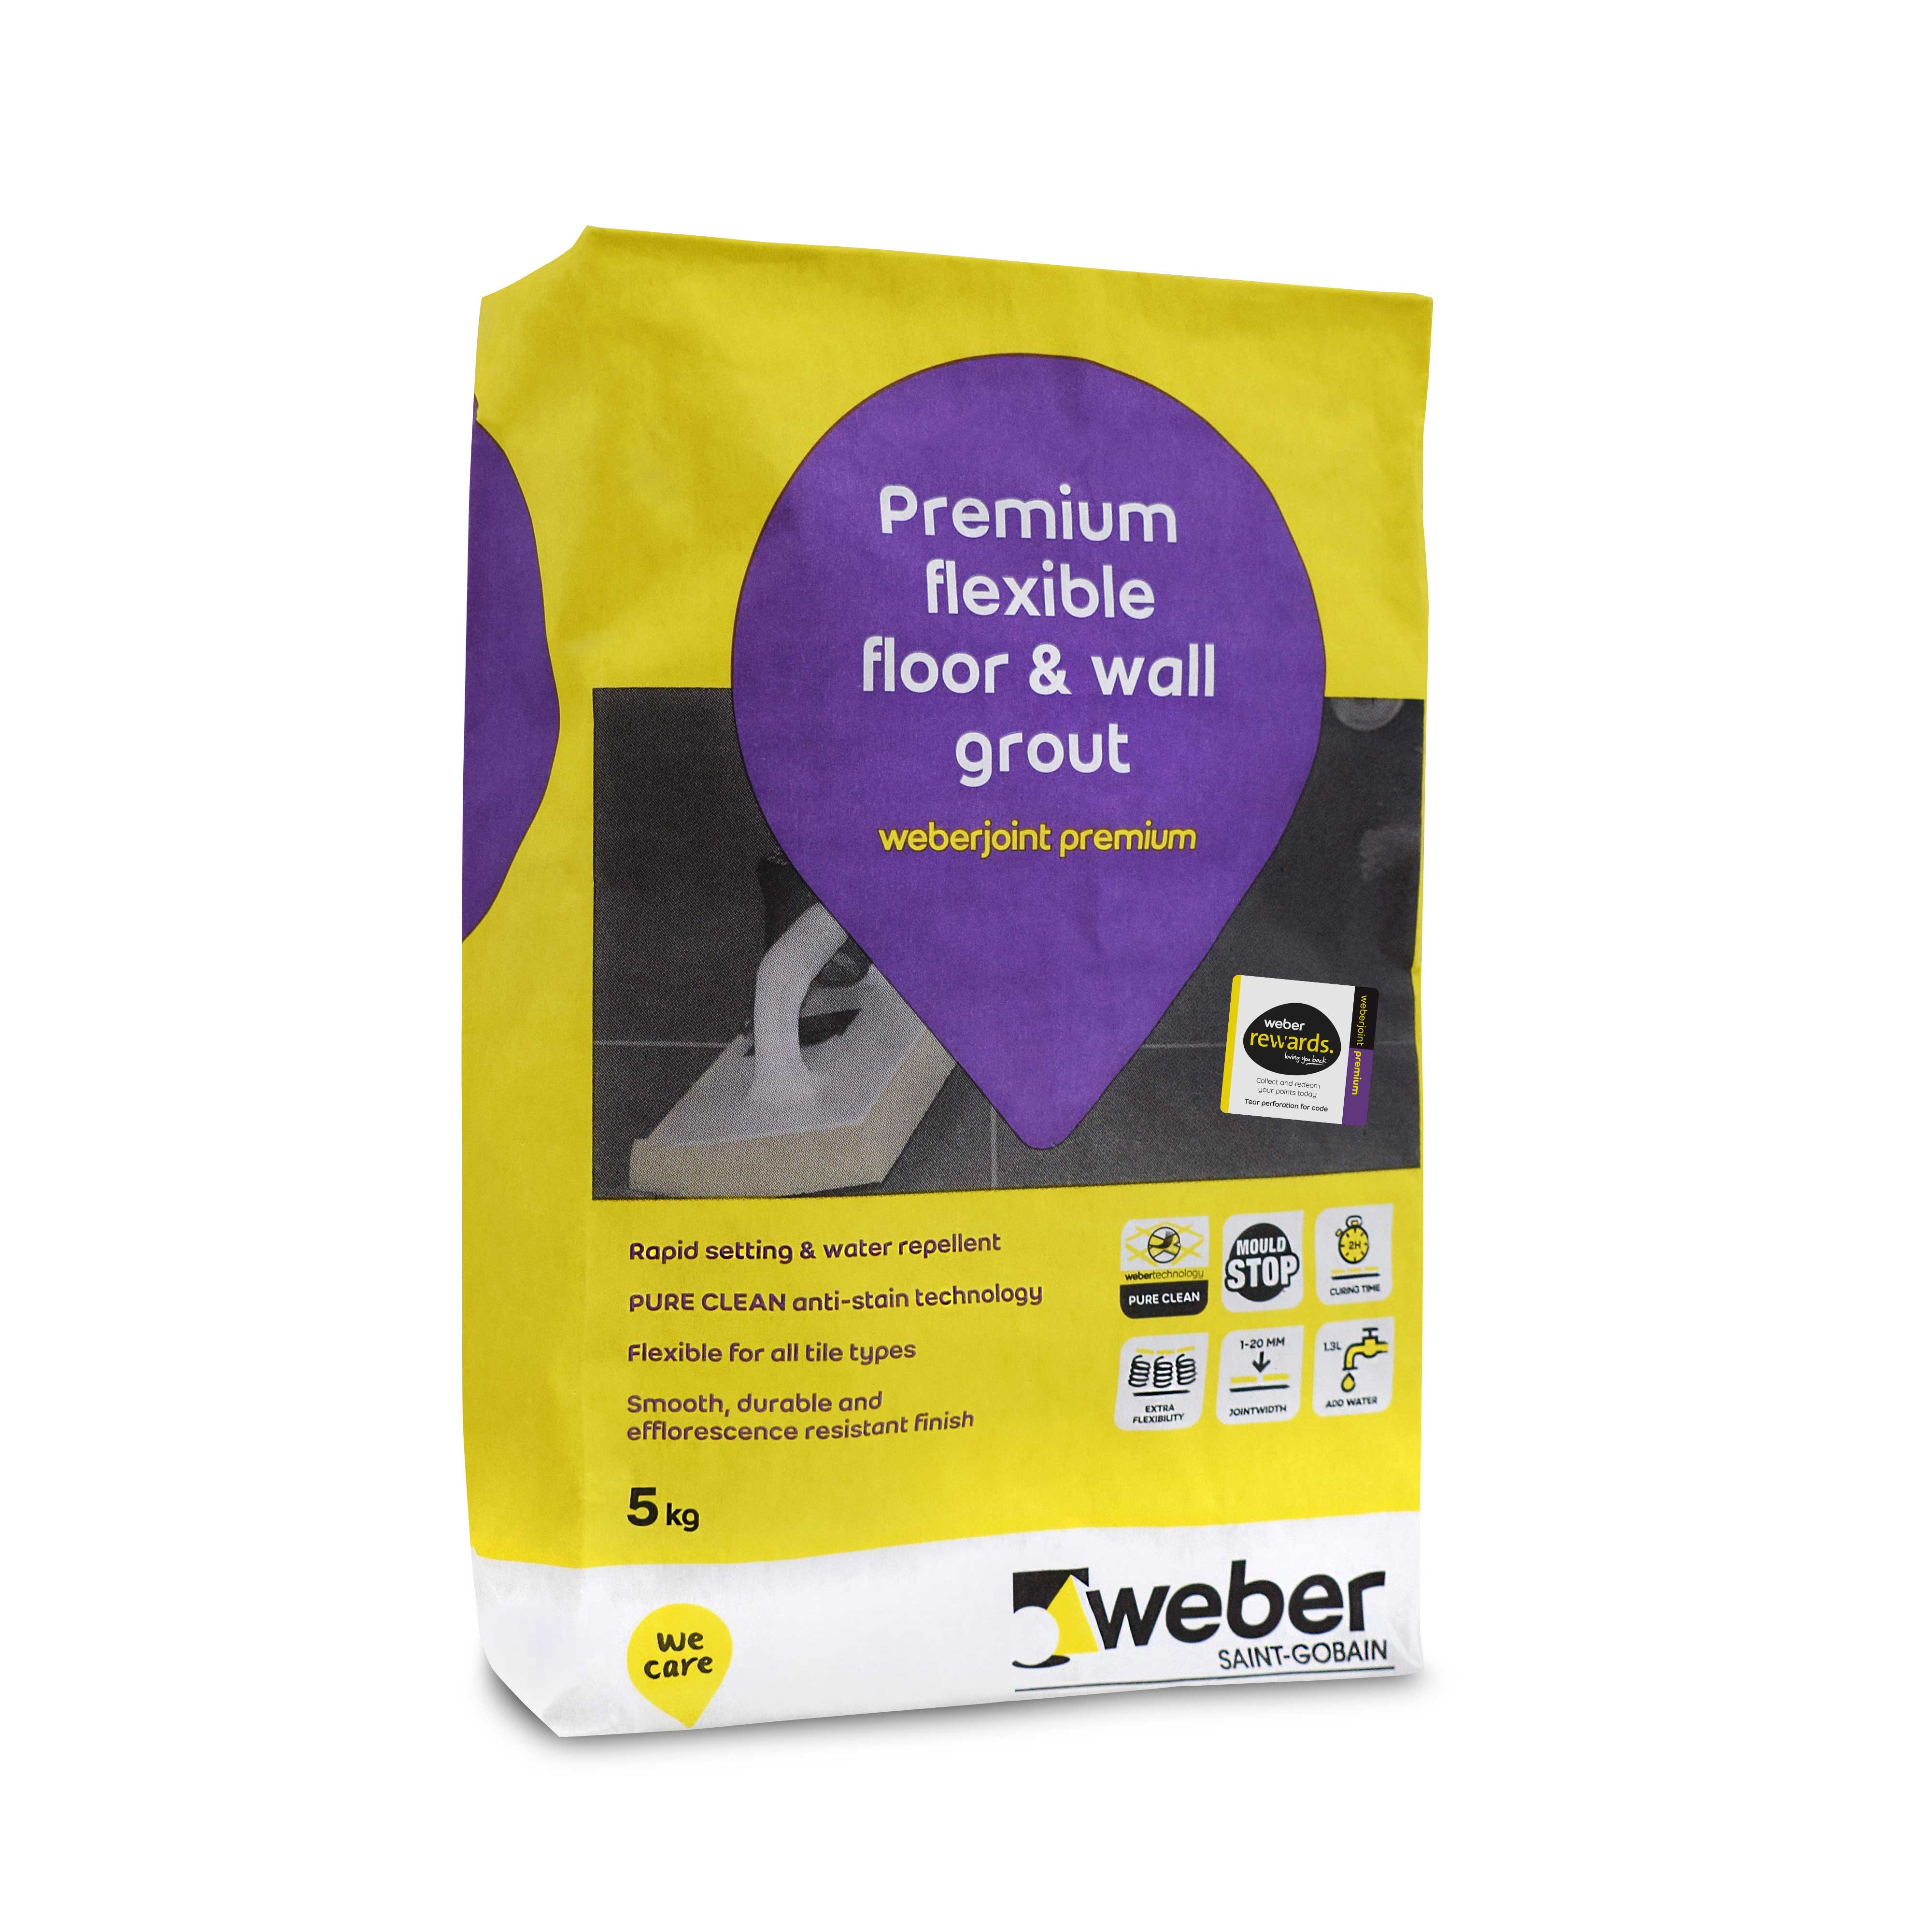
Once more, Weber come to the rescue with their Joint Epoxy Grout, available in a spectrum of colours. It suits ceramic, porcelain and quarry tiles, so you’re covered for a number of materials.
Once mixed, the grout is applied to the tiles with an industry float held at a 45-degree angle. It’ll stream into the gaps between each cut. Wipe the excess away with a lightly damp sponge.
Be careful, because you don’t want the grout lines to get too wet. It’s one of the final recommendations for how to tile a step, and we don’t want you going wrong at the eleventh hour…
Take the spacing pins off when you’re done. Then sit back, marvel, and wait another 24 hours. The stair challenge has been surmounted! All that remains is the sealing task mentioned in Step 1.
We think we’ve been pretty clear on what to do, but if there’s anything else you’re curious about, speak to the Atlas Ceramics team via phone or email.
We give tilers the best gear for step, floor or wall projects, and none of our products have let us down – even on the tough-to-master staircase jobs.