


How to tile a Wall

PREPARATION:
In tiling; preparation is just as important as the fixing. Cutting corners is not recommended as you will only be giving yourself more work further down the line.
1. Tile Backer boarding is an inert board designed for fixing tiles in most domestic applications; to ensure these are installed correctly – we recommend following the instruction of your backer boarding manufacturer to ensure that the tiles will be adequately supported.
.jpg)
2. New Plaster should be left for at least 14 days and be thoroughly dry and brushed down prior to tiling. Old plaster is suitable for use immediately as long as it is sound. You will want to check with the manufacturer of the tile adhesive whether you will need to prime the surface before tiling or not. The weight of tiling should not exceed 20kg/m².
3. Plasterboard is suitable for walls providing that it is well supported with the board being a minimum thickness of 12.5mm. Should you use plasterboard – ensure that you fix tiles directly onto the paper facing; do not skim with finish plaster. The weight of tiling should not exceed 32kg/m².
4. Painted surfaces. If you are planning on tiling onto a painted surface it is imperative that you conduct a thorough examination of the surface, as the success of the installation depends on getting a good adhesion between the paint and the surface to which the paint has been applied and also between any substrate and basic structure. Before tiling you will need to remove any old wall covering and flaking paint. Fill in any cracks and voids with a suitable filler. Ensure the surface to be tiled is smooth, clean and free from Dust, dirt or grease.
Take a length of timber and mark out the tile widths to help you identify where the tile will start and finish – remember to leave space for the joints, which must be at least 2mm wide for most tiles – use tile spacers.
Set out the horizontal position of the tiles so that the same size cuts are made either side of windows etc. Small difficult cuts should be avoided as these may spoil the appearance. Plan each wall carefully – and remember that any patterns or designs will need to be matched in the corners of the room.
THE TILING:
1. Find the lowest point of the base you are working to (skirting, bath top, work surface etc) with a spirit level.
 2. Place a tile against the lowest point and draw a line on the wall along the top of the tile (The start point of the line will depend on the setting out of the tiles, as the tile against the floor may be a cut tile).
3. Nail the batten along the wall to this line. Use the spirit level to ensure that it is level, the first line of tiles will rest on this batten.
4. Draw a vertical line (plumb) at the centre of the wall. Use this line to ensure that tiles are in line vertically.
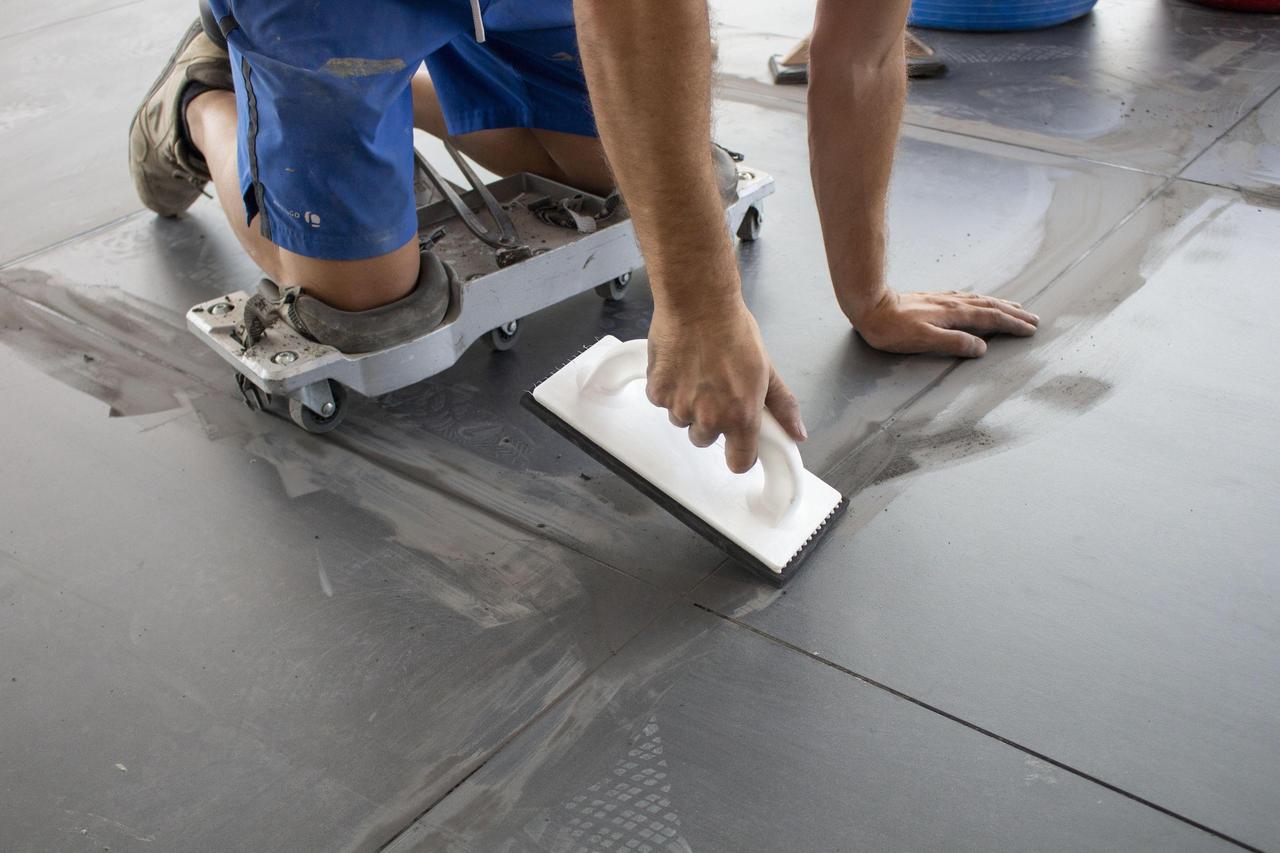
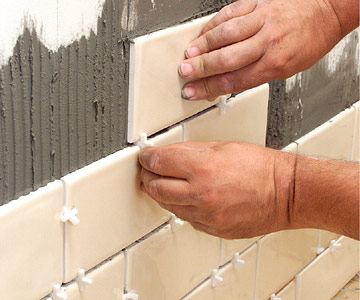
5. Spread the wall tile adhesive using a tile adhesive trowel onto the wall. Work in small areas, a metre at a time, so that tiles are fixed before the surface of adhesive has time to form a skin. Press and twist the wall tiles into the adhesive starting at the bottom and working upwards, one row of whole tiles at a time, using spacers (if required) to ensure a uniformed joint. It is advised to check the horizontal and vertical lines with a spirit level every few rows.
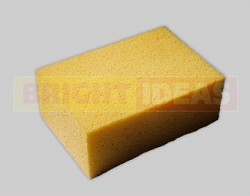
6. Remove surplus adhesive from joints using a sponge to allow room for grouting and complete the tiling.
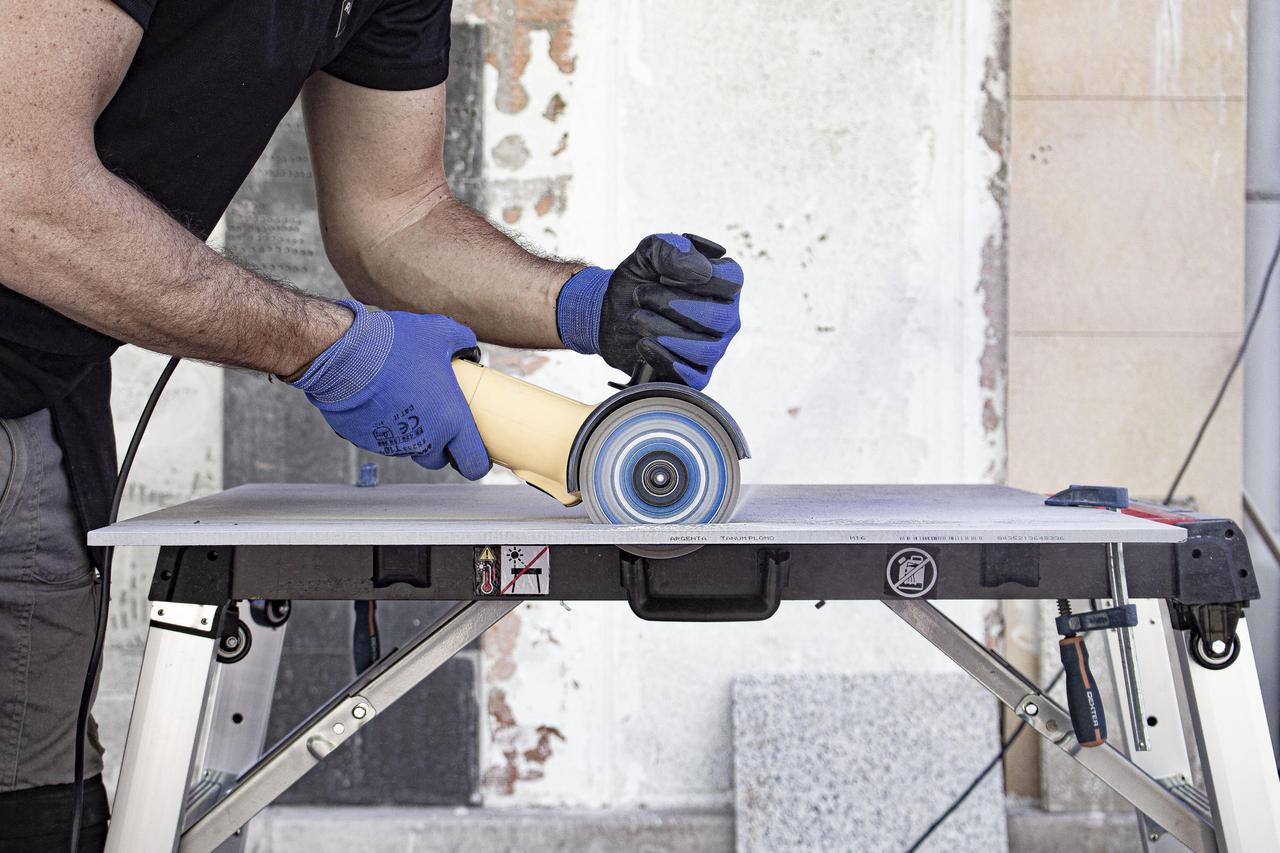
7. Should a tile need to be cut – you can use a variety of tools depending on the size of the cut (Tile nippers are perfect for small jobs/individual tiles, whereas a tile cutter is perfect if you need to cut a larger amount).
8. In awkward locations it is often easier to apply the adhesive onto the back of the tile as opposed to the wall.
9. If the tile does not have a glazed edge; a clean finish on external edges and corners can be achieved with the use of tile fixing trim (which would be installed at the time of tiling). To prevent any seepage around baths, basins and plumbing equipment such as shower taps – a plastic sealing strip or silicone sealant should be used.
GROUTING:
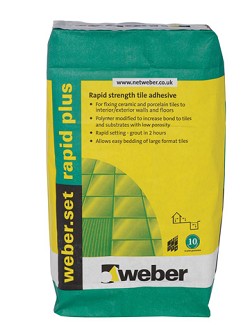
 Do not start grouting for at least 24 hours after fixing unless you are using a rapid setting tile adhesive. There are many differing types of grout, so picking the correct one for your project is very important, especially if you are using highly glazed tiles.
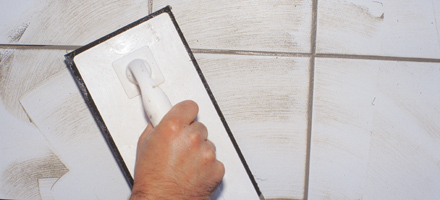
Force the grout into the joints using a grouting float or sponge, it is recommended not to use a rigid spreader as these tools can cause scratching to certain tile glazes. Remove any surplus grout from the surface with a sponge and then polish with a dry cloth.
Share this article
Article by Mike Lovatt
Here at Atlas Ceramics we import and distribute high quality products to support the tiling industry. These products include Polished tiles, Matt tiles or Satin tiles for the wall and floor, ceramic and porcelain tiles, natural stone and mosaics, from Italy, Portugal, and Spain.