The Mixing & Application of Grouts

The mixing of tile grout depends on the grout that is chosen for your project.
Feel free to read the descriptions below on how to mix your grout to perfection. (Please note that while this article discusses dispersive grouts, it is not a product we stock).
Dispersion
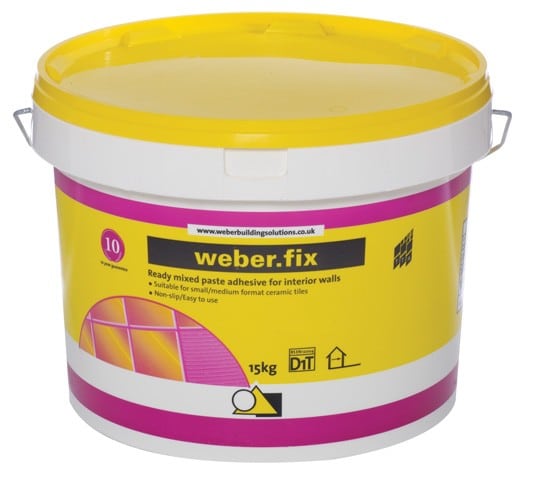
This grout is supplied ready to use, straight from the tub. The grout inside should be a smooth, creamy paste.
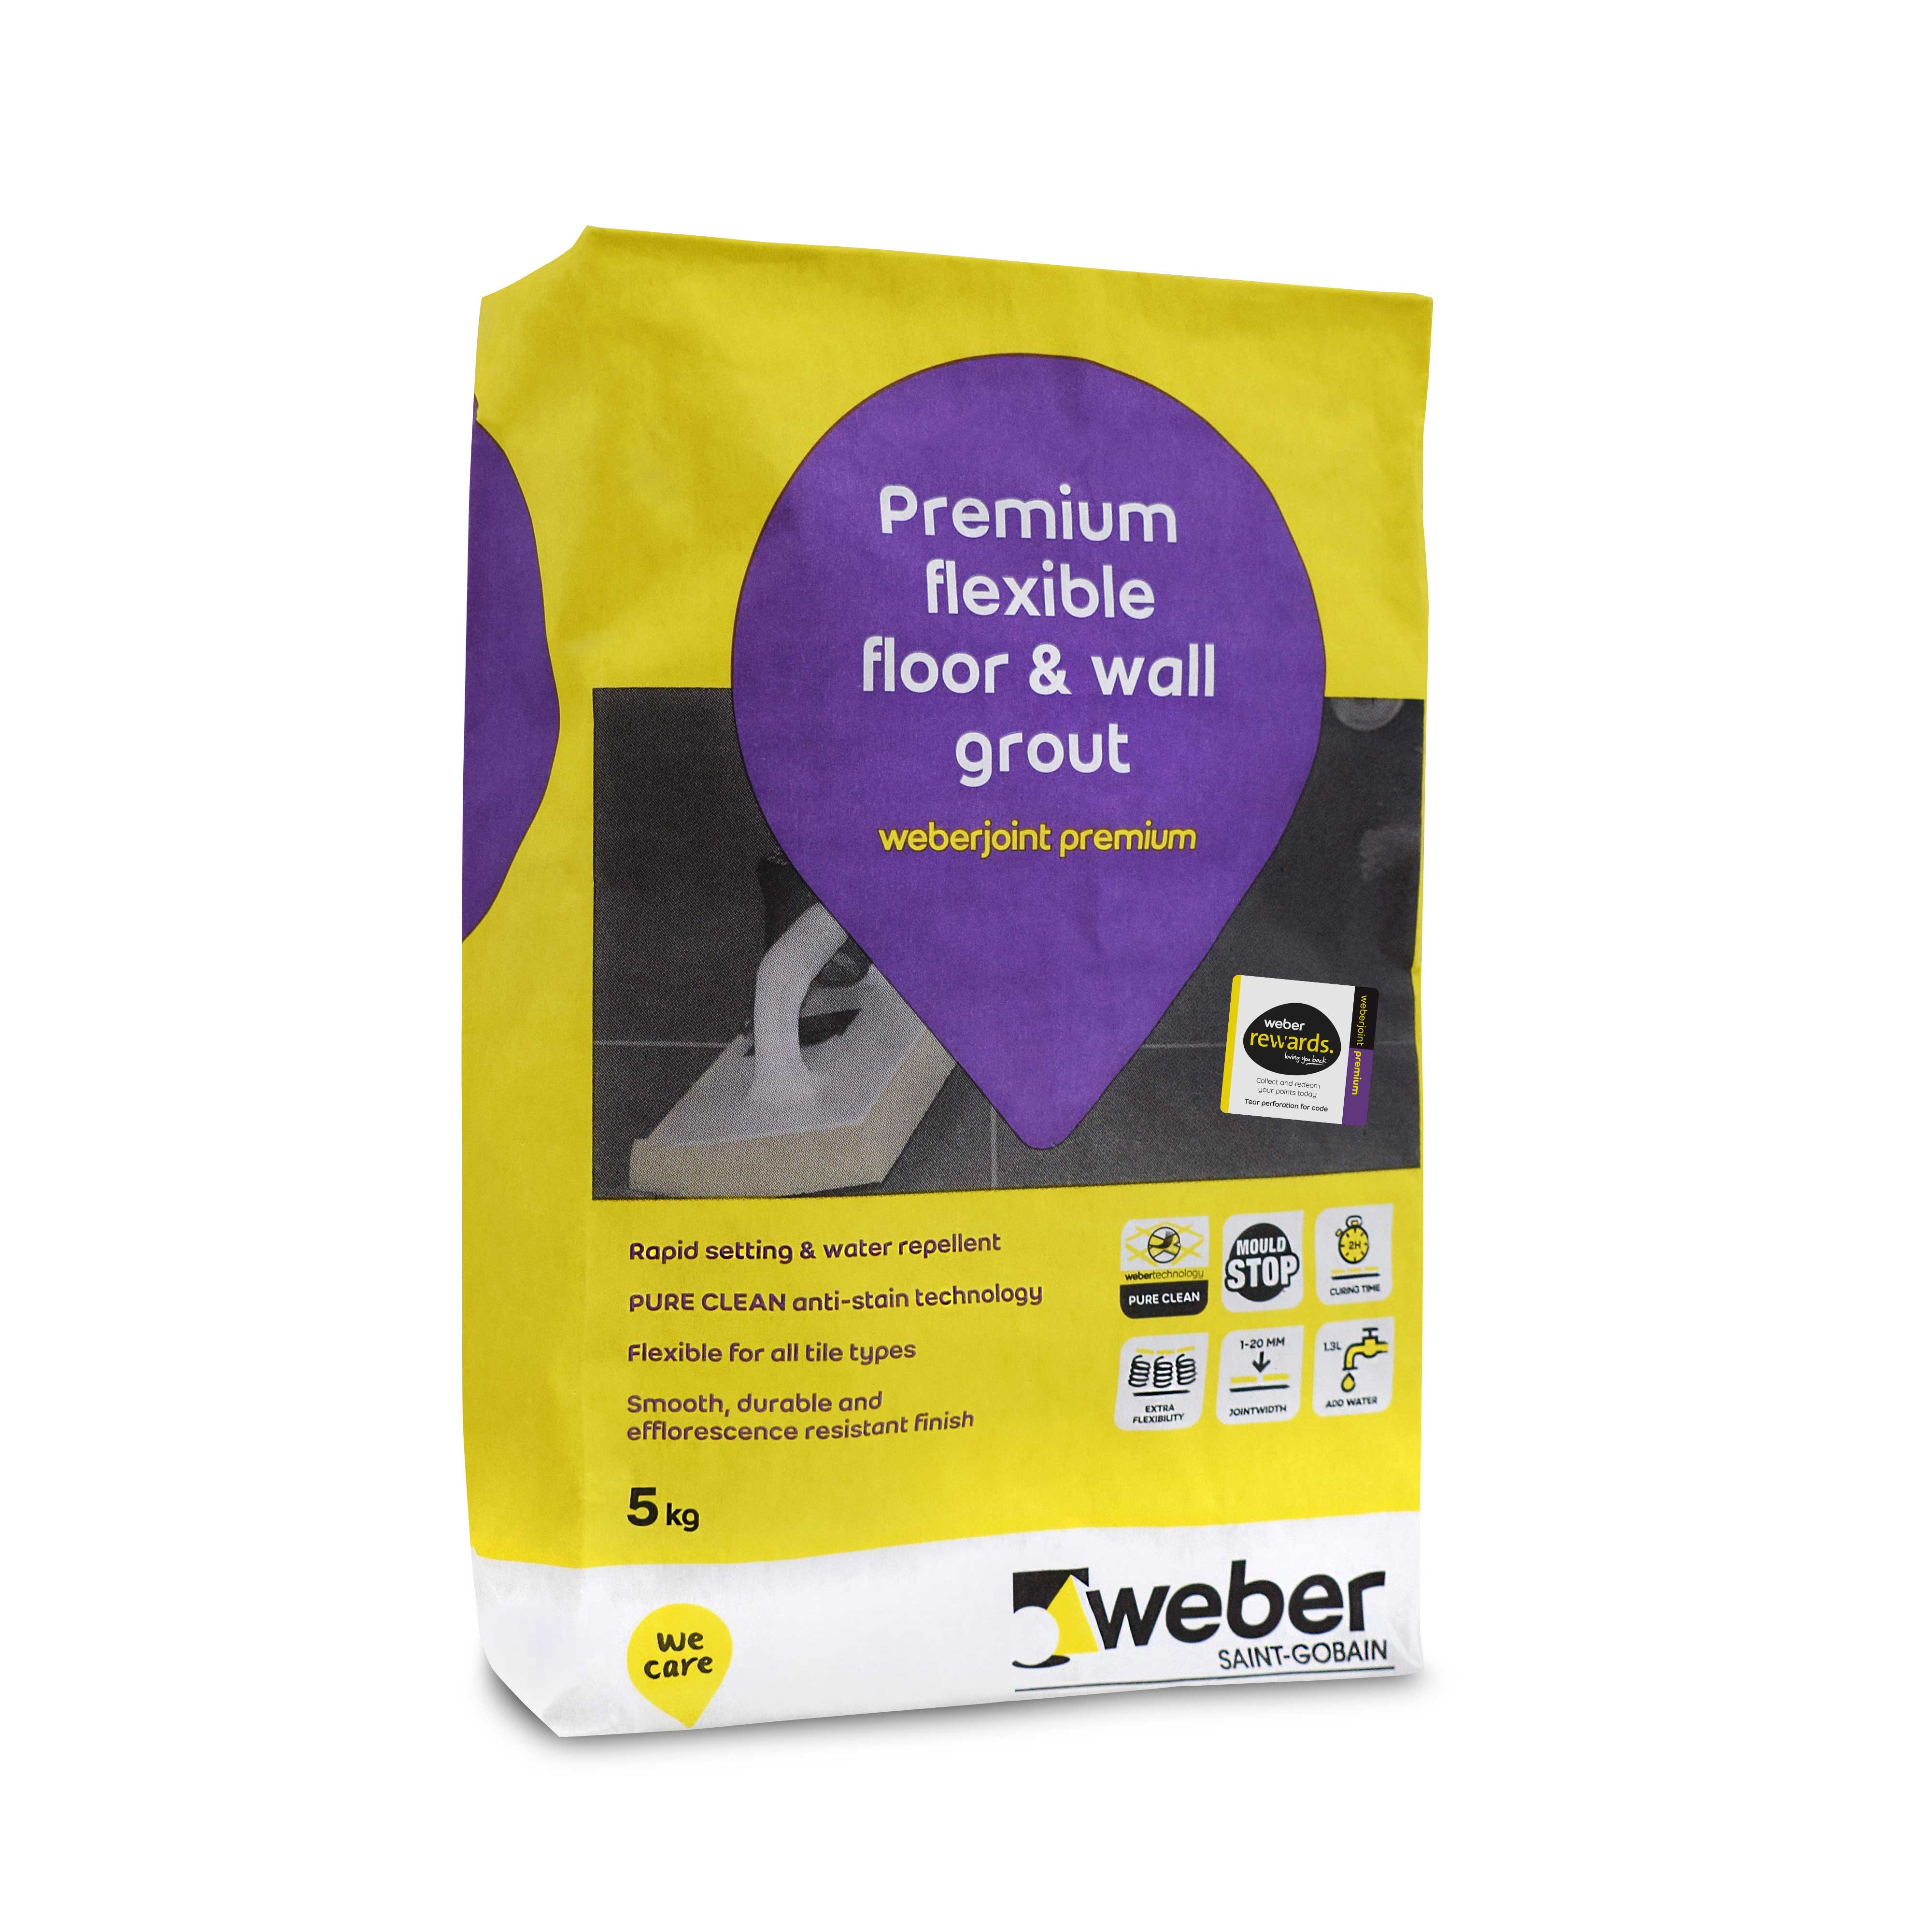
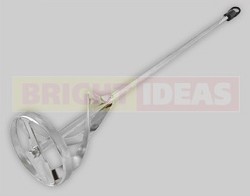 Add the powder to clean, cold water and mix until a lump free paste of a uniform colour is achieved.
To achieve the best results – it is advised that when doing this you refer to the manufacturer’s instruction to make sure that you follow the water to powder ratio, and also to avoid adding to much air to the mix by over-mixing or if using a drill mixer – mixing at speed that is too fast.
Reaction Resin:
Add the components in order as recommended by the manufacturer. These grouts will typically comprise of:
- Resin
- Curing Agent
- A pre-blended filler
Mix until lump free and a uniform colour is achieved, again as with the cementitious ensure that you do not over mix as it can have an adverse effect on the grout. Also ensure that you follow the instruction of the manufacturer for the recommended ratios of filler, curing agent and resin.
With regard to the application, this will vary slightly depending on the grout type that is used.
Cementitious Grouts:
Make sure that the tile joints are at least 6mm deep and that there is no dust or debris around the area.
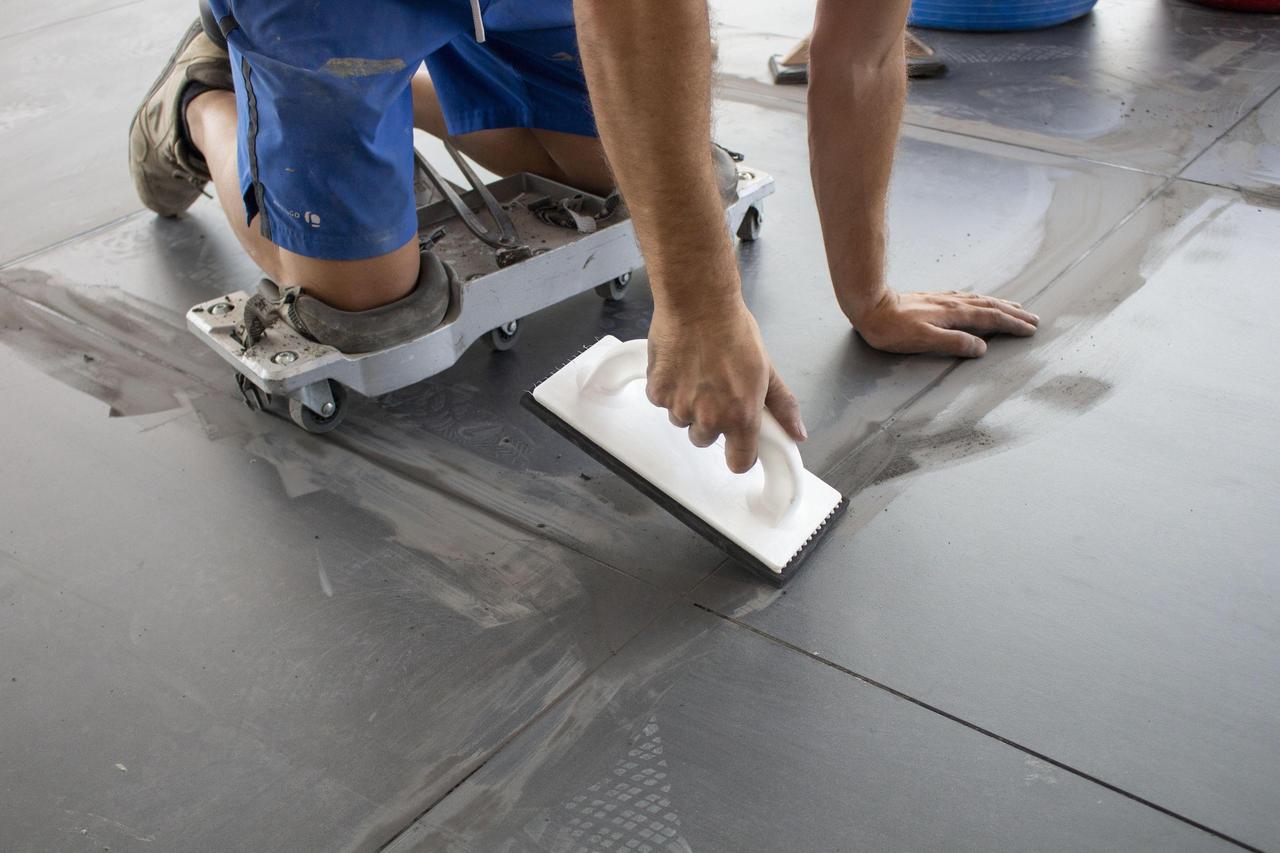
Following mixing of the grout, you will need to carefully move some of the grout, using a gauging trowel onto a suitable grout float or squeegee.
Apply the grout across the surface of the tile with the grout float making sure that each joint is filled fully and compacted down.
Ensure that you work in areas that are equal to each other that will attribute to approximately 15 minutes application time. Try to remove excess grout as you go on. It is best to direct the float in a diagonal fashion across the newly grouted area to ensure that no grout is removed from the joints.
Using a damp sponge, remove any remaining grout residue from the tiles, again making sure that the sponge is moved diagonally across the tiles.
Rinse the sponge in clean, cold water thoroughly and try to remove as much water from the sponge as possible. Then lightly direct the sponge in line with the grout joints.
Once the grout has had set sufficiently, use a clean, lint free cloth to bring the tiles up to perfection.
Please note that it is possible for some cementitious grouts to be enhanced by the addition of a liquid polymer. C2 grouts contain polymer enhancements already to give the grouts additional characteristics such as mould stop, whereas C1 grouts will benefit from the addition. It is also worth mentioning that by applying a liquid polymer admixture to C1 grouts will impact on the visual appearance of the grout as it darkens it slightly.
Dispersion & Resin Grouts:
Make sure that the tile joints are at least 6mm deep and that there is no dust or debris around the area.
Following mixing of the grout, you will need to carefully move some of the grout, using a gauging trowel onto a suitable grout float or squeegee.
Apply the grout across the surface of the tile with the grout float making sure that each joint is filled fully and compacted down.
Ensure that you work in areas that are equal to each other that will attribute to approximately 15 minutes application time. Try to remove excess grout as you go on. It is best to direct the float in a diagonal fashion across the newly grouted area to ensure that no grout is removed from the joints.
Within 30 minutes of applying the grout, clean off any residues with an emulsifying pad, which has been dampened using clean, cold water 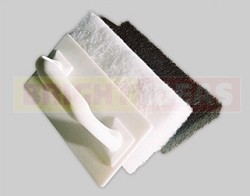 to break down what grout has been left over. Using a circular motion, keep the pad relatively flat to the surface to ensure a flush joint; whilst also making sure no water runs into any un-grouted joints.
Clean off any emulsified grout residue with a fine sponge, taking care not to drag grout from the joints by cleaning diagonally to the grout lines.
Any remaining haze or residue on the tile surface must be cleaned off by the next day using a second emulsifying pad, with an alkaline, water based detergent; once clean, make sure that any cleaning chemical residues are rinsed away using clean water.
At Atlas Ceramics we recommend Weber Grouts, and have a wide range of their grout products in stock at all times. For cleaning and protection we recommend Lithofin products, many of which are available with 20% off when ordered online, and also Bright Ideas for tools and accessories.
For more information on grout types – please click through to our article on Grout Types. However, if you need help on anything to do with grout, please feel free to contact a member of the Atlas Team on (01425) 621173 or via e-mail: info@atlasceramics.co.uk
Article by Mike Lovatt
Here at Atlas Ceramics we import and distribute high quality products to support the tiling industry. These products include Polished tiles, Matt tiles or Satin tiles for the wall and floor, ceramic and porcelain tiles, natural stone and mosaics, from Italy, Portugal, and Spain.


