


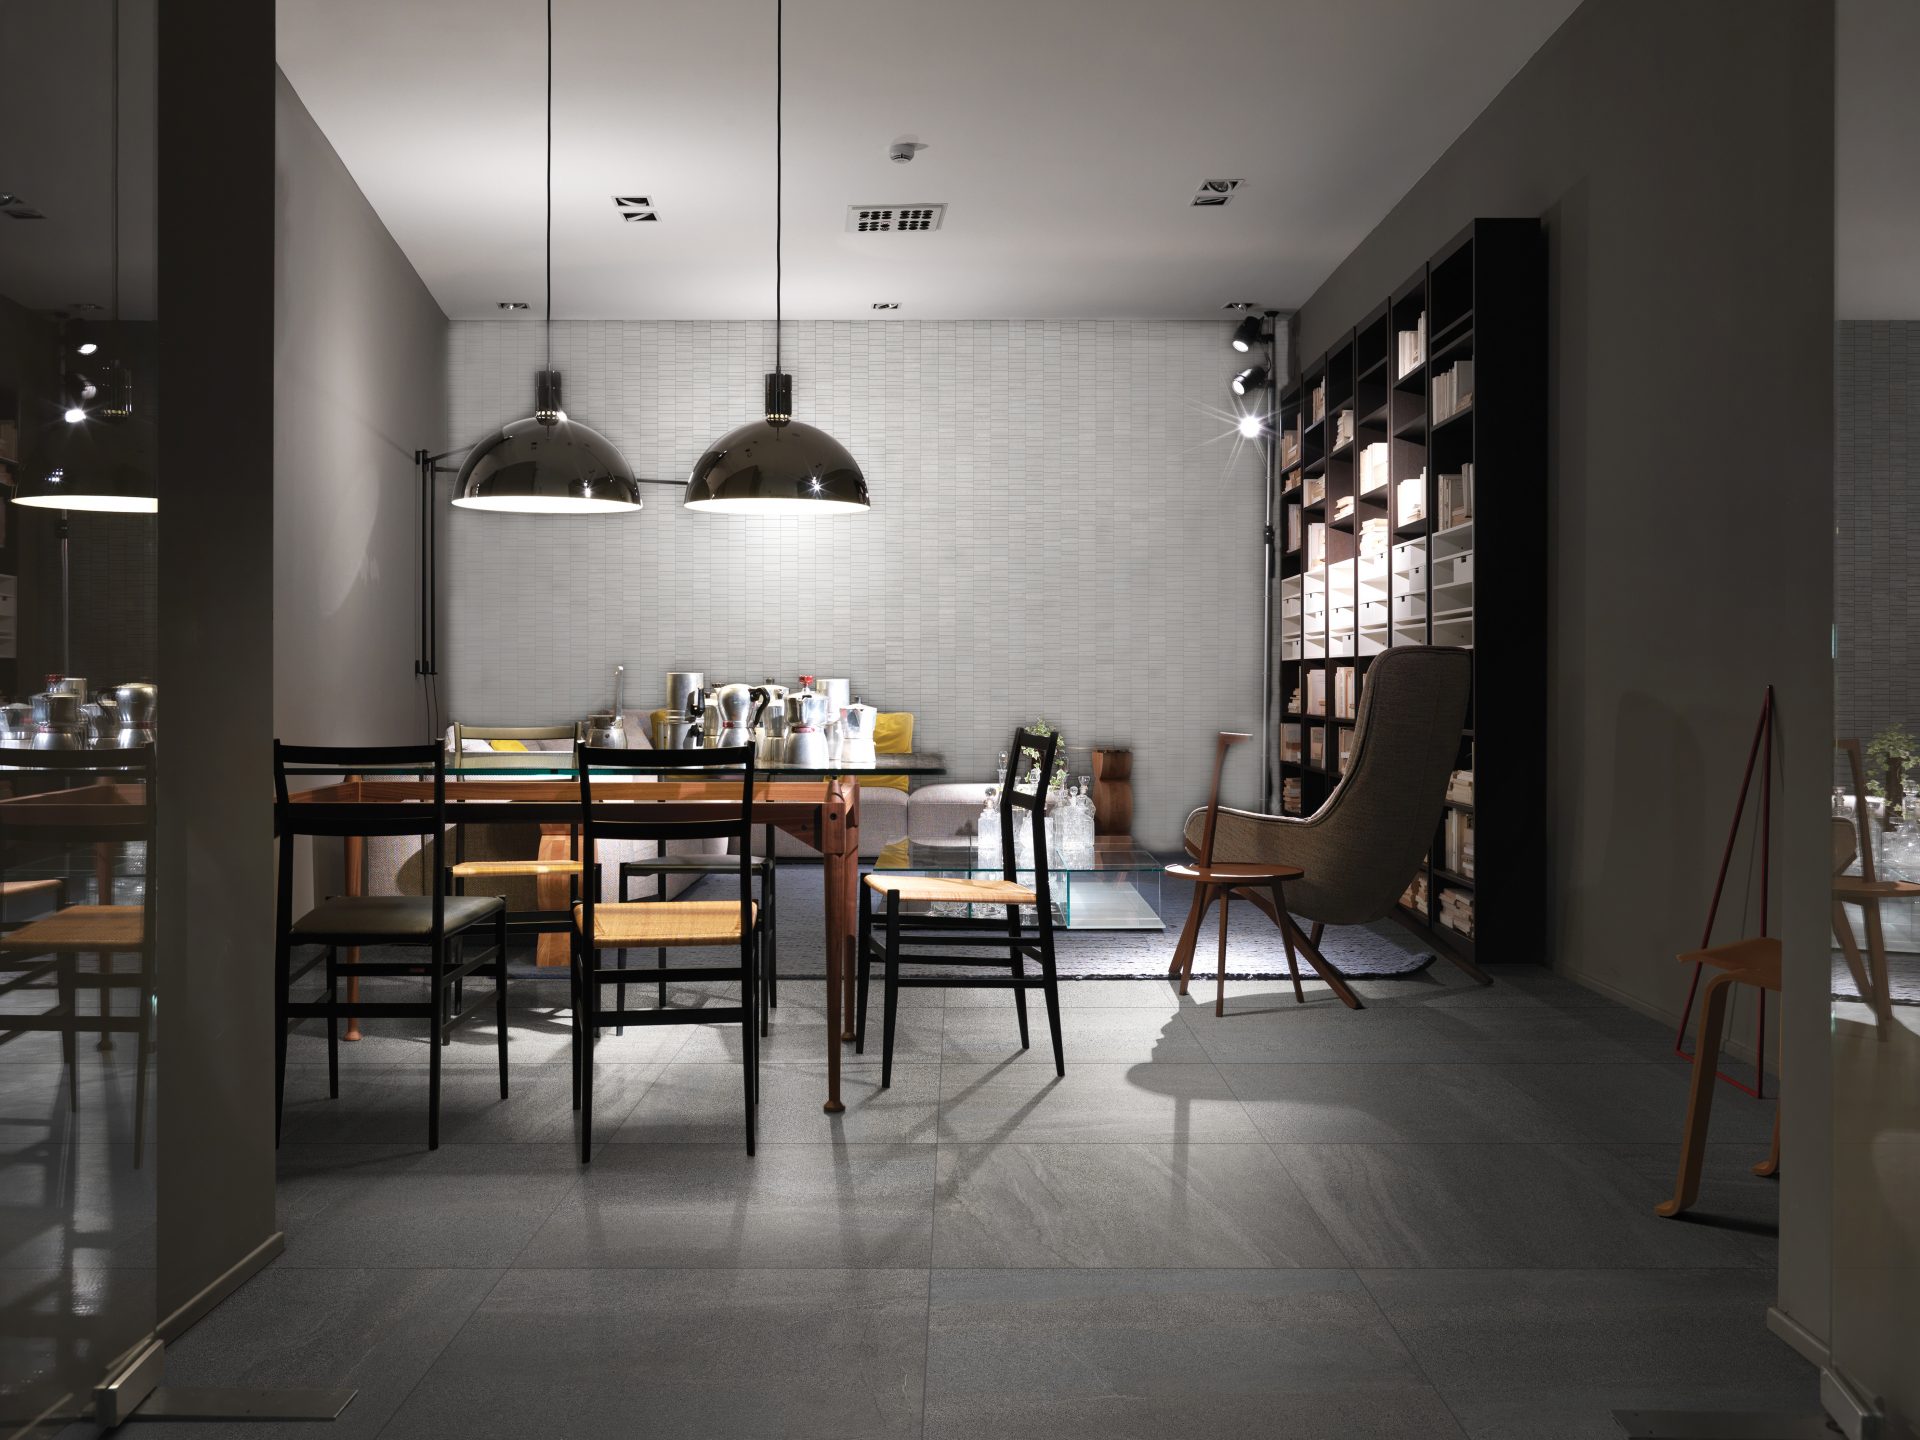


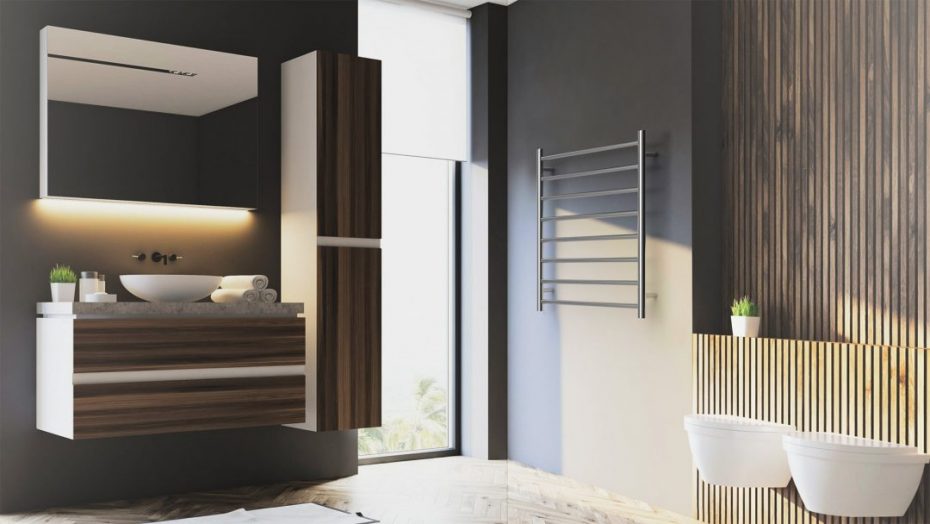


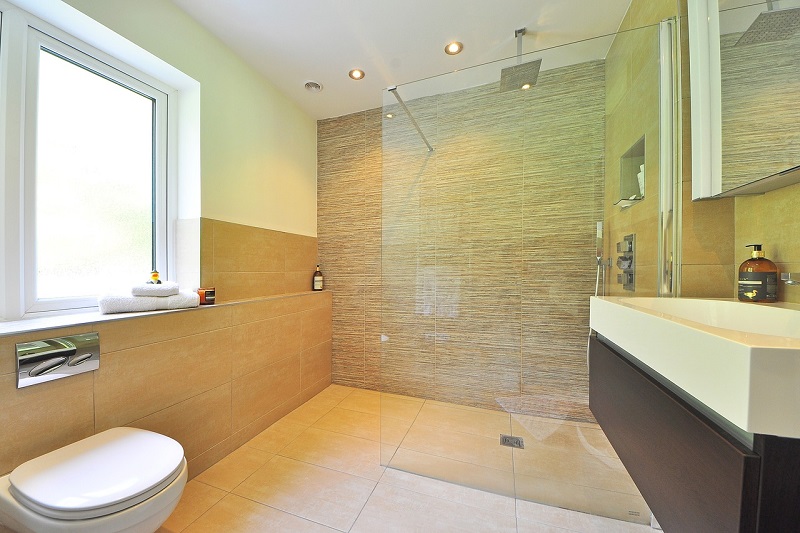
What Is Wet Room Tanking?

The feeling of a powerful shower on your back can be intoxicating. So much so, in fact, that we often don’t want to leave our bathrooms much at all…
A lot of you, like us, spend several hours a week in the company of faucet, sink and tile, lazing in the warm steam.
Over time though, this can make your bathroom degenerate unnoticed. This is why many people choose to build a ‘wet room’ – something we fully endorse.
But to do so, you’ll have to tank it. So what is wet room tanking? Allow us to explain…
Defining the Term
The whole process involves making your walls, floor and ceiling robust enough to bear a lot of water exposure. That’s what tanking is – waterproofing the surfaces that will be laid with tile or paint. It’ll turn the bathroom into a 100% waterproof space. And, as you might imagine, the task takes some work.
There are two types of tanking methods. It’s important to know what they are before you explore the possibilities within.
The first is a physical membrane (usually plastic) that wraps over walls, floors and joins, and acts as a base above the substrate (the bare surface area around the shower, bath and sink). Tape is used for corners and pipe entries, so the whole wet room is secured. Newer membranes, such as warpseal, are self adhesive – cutting down installation times.
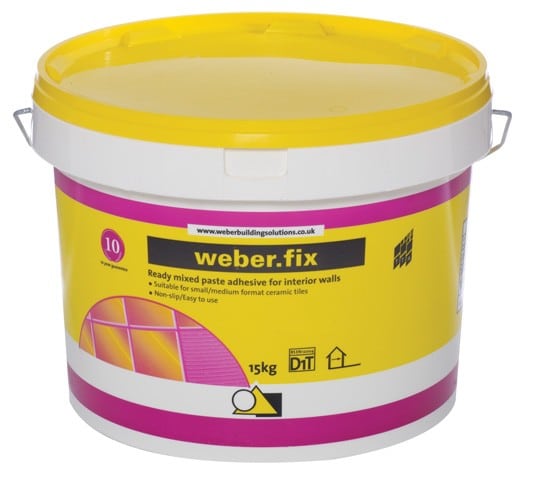
The second is easier and makes the most of modern proofing solutions. When we ask “what is wet room tanking?”, the answer increasingly falls to liquid sealants.
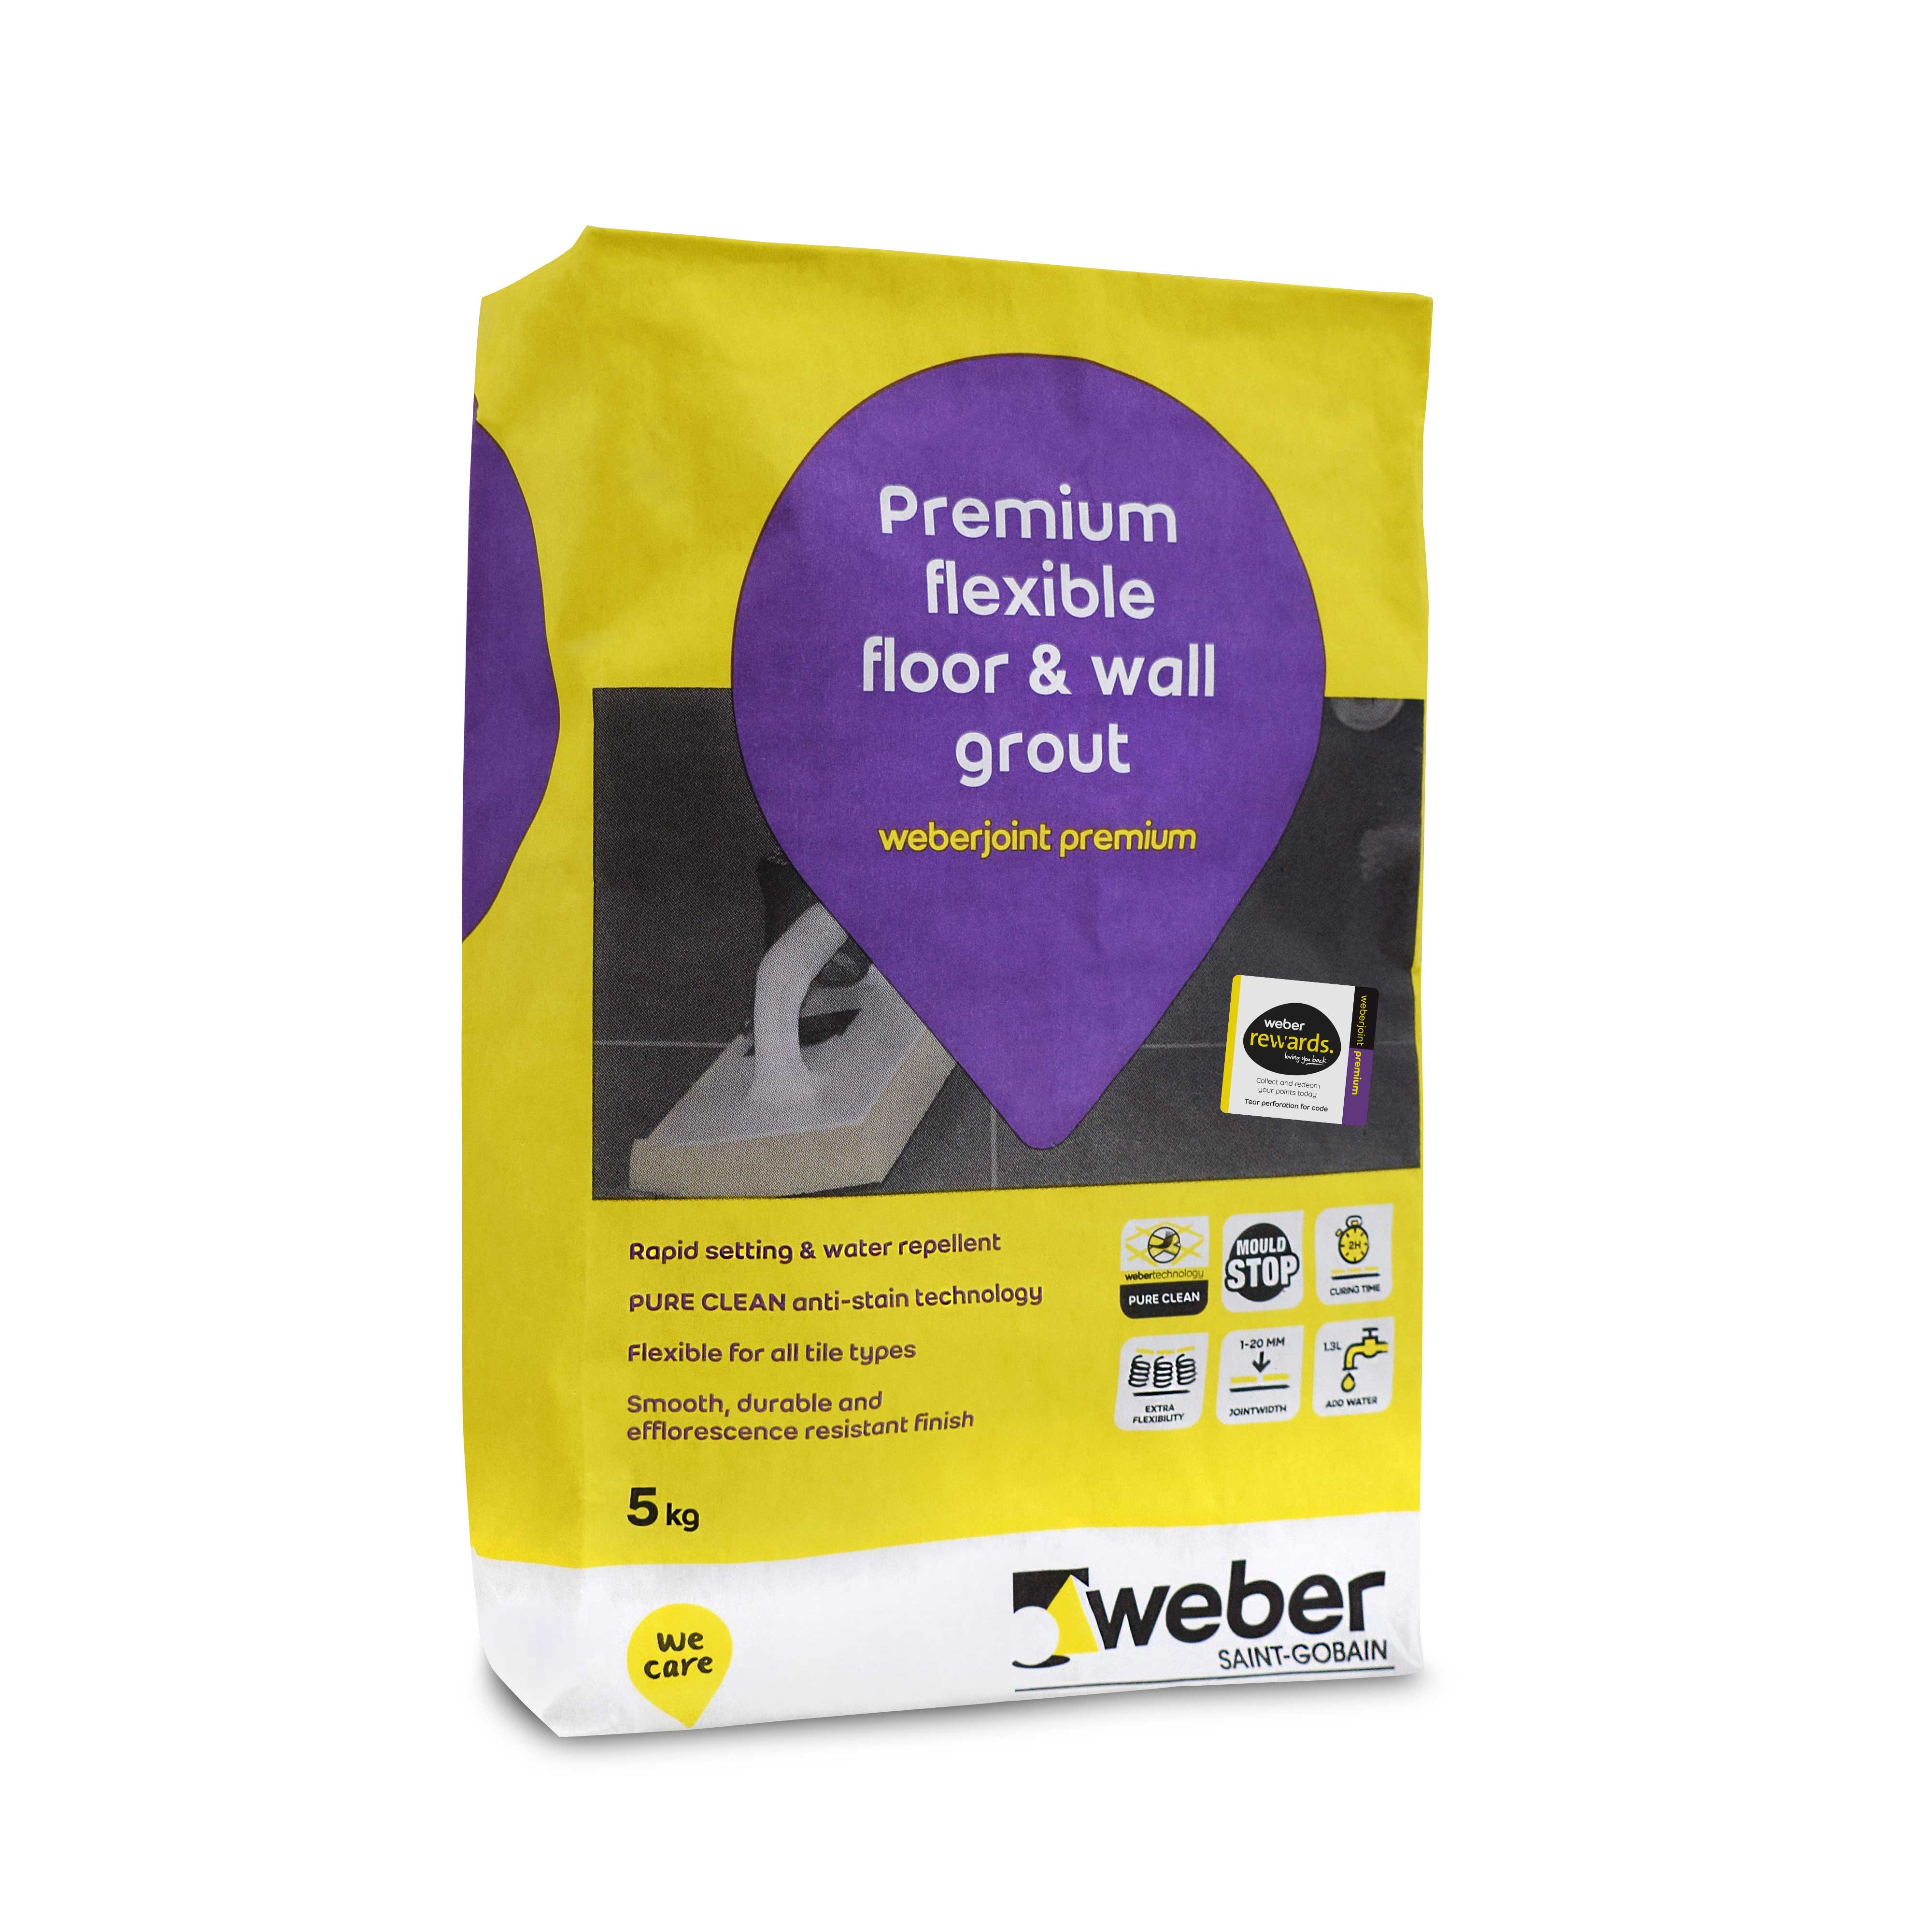
Weber.sys protect is a great example of a pre-mix that can be applied onto the substrate just like a coating of paint.
You’ll still need some specialised tape, such as that in the Weber tanking range, for corner areas. The liquid application can save a considerable amount of time on the project – perhaps many hours, if the bathroom is sizeable.
In summary, then, tanking can accurately be described as a pair of waterproof strategies for a bathroom that experiences heavy usage. It lends an extra layer of protection for the wood, plaster or concrete surfaces under your bathroom tiles.
Think this sounds like something you need? Read on…
Gauging the Need for a Tanking Challenge
If you want a wet room, you’ll need to tank the substrate before you tile it. If you don’t, the scope for damage is very real and very extensive.
Sustained moisture will take a serious toll on your property or business premises. Porcelain tiles, of course, repel water because they aren’t particularly porous. But the grout lines – as in, the adhesive that runs between the tiles – will allow some through.
Left to its own devices, water and steam will soak to the substrate, doing whatever you might expect from a liquid on hard substances. Wood will rot. Cement will be weakened.
Ceilings and walls can collapse. Leakage in the floor may spread throughout the foundations of the building. It’s just not worth the risk.
Much of this can continue without anyone realising. Large families, especially, will be maximising use of the bath, sink and shower; four or five people in a home can rack up a lot of water usage over the years.
One day you’re scrubbing yourself happily in the shower cubicle. The next, damp has made its presence known on the wall in the form of mould and weakened tiles.
To preserve your safety, as well as the building’s resale value, tanking is essential.
How to Do it in Six Simple Steps
So we’ve managed to satisfy the “What is wet room tanking?” mystery, and called out some reasons for planning the project in the first place. Now it only makes sense to describe how a tanking job is approached, so you’re able to start on one of the most rewarding tiling jobs.
Atlas Ceramics have Broken it Down into Six Easy Procedures:
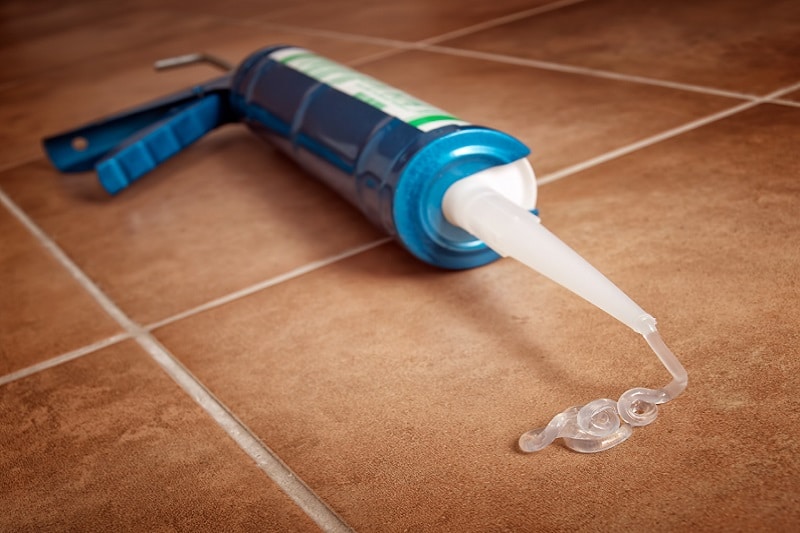
– 1. Get your Equipment in Place:
You’ll require the two products we mentioned above, in addition to Weber Acrylate Primer. This handy kit contains primer, sealant and tape for a very reasonable price.
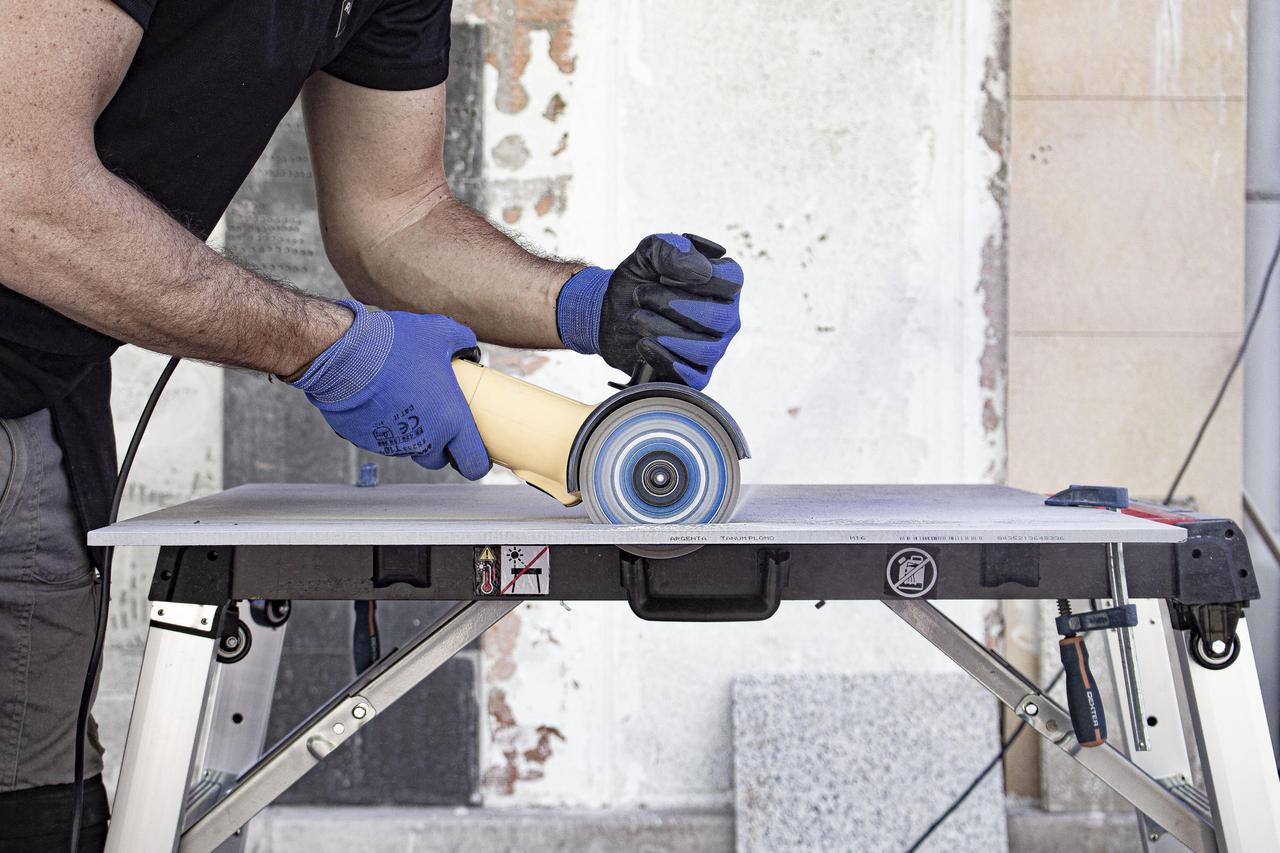
– 2. Set Up the Backing Boards or Level Out the Substrate:
With a series of Tile Backer materials – the kind that is moisture-resistant – you can guard the substrate to an even finer degree.
They aren’t absolutely necessary, but we recommend them if you don’t want to use tape for joint coverage. Install them with screws so the entire surface is ready for treatment, then fill in the lines with No More Ply Mega Strength Adhesive.
For those who don’t want to board their substrate, scrub and wipe the wall, ceiling or floor until it is free of debris. Floor Flex can be employed for underfoot areas.
– 3. Seal the Water Outlets:
Rubber seals can be applied to outlets such as a drain in the floor. Press the seal down until it rests comfortably, then paint a layer of tanking solution on the bottom, where it’ll rest. Press down firmly until it dries. Then brush another coating over the top.
– 4. Start the Priming Task:
Using a brush once more, cover the tanking surfaces in primer fluid. The coat shouldn’t be too thick – aim for two layers at most. Apply the same treatment to the skirting boards by the floor, or (if you’re working on a wall) the entire side of a room, one by one.
– 5. Tape Up the Joins and Corners:
You’ll have a 10m roll of tape in the Weber kit. Cut it to fit any parts of the wall, ceiling or floor that form a corner or join.
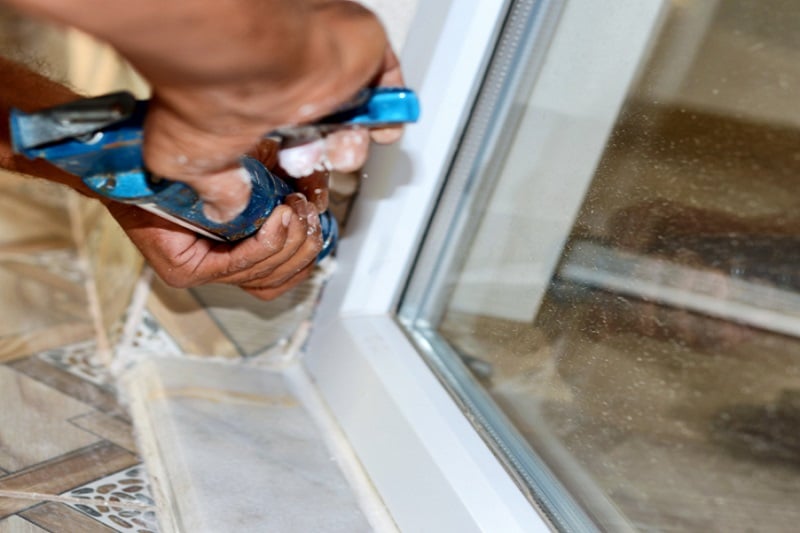
– 6. Apply the Final Sealant:
Now’s the time for the main layer of tanking solution. You can brush it over the whole space, including the tape.
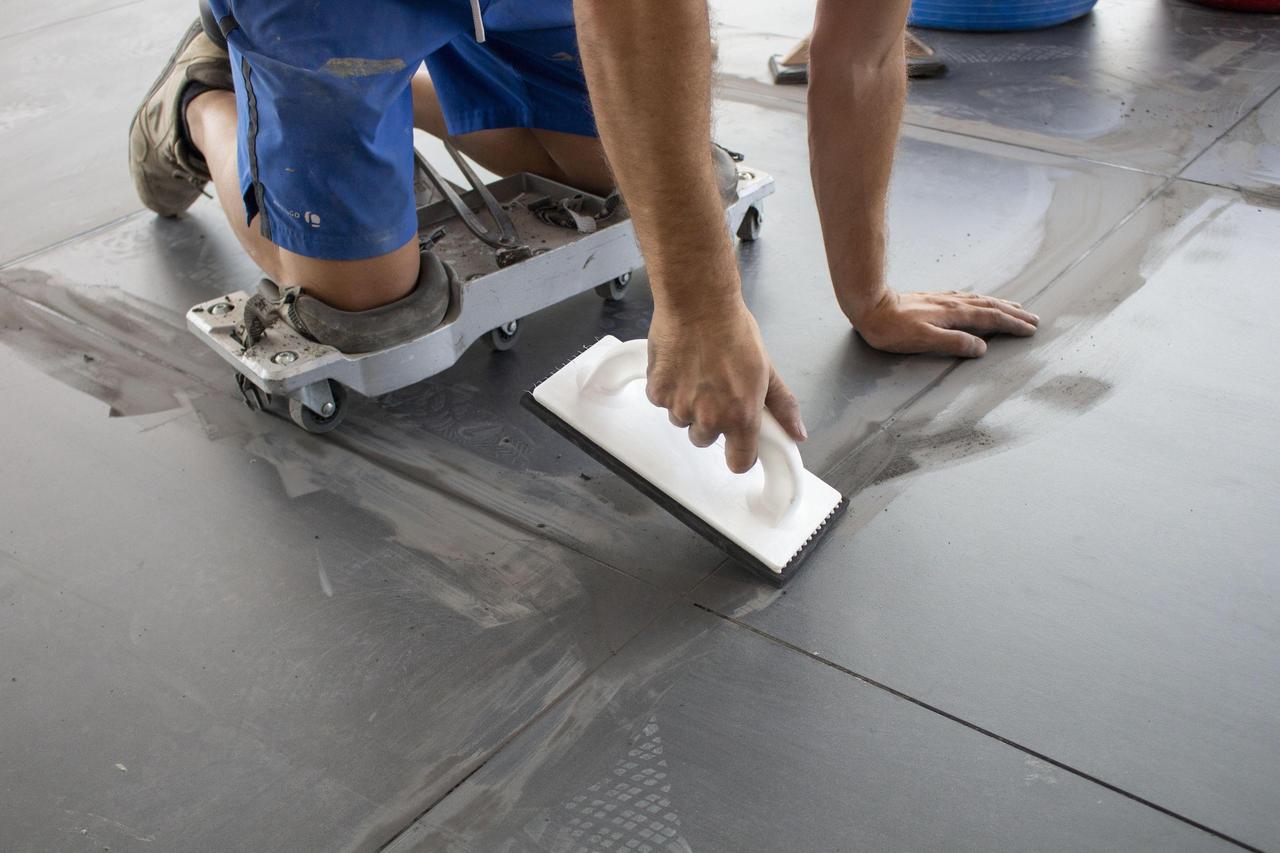
If you’re treating a floor then be careful to use a levelling tool for an even finish. Any irregularities or bumps in the finished coat will make tiling more troublesome.
Wet rooms are wondrous, providing they are mapped out with the tactical qualities of an army general… This is your battleground to master.
With our help – and Atlas Ceramics’ stocklist – you’ll be prepared for the job, and our range of tiles can help you put the finishing touches to a truly expert wet room.