


How To Tile An Uneven Floor – A Step By Step Guide

When renovating your floors, you won’t necessarily have the perfect blank canvas. In terms of tiling, an uneven surface can throw up all sorts of problems, distorting the beauty and regimented feel of a flooring project.
But there’s always hope for righting those wrongs so tiling remains a viable choice. Here, we’d like to present a step-by-step guide for how to tile an uneven floor. Keep reading for all you ever wanted to know about fixing tiles on a ground layer that has imperfections.
Step 1 – Check where the peaks and valleys lie
Even when we think that the surface seems ‘off’, it’s hard to tell without a measuring tool. Luckily, there are a few methods to confirm that parts of the subfloor are rising or dipping in places. The most effective is a straight edge – a metal bar that can be laid across the surface area. If it rocks to and fro, you’ve located a rise; similarly, it’ll show where indentations in the subfloor are when the bar has a gap underneath.
Other techniques – such as drawing a line of chalk from end to end – are harder to perform with quite as much accuracy. The straight edge is a preliminary resource, but it can affirm that there is an uneven surface, before you get started.
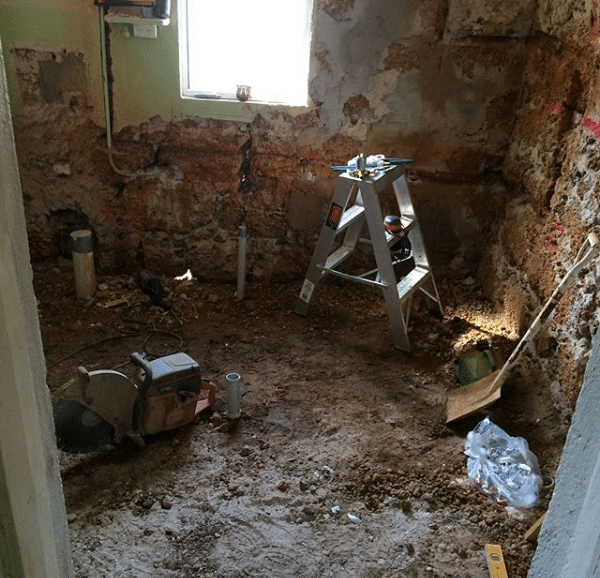
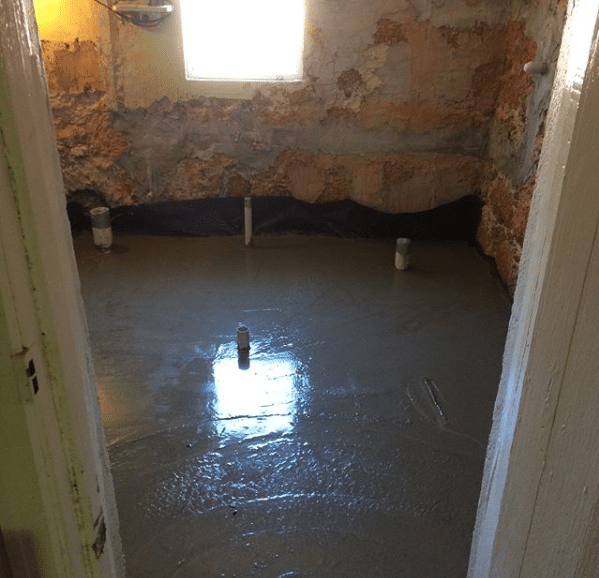
Step 2 – Clean the subfloor
There shouldn’t be any leftover materials on the layer you’re going to treat. Paint, nails and dust will undermine your efforts when task is being done.
Sweep and hoover the floor to ensure it’s clean and ready for priming.
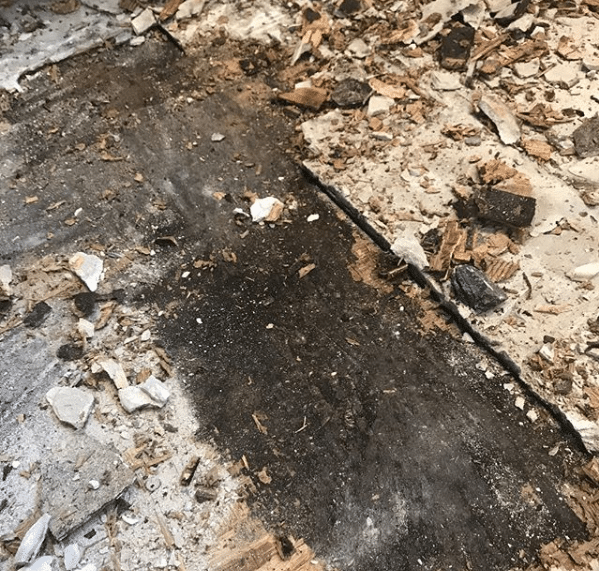
Removing paint may necessitate special chemicals: these are available from D.I.Y stores, depending on the type of paint or dirt you’re ridding (oil, latex etc.).
If you’re wondering if you can tile on top of bitumen or not, you can. However, it becomes old, dry and hard as time wears on. Use duct tape to try and rip it off like a waxing strip. If nothing comes off, it’s fine to tile over.
Step 3 – Use a priming agent
Before you tackle how to tile an uneven floor, it’s really important to use a good primer i.e. a solution that binds, regulates and fosters air flow in the base you’re going to apply.
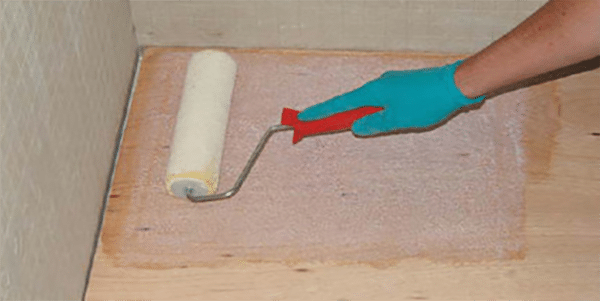
Something like the PR360 Styrene Acrylate Primer is ideal for plaster, wood, vinyl, stone or any other subfloor surface.The primer will need diluting. Look at the dilution table to see how much water needs adding, as it varies depending on the surface you’re tiling upon.
Deposit what you need into a rectangular tray and use a rolling brush to soak up the primer coating. Then roll it over the ground layer, smoothing the edges with a smaller brush. Allow the PR360 to dry fully before tackling the next stage.
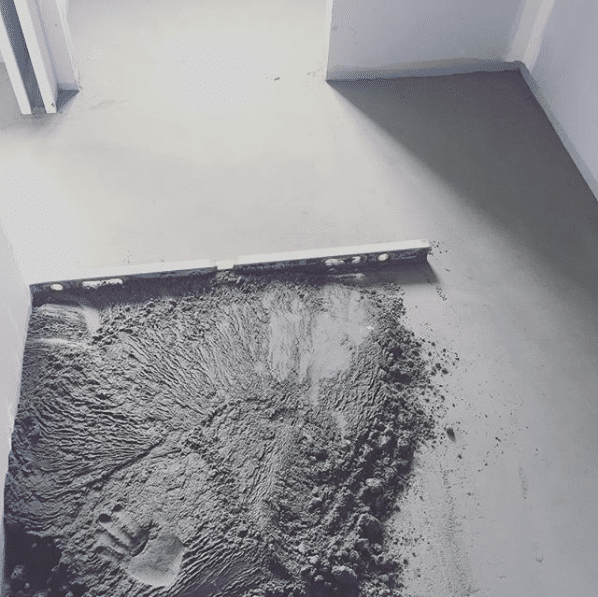
Stage 4 – Mix the self-levelling compound
The next stage in the process involves correcting the uneven areas, with a resource that’s often termed ‘screed’ or, more commonly, a self-levelling compound.
The clue is in the title: once poured, it’ll naturally seek out troughs in the subfloor, filling them up to the peak floor height. Gravity ensures it spreads evenly. There are varying consistencies at your disposal, such as the Weber Floor Flex for up to 50mm of correction volume on a moveable surface such as wood. This solution is suitable for wooden, concrete and underfloor heating alike.
The basic rule is that larger disparity on the subfloor requires thicker screed. As you may guess, though, that could lead to the tiled room being higher overall than an adjacent floor space. Thresholds, such as a door step or floor barrier, may be necessary.
When you’re ready to mix the self-levelling solution, read the instructions on the back of the bag and apply it to the subfloor, starting at the lowest level.
Tip: use an extra litre of water where necessary. The extra dilution will aid flow.
As it spreads, use a trowel to paste the mixture around the whole space evenly, which will prevent subtle mounds from forming. Then leave the entire thing to dry for a couple of hours.
Stage 5 – Do another level check
It’s important to check that the self-levelling compound has done its duty before you begin tiling. Since the disparities – if there are any – will be greatly reduced, employ a spirit level to determine if the floor is 100% flat. Does a section read as imbalanced? Rectify it with a second, very light coat of the mixing compound, then leave to dry again.
If still damp, it’s OK to re-level. However, if the self-levelling compound has dried, ensure you hoover and prime it before re-levelling.
Stage 6 – Plan your tile placements
Now that the surface area is primed for installation, you can get to work on setting the tiles themselves.
First off, scrawl two perfectly straight chalk lines from wall to wall. This will break the subfloor up into quadrants. It almost goes without saying to use a long ruler for inscribing the chalk, so the lines are cohesive.
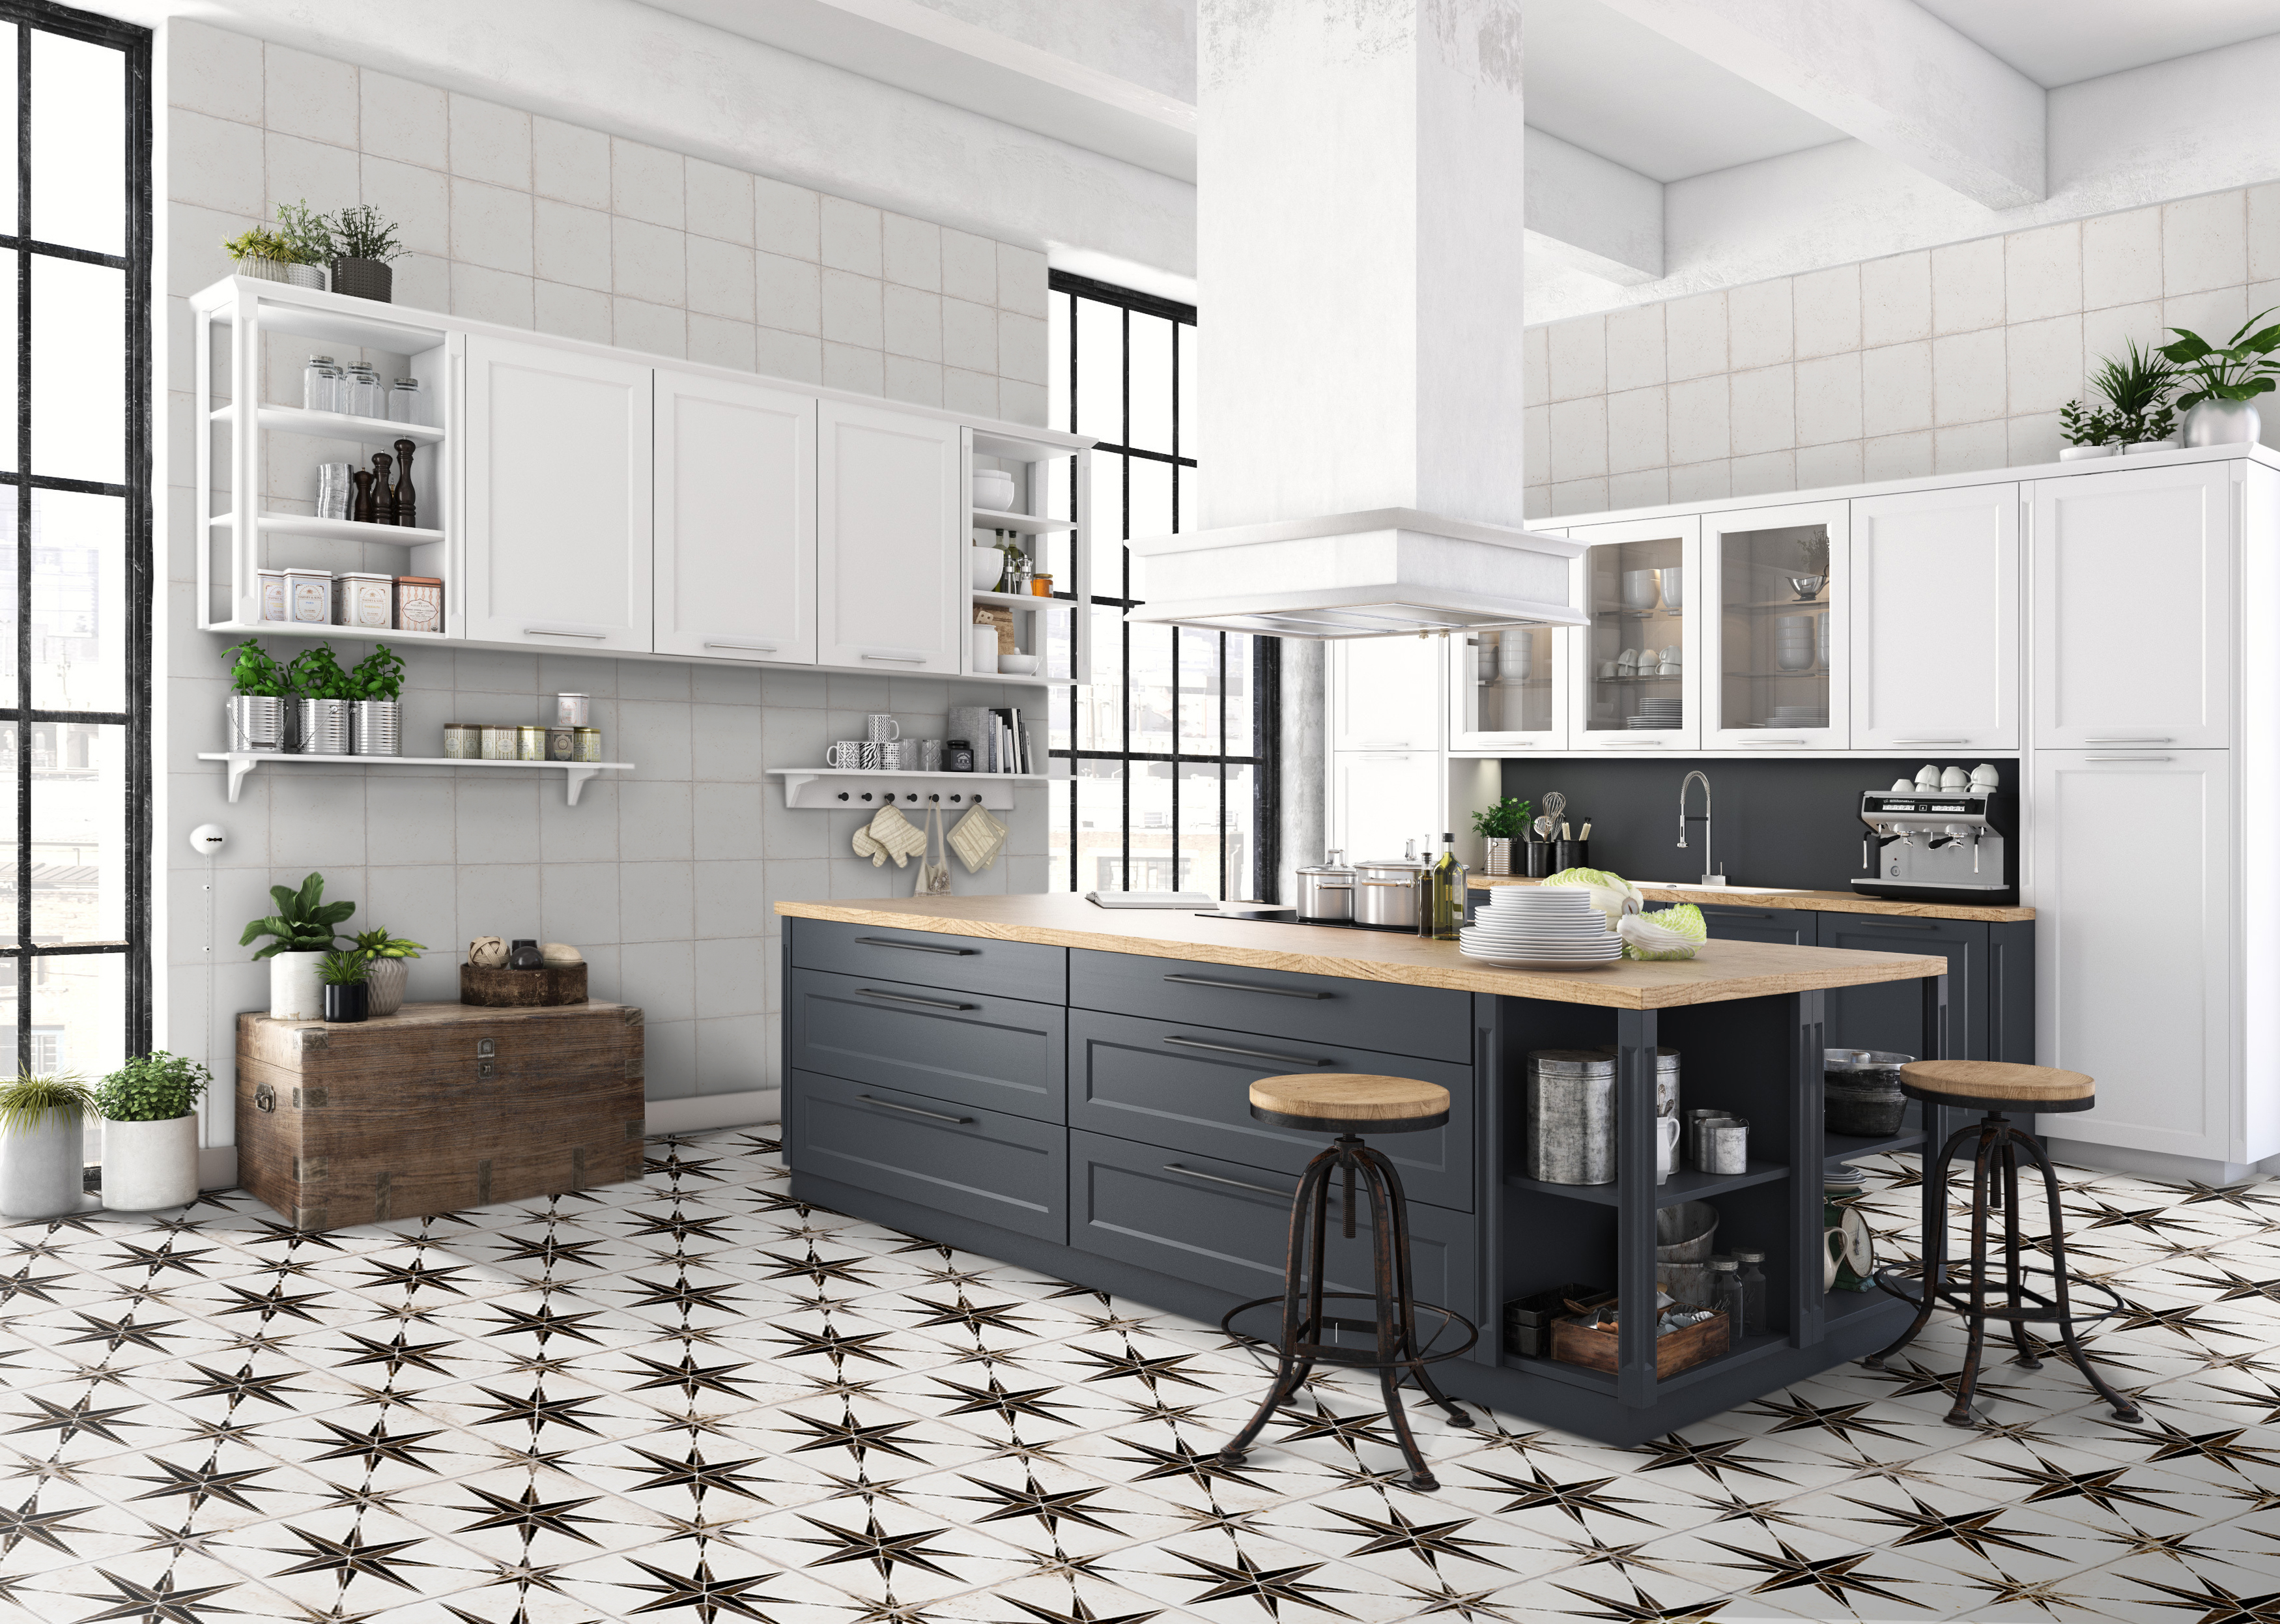
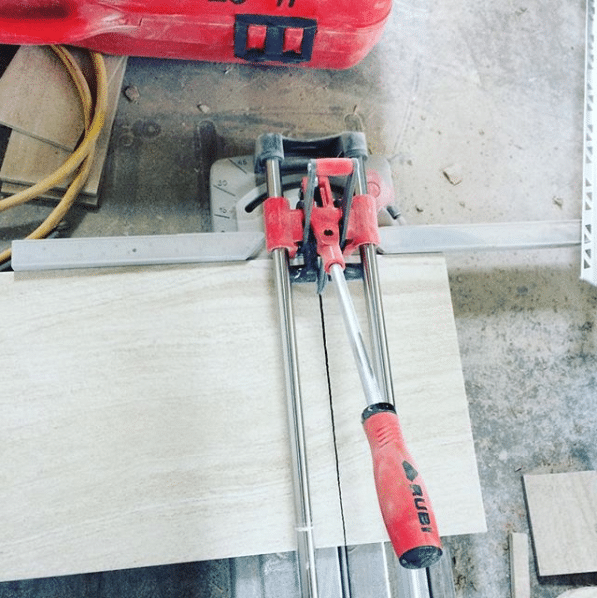
Second, lay the tiles out four at a time, attaching spacer tools (cross-shaped pins that keep the tiling pieces separate) between each of them. Little by little, you’ll create mosaic of what the floor is going to look like. Tiles at the edges, however, are probably going to be too large for the parameters.
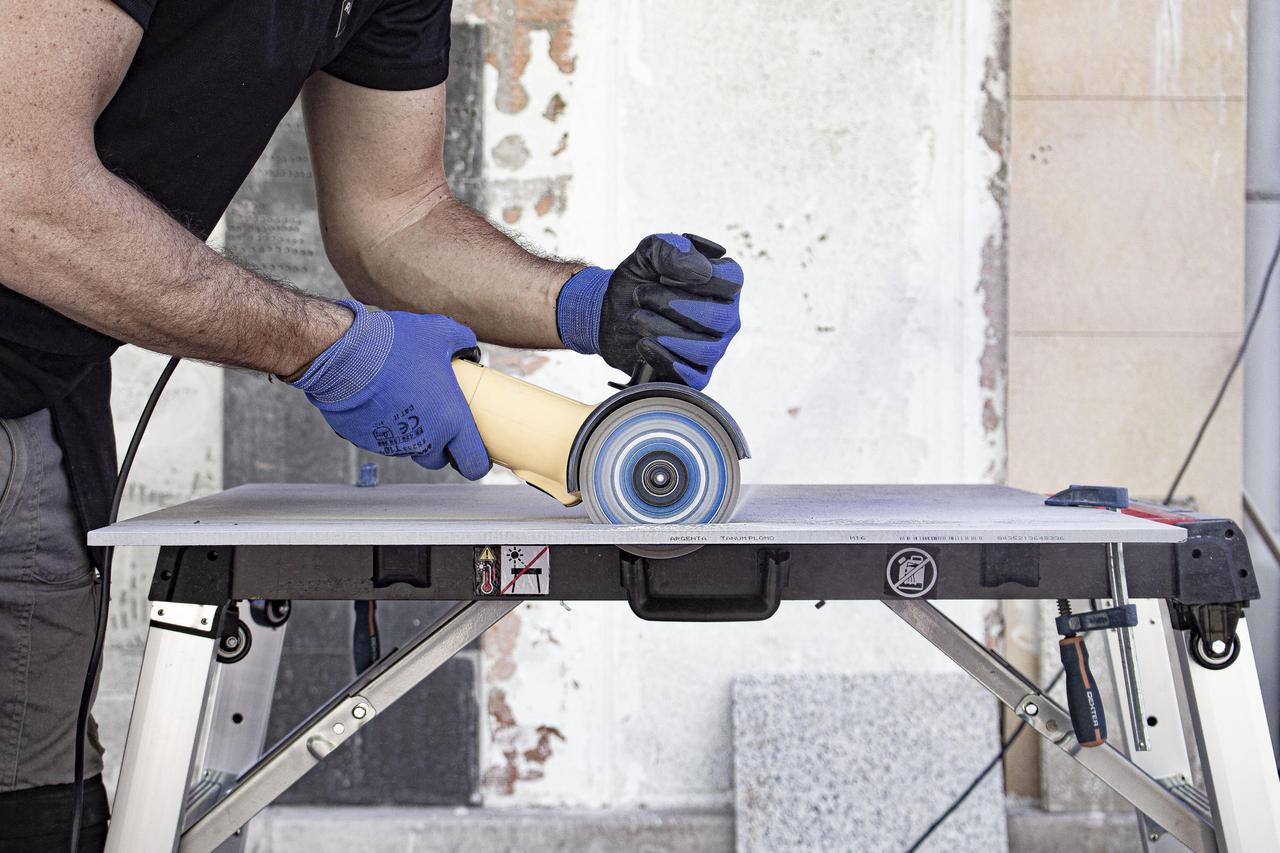
Mark the section of the tiles you’ll have to trim, and use an appropriate cutting mechanism to make them cohere with the room layout. The Rubi TR-40-S Tile Cutter, for example, is able to slice through tile materials whilst providing a degree of shock absorption. Alternatively, Nippers are good for other cuts that don’t have a straight edge.
Stage 7 – Apply the adhesive
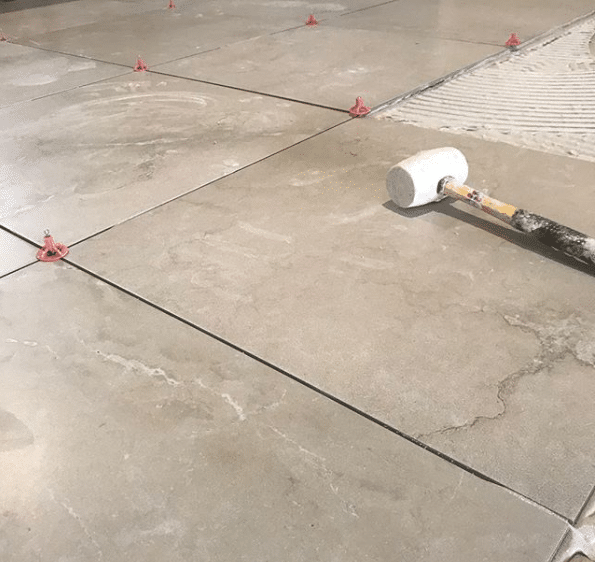
Select a batch of adhesive – again, there are multiple variants suited for ceramics, porcelain, concrete, underfloor heating etc. Pour water into a bucket around ¼ of the way up, then add the powder, aiming for twice as much as the water volume. Scrape the adhesive layer across a maximum of four square feet with a 8mm Square Notched Trowel; this is the optimal area that won’t dry up before you lay the tiles down.
Keep doing so until you’ve arranged the tiles out from centre points towards the ends of the walls. Once more, delineate every slab with a spacer: the plastic will not set on the adhesive, and you can remove them after the last tile has been sealed.
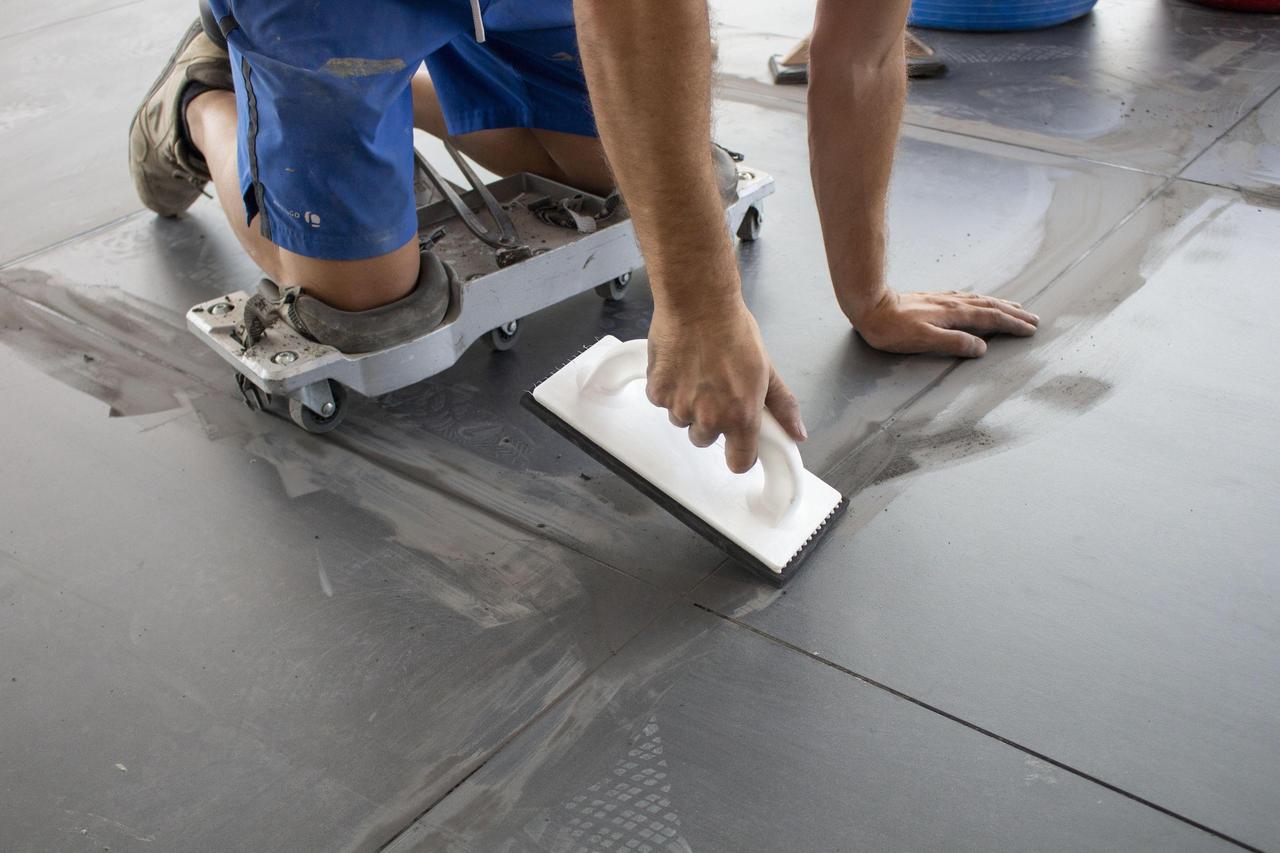
Stage 8 – Grout the joints thoroughly
Leave the placements to dry for a full day. After that, all that’s left is to grout the spaces between the tiles, ensuring they have a uniform appearance.
Buy everything required for the last leg of the tiling process. Starting with a Grout Float for application, and a cleaning sponge/bucket to wipe away excess from the surfaces you’re treating.
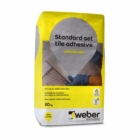
Pick from one of many Weber grouts; they have their own colours for the finish you’re seeking, such as grey, jasmine or white. It will be stiff initially, so turn it over several times to aid pouring.
Use the float to push the grout into the tile, until it seeps into the cracks around the edging. Use the edge of the float to scrape away at a 45 degree angle to the grout line to remove any excess grout, whilst trying to keep the grout level as high as possible.
Finally, sponge the tile so it’s free of direct grout on the surface, trying not to wet the actual grout lines as they form and solidify.
Dust off with an abrasive pad, ensuring you don’t remove grout from the grout lines. The deeper the grout line, the more likely it is to attract dust and dirt over time, leaving it looking darker in colour. Try and allow the grout to sit as level as possible.

So there you have it – how to tile an uneven floor. Hopefully we’ve given a straight answer to an uneven problem! Atlas Ceramics offer a massive range of tiling tools that’ll make your projects far easier to realise. See what we have in stock, or call our experts for advice on a floor you can truly be proud of…
Share this article
Article by Mike Lovatt
Here at Atlas Ceramics we import and distribute high quality products to support the tiling industry. These products include Polished tiles, Matt tiles or Satin tiles for the wall and floor, ceramic and porcelain tiles, natural stone and mosaics, from Italy, Portugal, and Spain.